
Continuing on from my previous post...
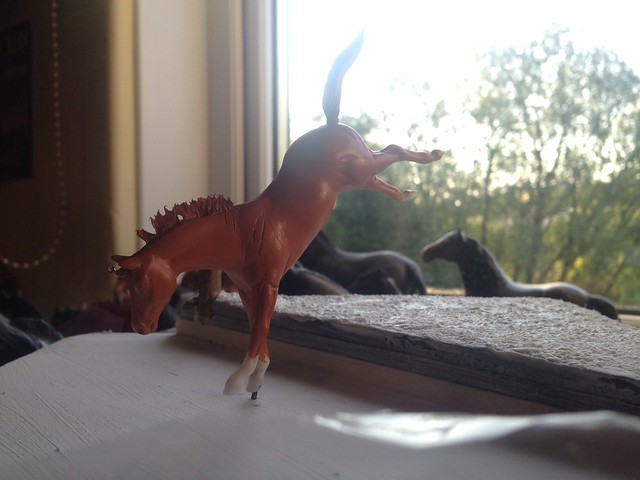
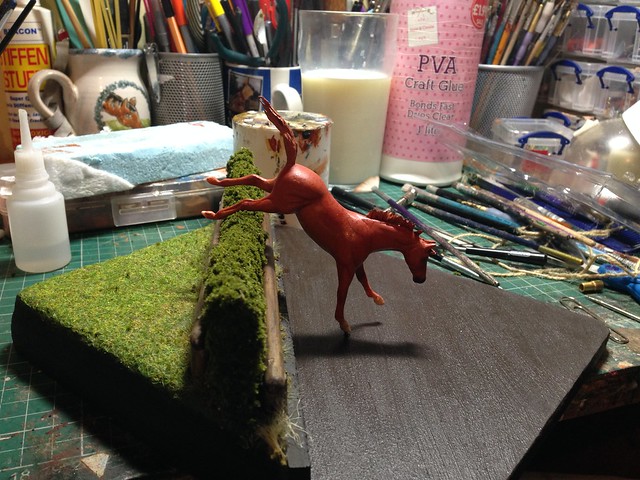
After the success of my G2 TB resculpt, Eclipse...
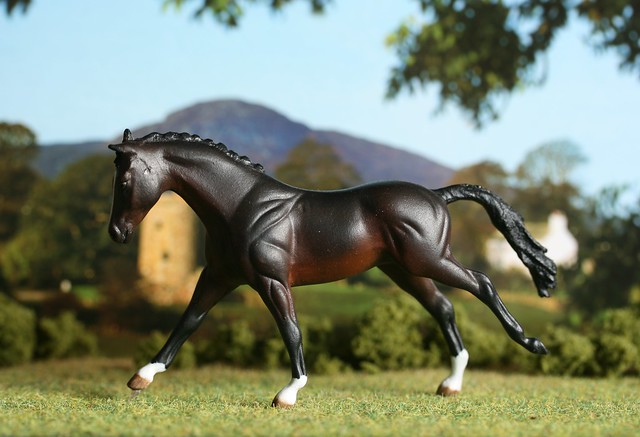
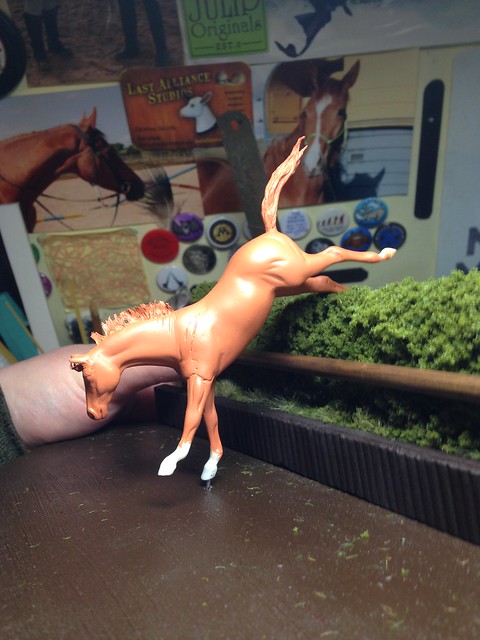
...I really fancied attempting another custom I'd been wanting to do on that mould for years - a landing horse.
I know, right, not the easiest thing in the world to do!
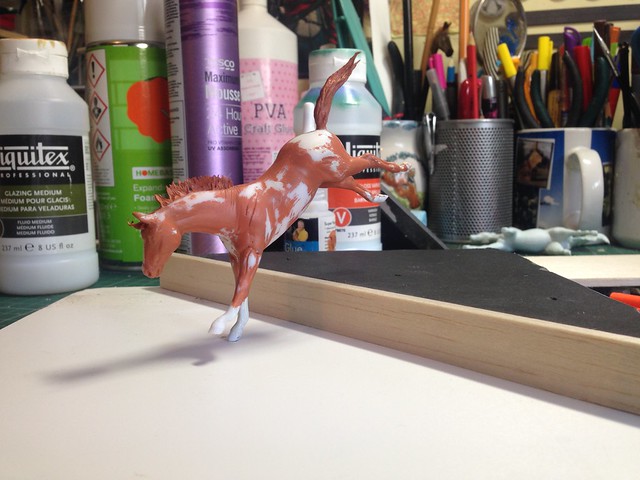
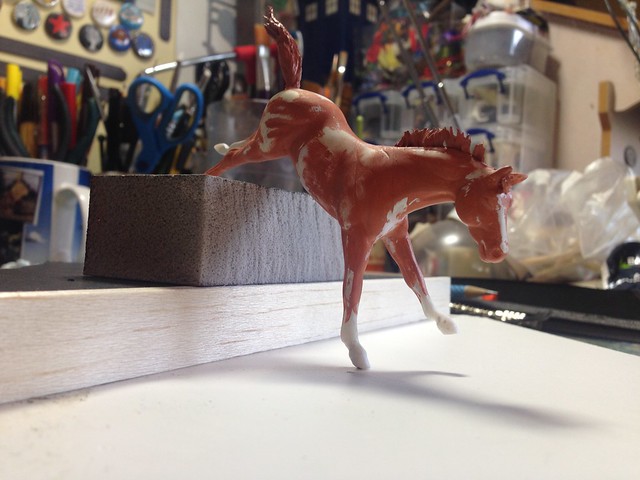
I knew I wanted it to stand on only one leg, through a wire onto a base (and let's be honest here, I really wanted to make multiple dioramas more than anything else!) in this kind of pose, with the other foreleg thrown out ready to touch down.
The sculpt as it was was fairly close to that kind of pose, so it didn't take much to remove one foreleg and reset it. I did all the resculpting with superglue and bicarbonate of soda rather than epoxy - more because I'm incredibly impatient sometimes and wanted to get as much done in one day, and also because I really hate using epoxy. It gets everywhere and just eurgh.
I wanted to tweak the hind legs more but I think I'll leave that for another future custom.
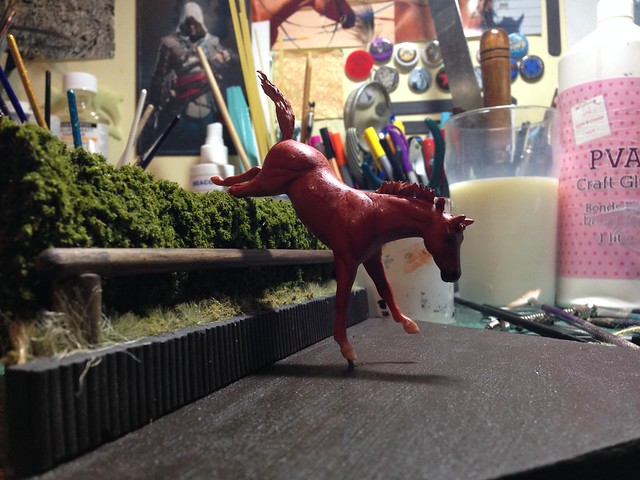
Anyway, I redid her mane and tail with glued thread which is definitely my new favourite way of doing hair as you can get some really nice natural poses I'd really struggle to capture with clay.
She's going to be a nice bright coppery chestnut with a bit of chrome, but at the moment I've hit a bit of a snag - I ran out of dullcote unexpectedly, and really needed to seal some pastels. I had an old can of sealer I thought would be ok but it spluttered a lot and well, you can see the result. I've ordered up some more dullcote which should arrive in the next few days, then I'll hopefully be able to fix it with another few layers, if not I'll need to sand her back and start again.
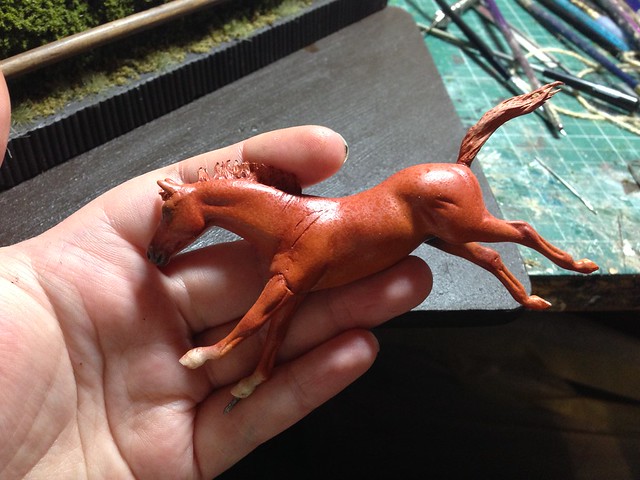
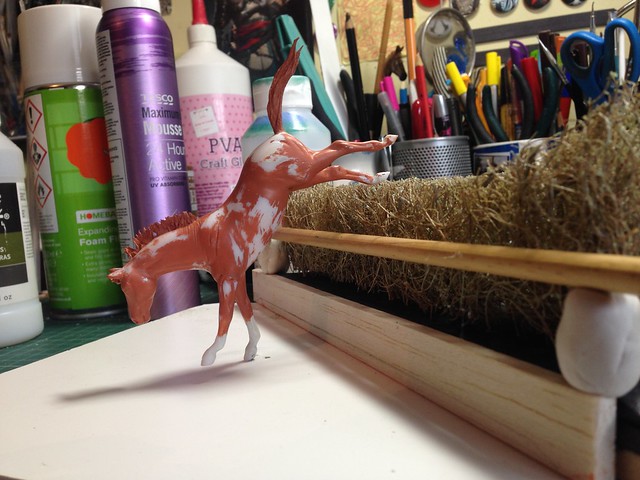
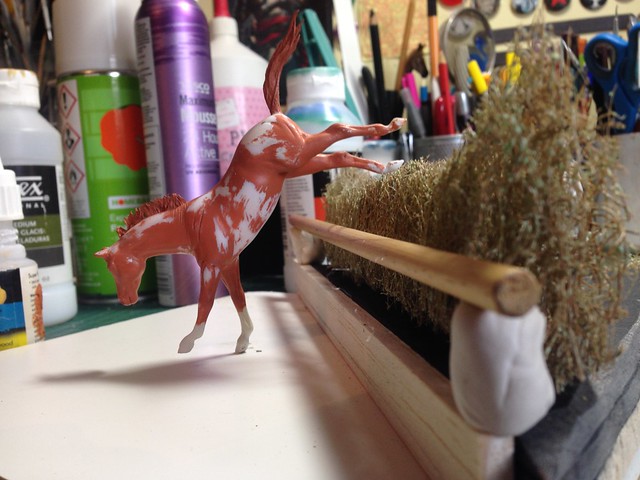
Prior to painting her properly, I set to work on what she'll hopefully be doing as a performance prospect - cross country!
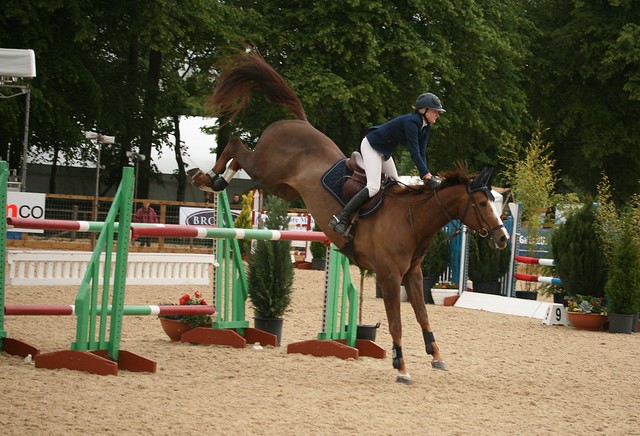
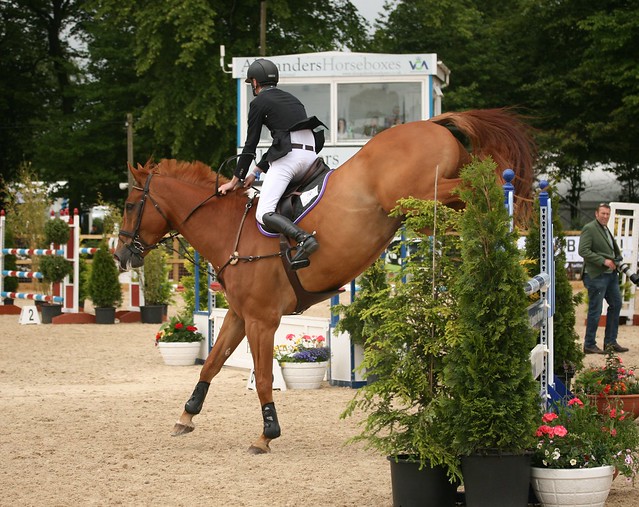
Although I've made a teeny tiny micro mini water complex before, I wanted to try my hand at a proper water jump, and when I saw photos of -this one- at the 2010 Rolex Kentucky course, I knew I just had to make my own interpretation.
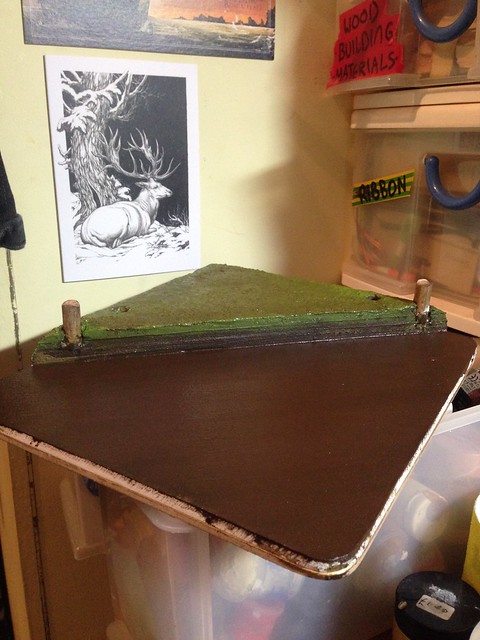
I started off with a cork-based placemat and a thickish piece of foamex for the base, then built up one end for the bank.
With a sanding block 'hedge'
A slightly better mockup with wooden dowelling and a rubberised horsehair hedge.
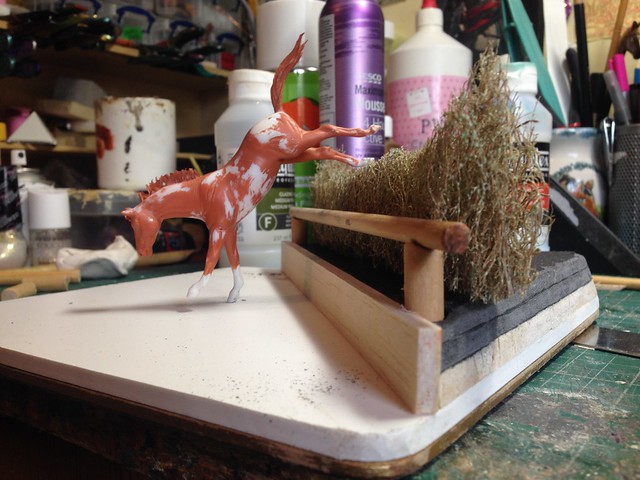
I roughed up the surface of the bank and 'water' with filler to give a nicer texture...
...then gave everything a first coat of paint.
Whilst I put the hedge together elsewhere, I started to add foliage to the bank section. I probably should have waited a bit but it looked so empty!
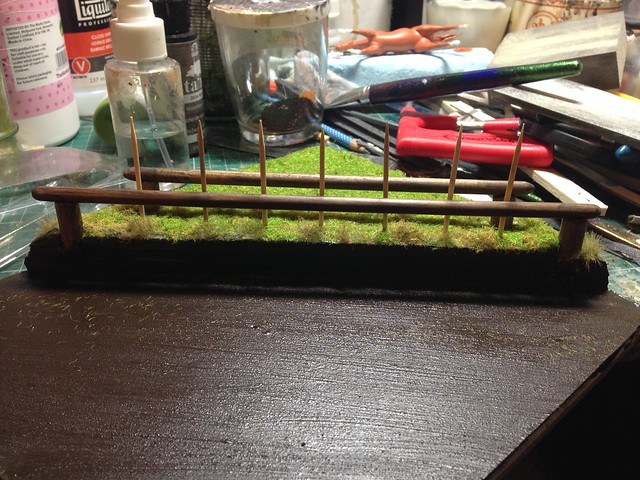
I drilled some holes for the internal supports for the hedge and stuck them into place. I painted them afterwards so they wouldn't be so obvious. The wooden supports were made from pine dowelling and stained and buffed with natural beeswax (which smells amazing by the way, I should have been a carpenter!)
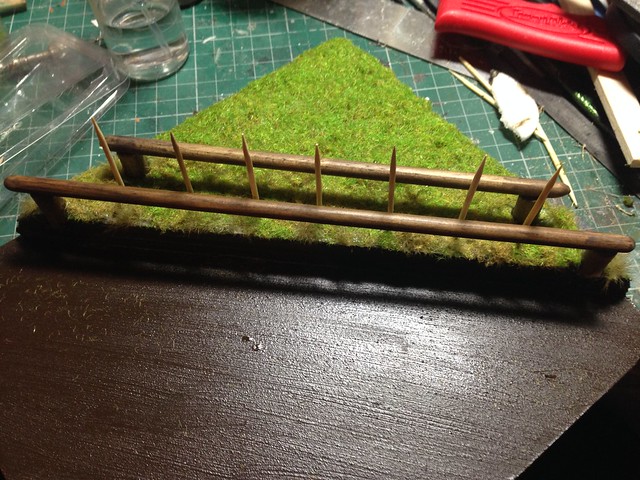
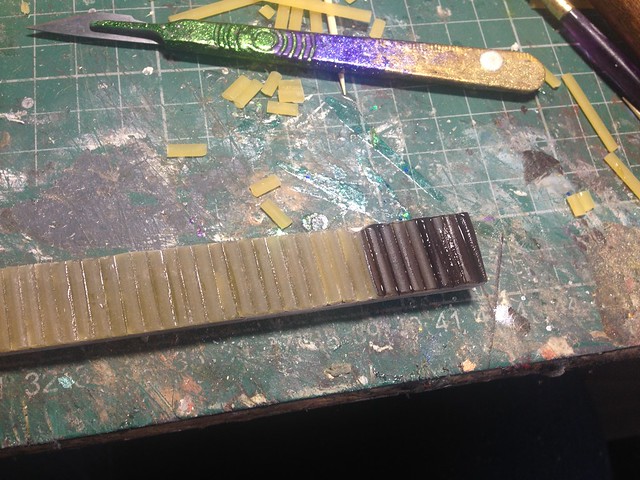
I couldn't find any suitable wooden sticks or thin dowelling in my wood stash for the uprights, but hit upon a cunning solution in the kitchen of all places - pasta!
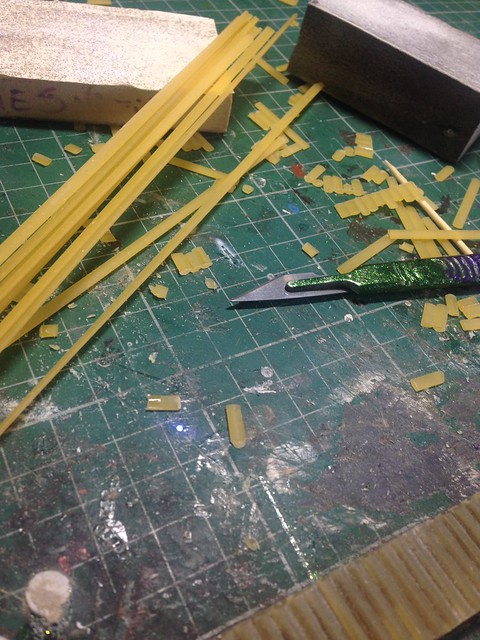
Well, linguini to be precise.
 |
| Who has the shiniest scalpel handles? I doooooo! |
Once in situ it really looked the part, as did the hedge once that was in place too.

I'm not quite finished it yet so I'll leave you with a sneak peek of how it looks at the moment...
...and I'll hopefully have an update this week once I've finished it off!
wow, this looks amazing! I love your resourcefulness!
ReplyDeleteThank you! One of the things that appeals to me so much about modelmaking and the like is being able to create things out of scraps and otherwise non useful materials!
DeleteVery nice! See, all those macaroni projects you did in kindergarten paid off! How else would you have thought of using pasta for the jump!
ReplyDeleteHa! Well, considering we don't have kindergarten here and I don't remember doing any pasta related craft projects at school, it's a mystery! XD
DeleteI actually saw someone using normal spaghetti to make raised edges along a miniature corridor recently which sparked this idea, but I'd like to think I came up with it myself. XD
BRAVO Christine for thinking outside the PASTA BOX!!!! I LOVE your ingenuity and your imagination when comes to realizing your ambition! Truly the movement and the sense of tension is already palpable in the posture of the horse even without a rider. I am on pins and needles waiting to see the rest of this project. BEAUTIFULLY DONE even at this stage. :D
ReplyDeleteAnd if I may ask, WHERE did you find the horsehair hedge material? I have searched for it without much success; do you have a link to a supplier that you could share?
elizabeth
Awww thank you so much! :D
DeleteI got mine from 4D modelshop- they have loads of really good landscaping materials - I want to order up some more soon, especially some cork bark so I can do some rock features!
http://modelshop.co.uk/Shop/Landscaping/Item/Horsehair-approx-100-150-30mm/ITM4243