Showing posts with label 1/32nd scale. Show all posts

Monday, 6 June 2016

Yet more mini customs!

I'm obviously in the mood for customising at the moment as I seem to be doing nothing but cutting up tiny ponies!

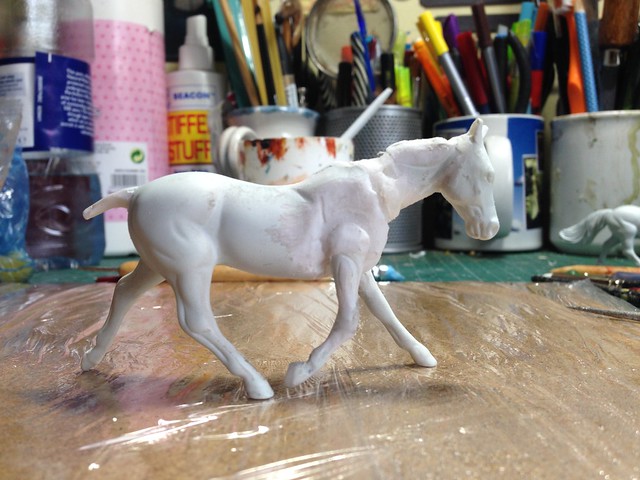
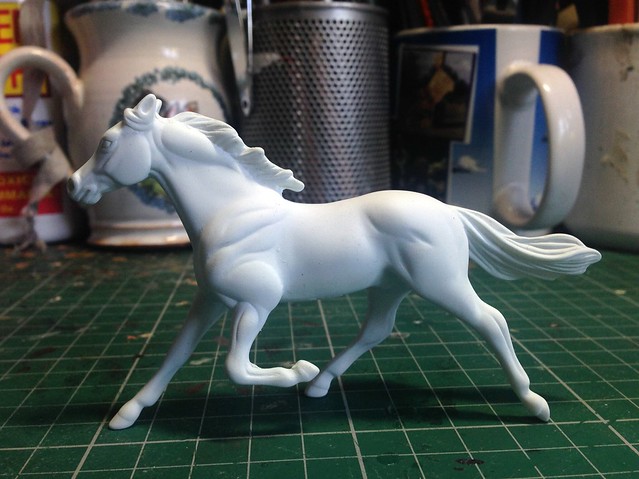
First up is this G2 Pacer - I've always felt rather sorry for this mould as there are so few breeds it could be shown as (as there are relatively few horse breeds that display that kind of lateral gait) that it rarely seems to be customised.
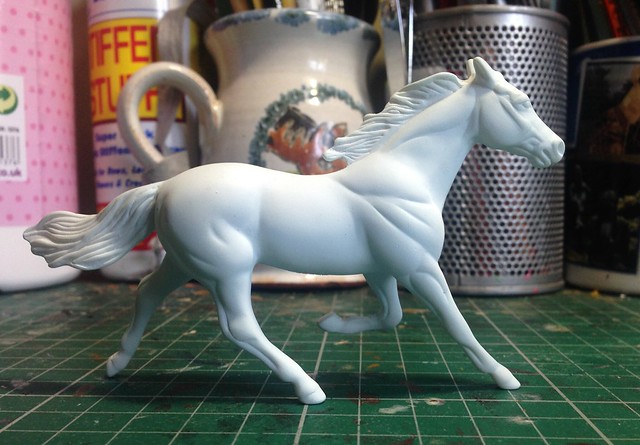
 WIP mini customsWIP mini customs


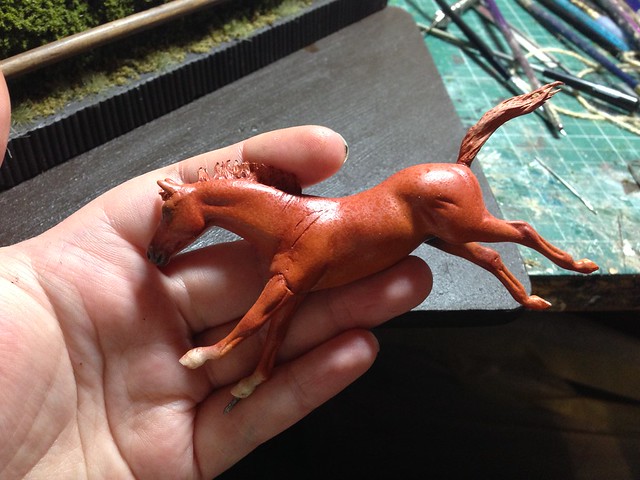
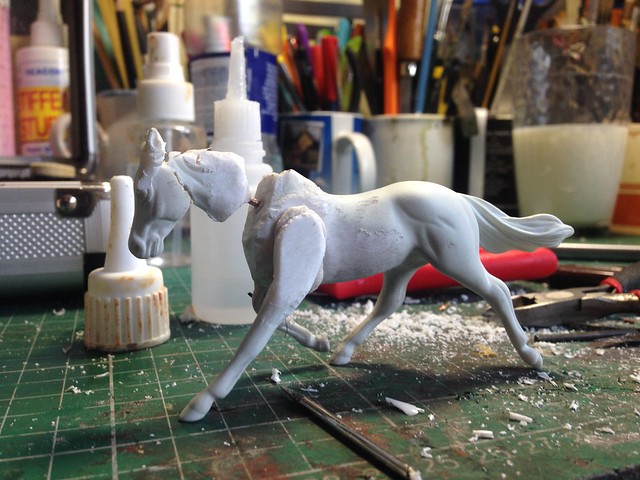
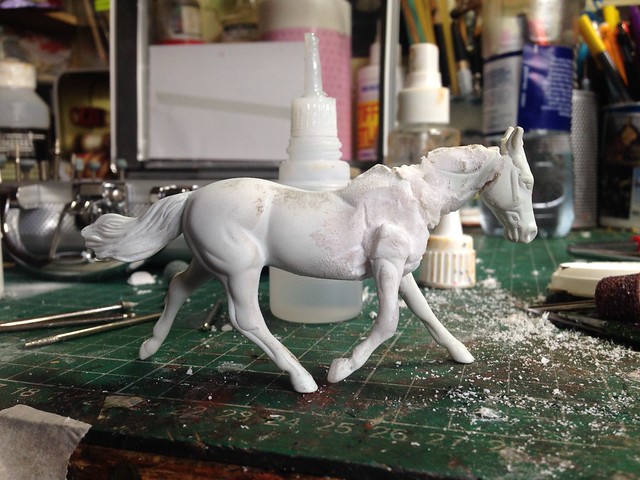
I thought it had potential as a trotting horse if I flipped the forelegs round, so after having to buy myself another hacksaw (I lent mine to someone and haven't got it back yet, haha) I set to work.
 I discovered that the bent foreleg was considerably shorter than the other one, so I had to tweak and extend it with a wire before I reattached it.
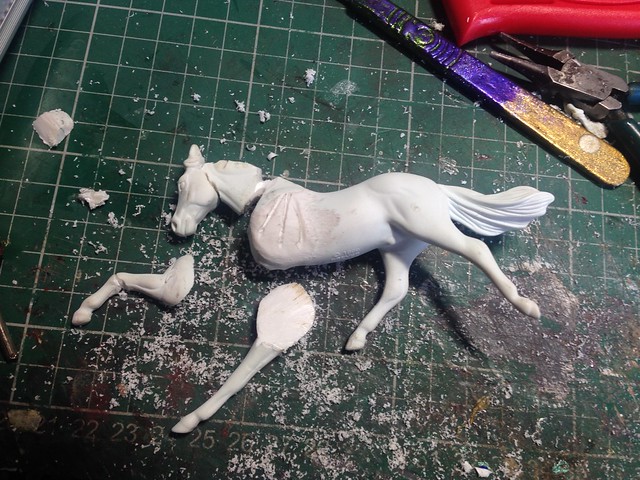
 WIP mini customs

At first I was just going to bend the neck and lower the headset but after a while I thought it'd probably be far easier to just resculpt it entirely, so he was decapitated for science. :P
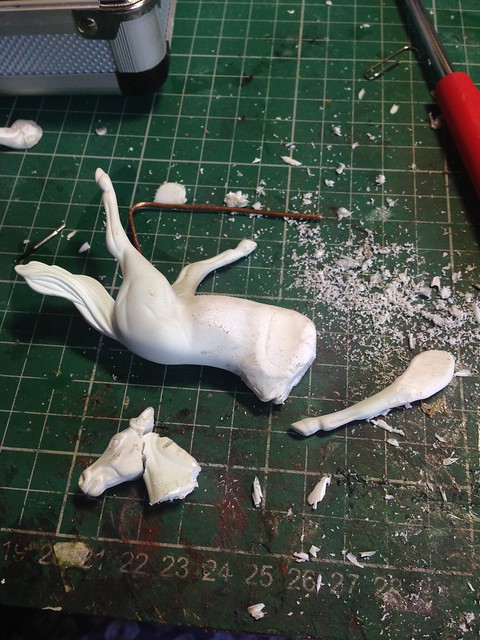
WIP mini customs

It was during this time that this stray speck of plastic pinged off and flew straight into my eye, somehow bypassing my glasses entirely.
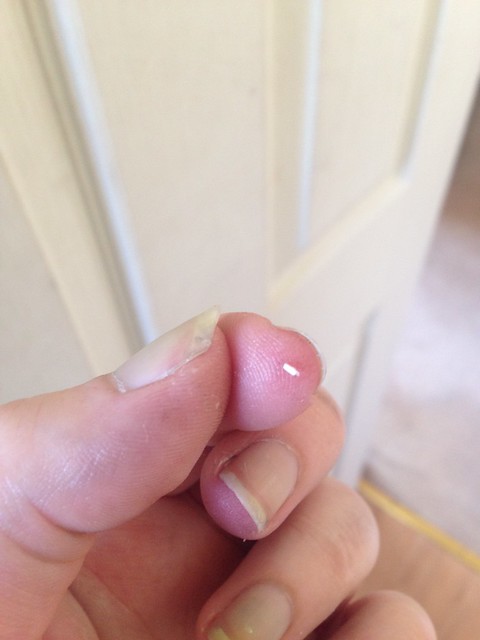
WIP mini customs

I spent the next ten minutes in front of the bathroom mirror with a variety of small pointy objects, trying to extract it. Luckily it had ended up right in the corner, near the tear duct but kept creeping sideways the more I poked at it which was rather alarming. It came out eventually and I've had no problems but it did make me more aware of what I was doing and I'll definitely be investing in some goggles the next time I'm out as I usually just assume my glasses will be enough to protect my eyes but obviously not! If that had been a bit of glass or metal I could have been in serious trouble! 

A considerable amount of (careful!) sanding with my knockoff dremel later, I reattached the legs on the opposite sides of the horse with white-tac to see how it looked before making the join permanent with superglue and bicarbonate of soda.
WIP mini customs
 
 WIP mini customs

WIP mini customs

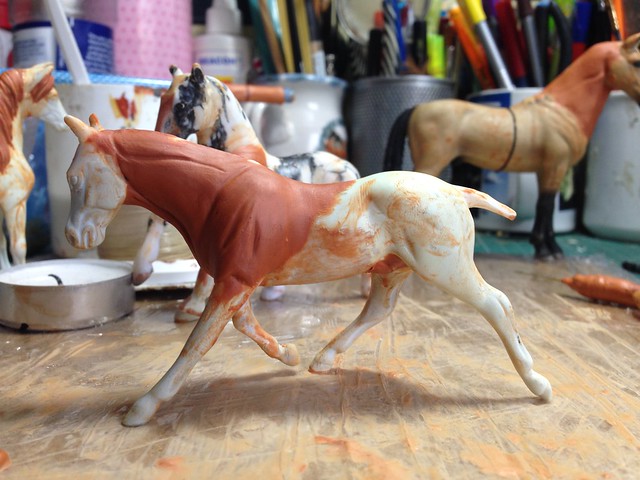
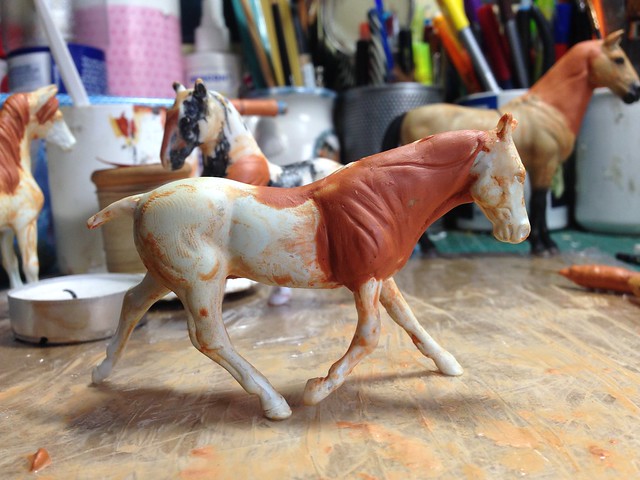
As I've probably mentioned numerous times before, I hate using epoxy as it inevitably gets everywhere and I find it really frustrating to work with, but after accidentally supergluing the horse to my hand earlier on, I decided that I'd have to put up with it rather than my usual glue/bicarb method.

The throatlatch is obviously waaaaay too thick here, and I'll need to do a bit of work once the epoxy has cured but I'm pleased with how well the sculpting style matches.
WIP mini customs

WIP mini customs

I think I'll end up having him for some kind of western performance as he's ended up quite chunky and quarter horsey.

I still had loads of milliput left over so I worked on a few side projects to finish it off.

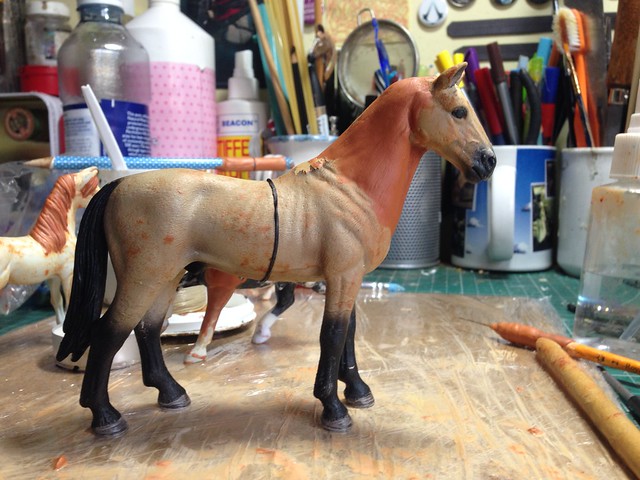
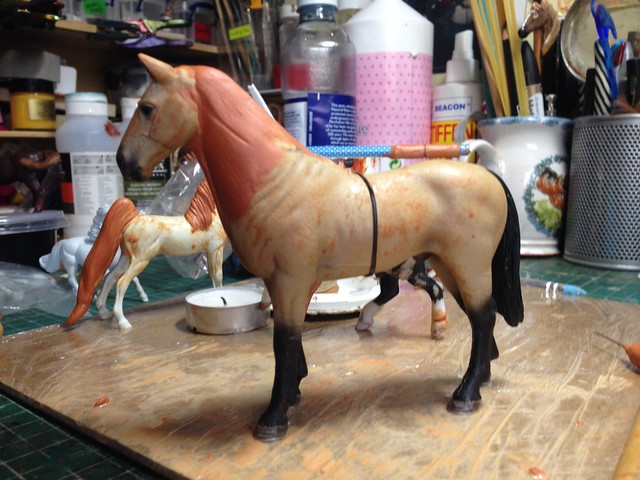
I bought this Schleich Akhal Teke at the Copperfox show, and lopped his head off almost as soon as I got him home. I reset it today a little lower and straighter, although trying to get the distinctive hair texture to match was a little trickier and I'm not really sure if I've managed it or not.
WIP mini customs

WIP mini customs

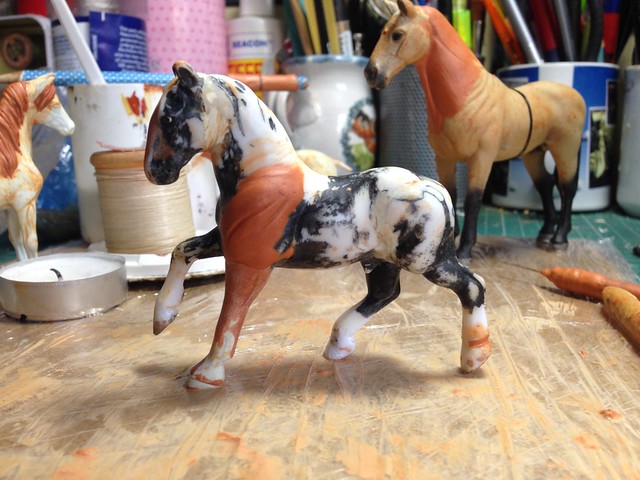
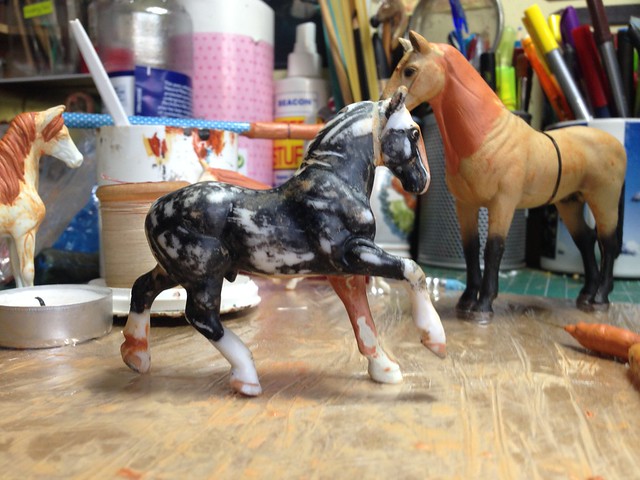
I started this guy years ago - a G2 Shire to some kind of cantering draught. I love the mould's head but not much else, especially that horrible, horrible tail, so that was the first part to go! His left foreleg is entirely new which is why it looks so bad compared to the rest!
WIP mini customs

WIP mini customs

This was another old custom I started a while back, a G2 Saddlebred. I really like the mould, but I'm not hugely enamoured with my resculpting here. :/ I really want to do a glued thread version but I can't find another body in my stash even though I know I must have at least one more!
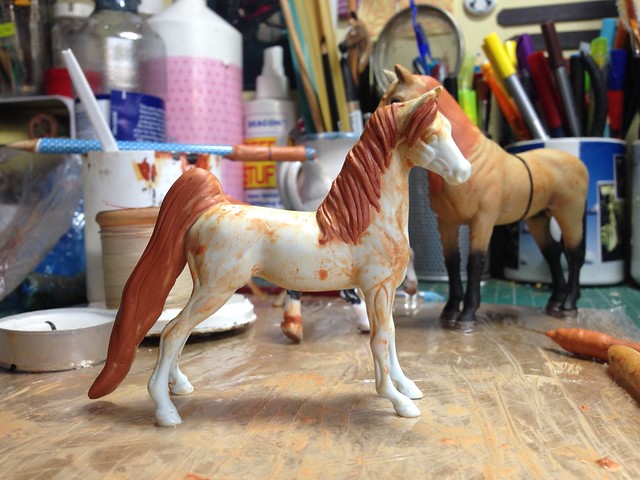
WIP mini customs

Another custom from the dawn of time is this G1 Silky Sullivan I started way back in 2011.
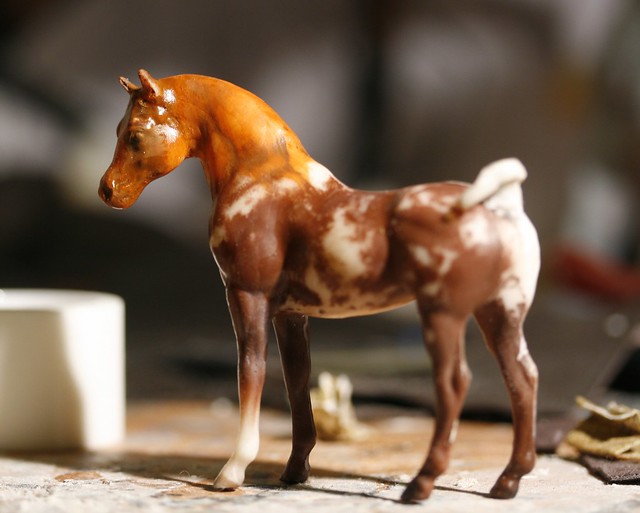
Resculpted neck

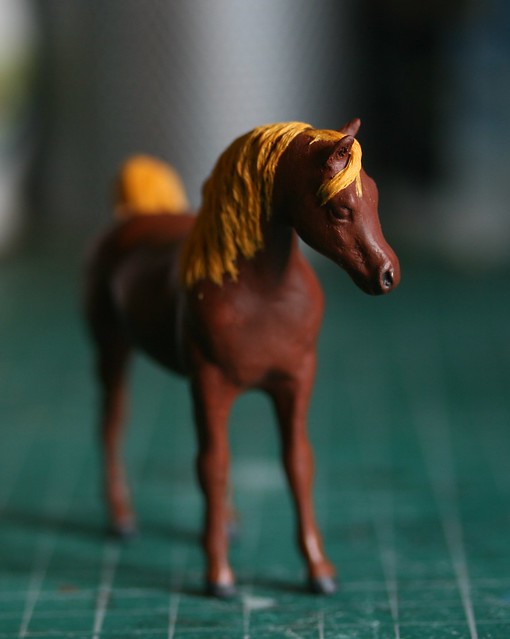
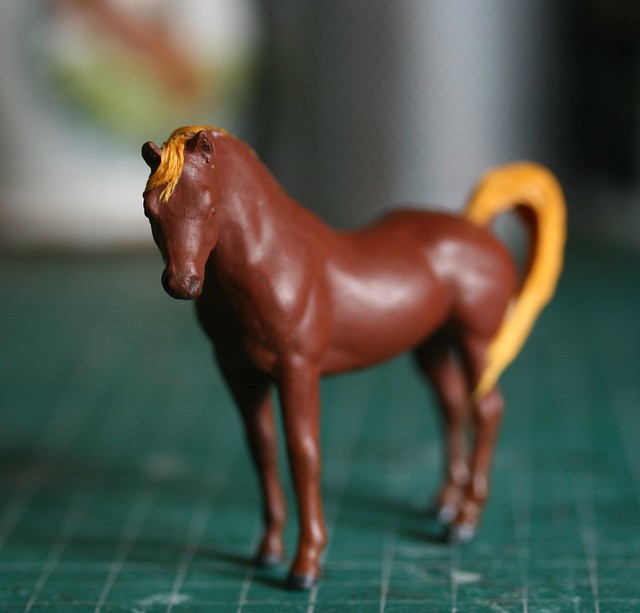
She's really been through the wars and has had multiple surgeries on her neck, and eventually ended up painted chestnut with a mohair mane and tail, but somehow that never quite worked for me, so I stripped off all the hair the other day and started again with glued thread hair.
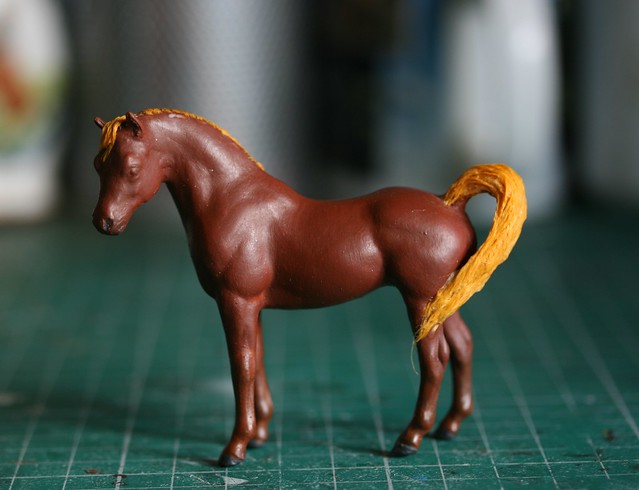
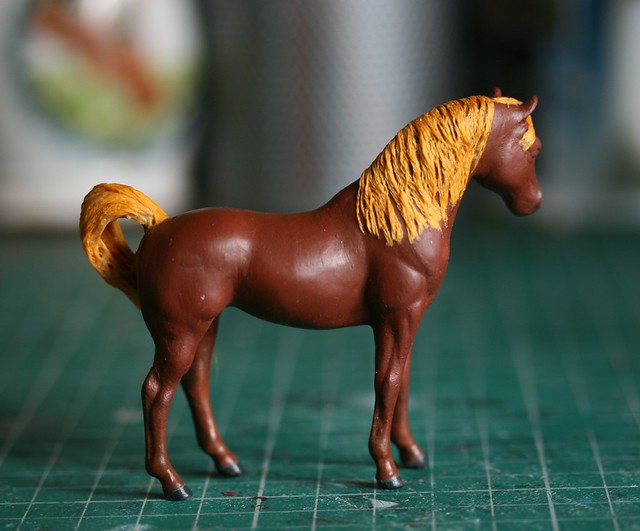
WIP mini customs

WIP mini customs

WIP mini customs

This mould has such a lovely face.

WIP mini customs

She was going to be flaxen chestnut but halfway through pastelling she told me she wanted to be a very dark liver chestnut...oh and she wasn't an Arab any more, she was a Welsh pony!
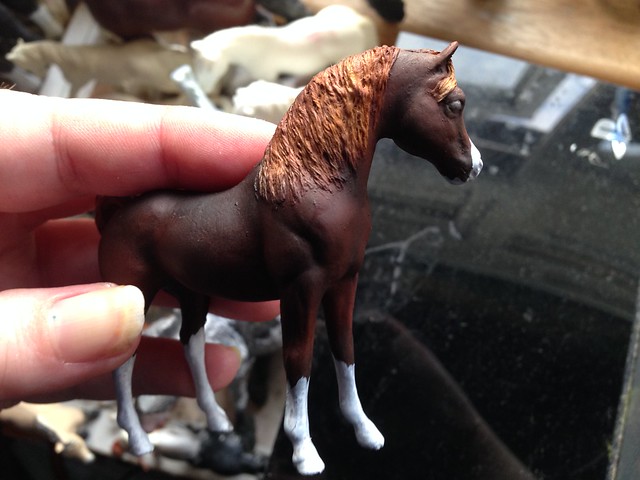
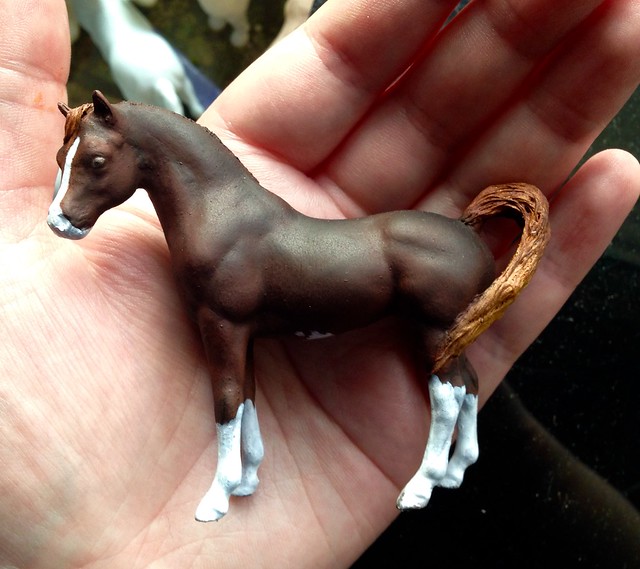
image

image

She's still very much a WIP but I'm really liking the direction she's heading in now.


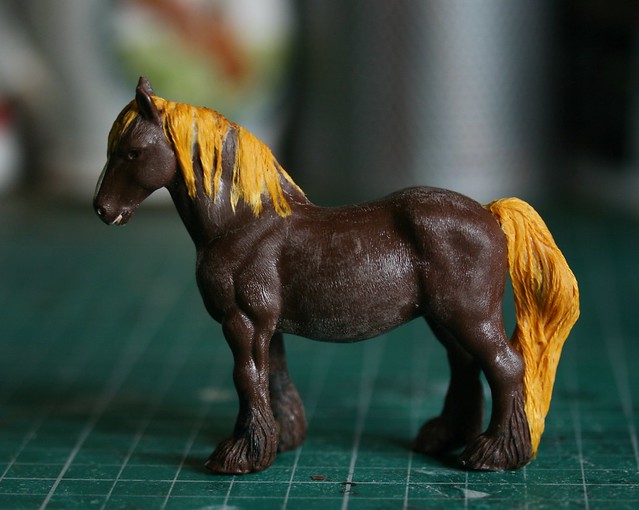
Also in progress is this Britains Shire, who is well on her way to becoming a very hairy cob.
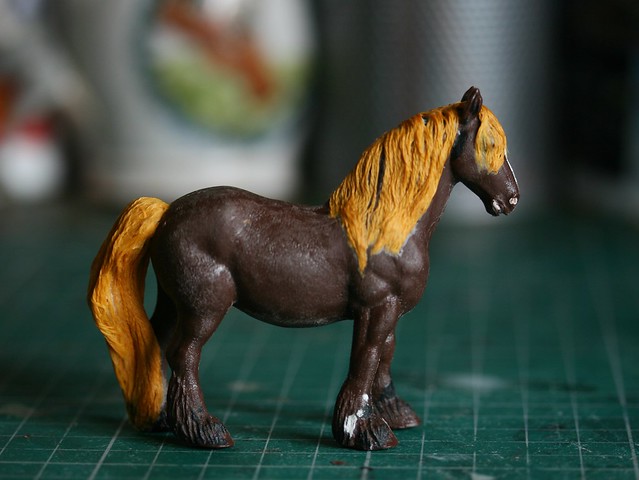
WIP mini customs

WIP mini customs

Monday, 30 May 2016

Jump to it!

Continuing on from my previous post...

After the success of my G2 TB resculpt, Eclipse...

EA Eclipse

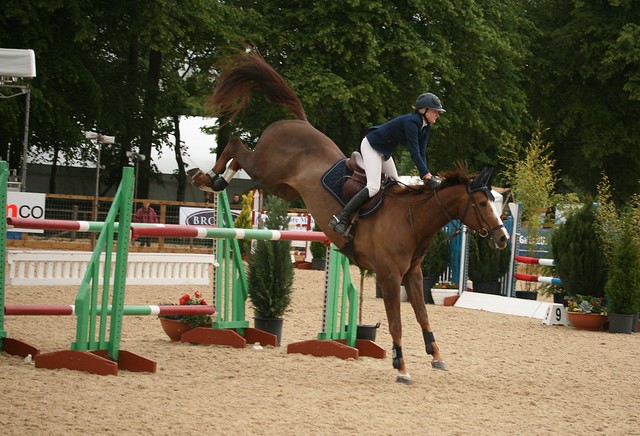
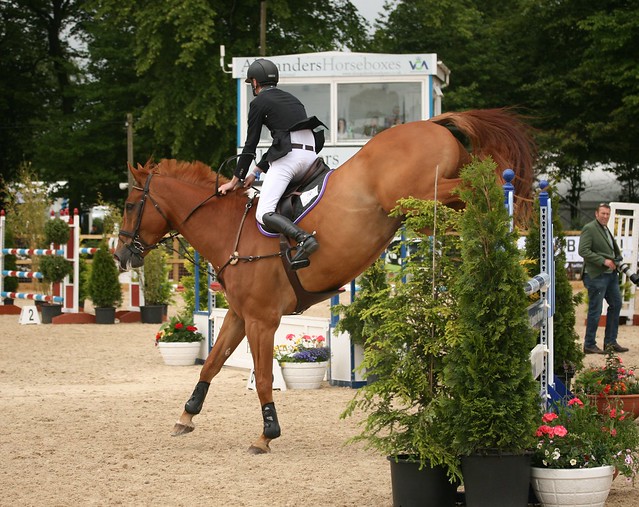
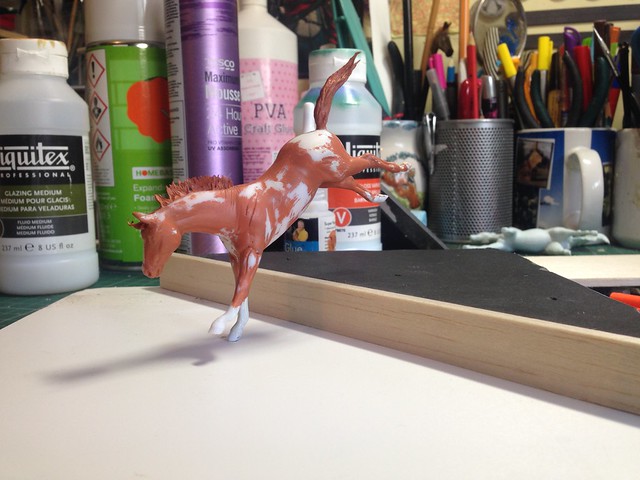
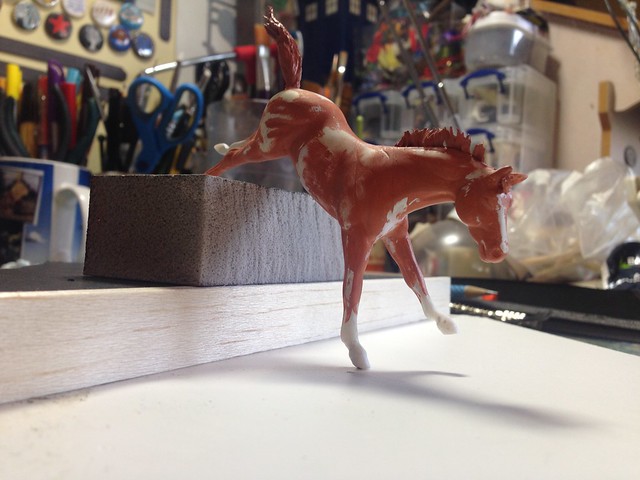
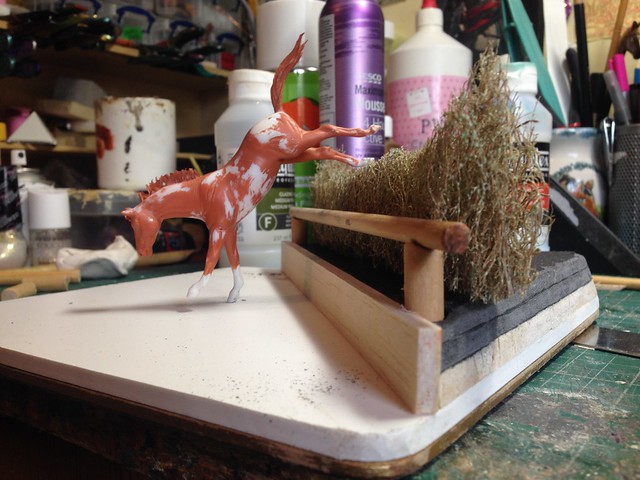
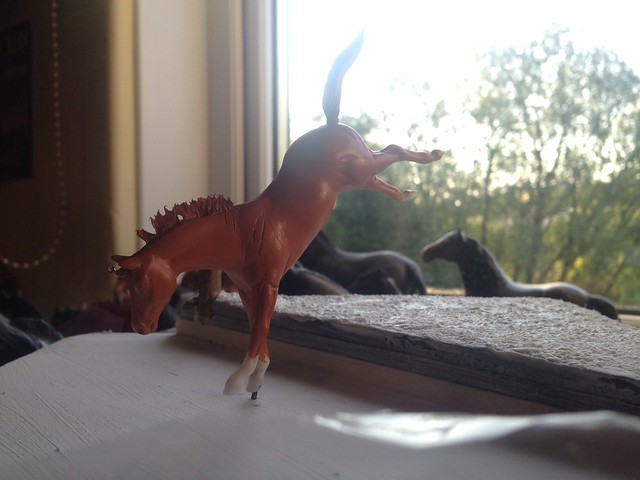
...I really fancied attempting another custom I'd been wanting to do on that mould for years - a landing horse.

Showjumping Talentseekers

I know, right, not the easiest thing in the world to do!

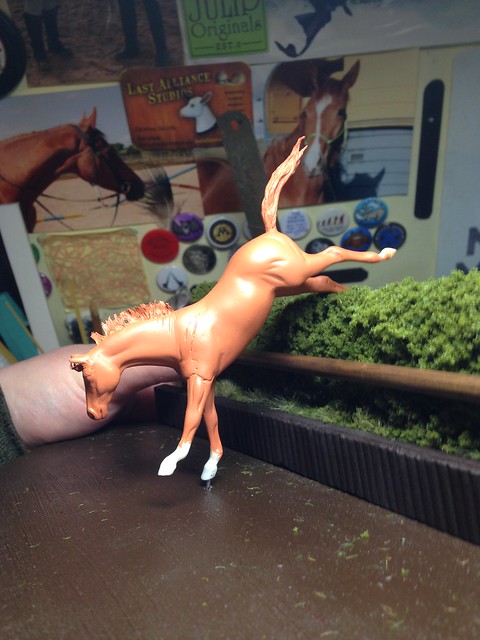
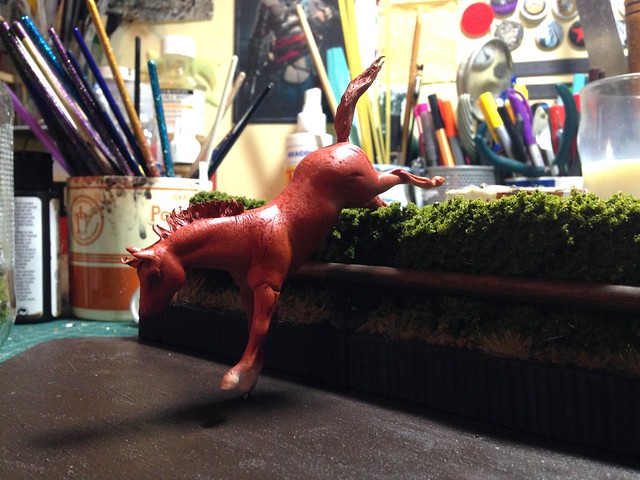
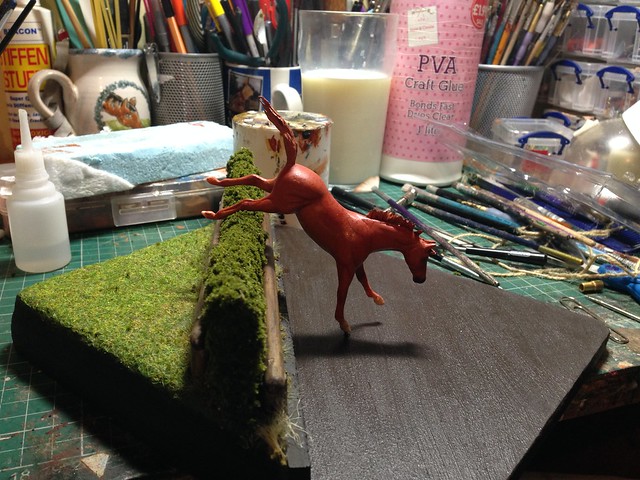
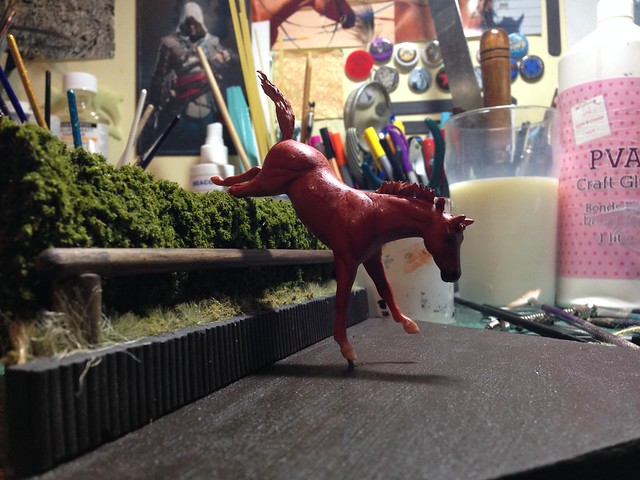
I knew I wanted it to stand on only one leg, through a wire onto a base (and let's be honest here, I really wanted to make multiple dioramas more than anything else!) in this kind of pose, with the other foreleg thrown out ready to touch down.

Showjumping Talentseekers

The sculpt as it was was fairly close to that kind of pose, so it didn't take much to remove one foreleg and reset it. I did all the resculpting with superglue and bicarbonate of soda rather than epoxy - more because I'm incredibly impatient sometimes and wanted to get as much done in one day, and also because I really hate using epoxy. It gets everywhere and just eurgh.

I wanted to tweak the hind legs more but I think I'll leave that for another future custom.
Anyway, I redid her mane and tail with glued thread which is definitely my new favourite way of doing hair as you can get some really nice natural poses I'd really struggle to capture with clay.

She's going to be a nice bright coppery chestnut with a bit of chrome, but at the moment I've hit a bit of a snag - I ran out of dullcote unexpectedly, and really needed to seal some pastels. I had an old can of sealer I thought would be ok but it spluttered a lot and well, you can see the result. I've ordered up some more dullcote which should arrive in the next few days, then I'll hopefully be able to fix it with another few layers, if not I'll need to sand her back and start again.

G2 TB resculpt WIP

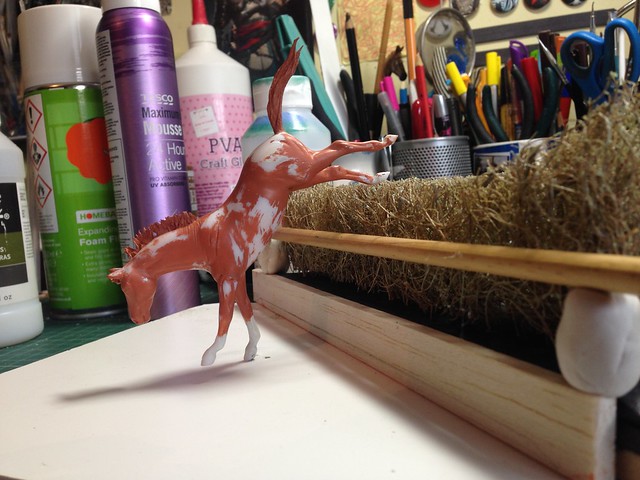
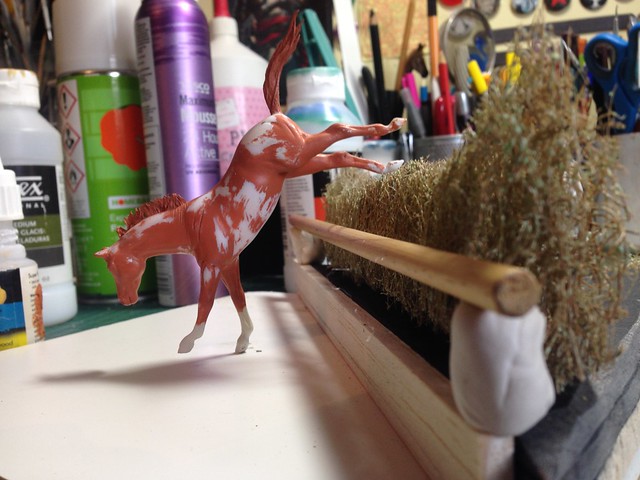
Prior to painting her properly, I set to work on what she'll hopefully be doing as a performance prospect - cross country!

Although I've made a teeny tiny micro mini water complex before, I wanted to try my hand at a proper water jump, and when I saw photos of -this one- at the 2010 Rolex Kentucky course, I knew I just had to make my own interpretation.

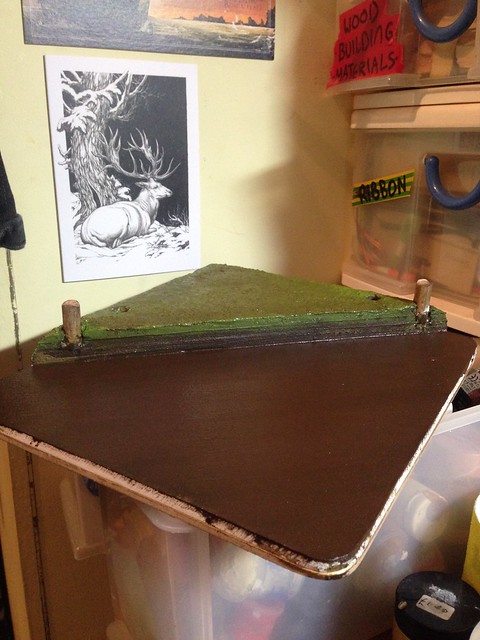
I started off with a cork-based placemat and a thickish piece of foamex for the base, then built up one end for the bank.

Stablemate water jump WIP

With a sanding block 'hedge'

Stablemate water jump WIP

A slightly better mockup with wooden dowelling and a rubberised horsehair hedge.

Stablemate water jump WIP

Stablemate water jump WIP

Stablemate water jump WIP

I roughed up the surface of the bank and 'water' with filler to give a nicer texture...

Stablemate water jump WIP

...then gave everything a first coat of paint.

Stablemate water jump WIP

Whilst I put the hedge together elsewhere, I started to add foliage to  the bank section. I probably should have waited a bit but it looked so empty!

Stablemate water jump WIP

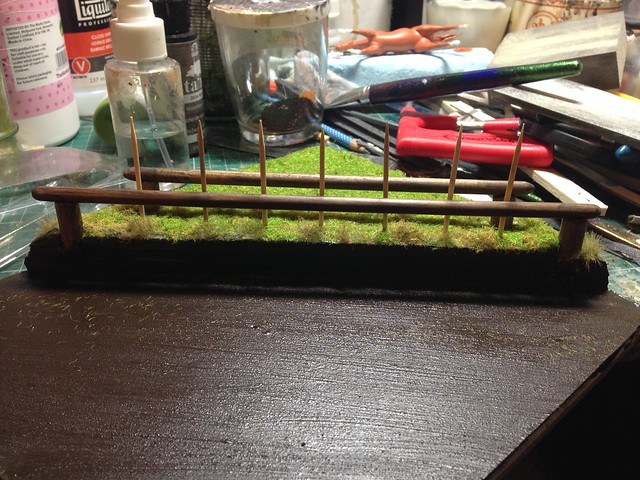
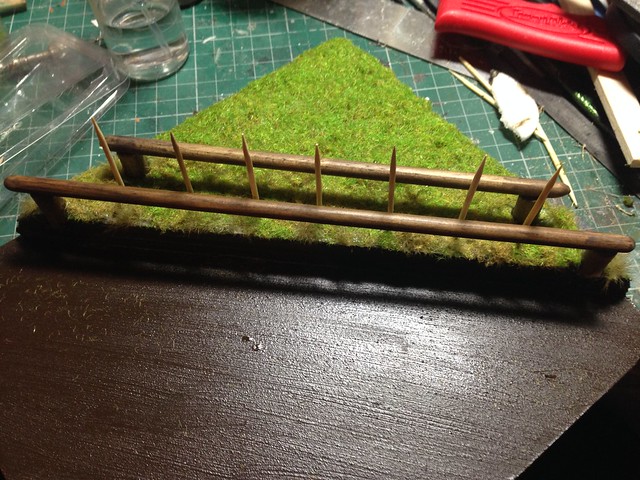
I drilled some holes for the internal supports for the hedge and stuck them into place. I painted them afterwards so they wouldn't be so obvious. The wooden supports were made from pine dowelling and stained and buffed with natural beeswax (which smells amazing by the way, I should have been a carpenter!)

Stablemate water jump WIP

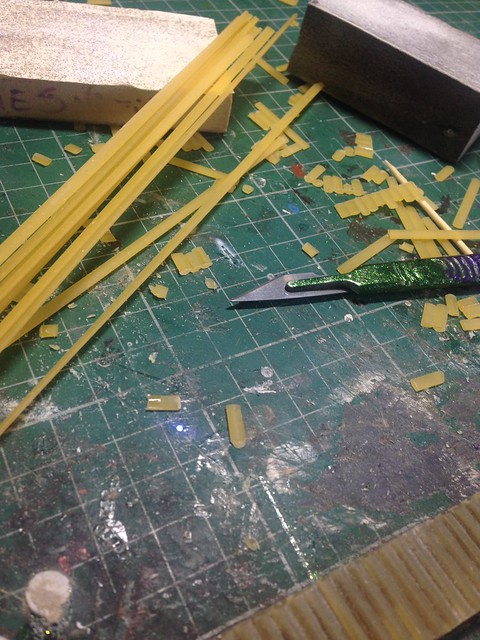
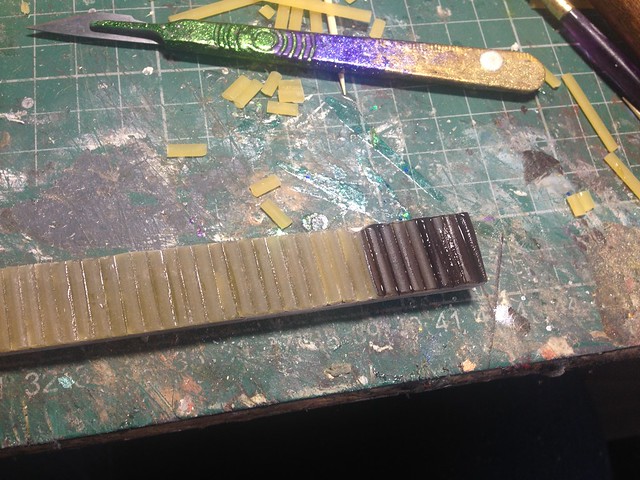
I couldn't find any suitable wooden sticks or thin dowelling in my wood stash for the uprights, but hit upon a cunning solution in the kitchen of all places - pasta!

Stablemate water jump WIP

Well, linguini to be precise.

Stablemate water jump WIP
Who has the shiniest scalpel handles? I doooooo!

Once in situ it really looked the part, as did the hedge once that was in place too.

Stablemate water jump WIP

Stablemate water jump WIP


I'm not quite finished it yet so I'll leave you with a sneak peek of how it looks at the moment...

 Stablemate water jump WIP

Stablemate water jump WIP

 
...and I'll hopefully have an update this week once I've finished it off!


Tuesday, 23 August 2011

ANOTHER Stablemate saddle!

Yup, the tackmaking bug has once again bitten me! XD I rustled this one up in considerably less time than the other one and this time went a bit mad and made a martingale and new bridle too...

Another SM tack set!

Another SM tack set!

Another SM tack set!

The light had gone again so you'll have to put up with yet more terrible artificially lit photos I'm afraid.

Another SM tack set!

Another SM tack set!

I forgot to check if it would fit today but I'm hoping that one of the tack sets will work on the G3 jumping horse so I can do a proper SJ or XC setup for the MHL Live in a fortnight's time. :D

Sunday, 21 August 2011

Stablemate Scale Saddle!

When Anna Kirby of Dreamflite Design mentioned that she was going to do another saddle tutorial, I was one of many people to show a lot of interest in it. I already owned one of her saddles, (made several years ago) and was utterly gobsmacked at how detailed it was. Not only did it have real WORKING buckles but everything looked exactly as it should.

Here it is being modelled by 'EA Turkish Brandy'

EA Turkish Brandy

Anyway, the idea of a tutorial that would allow me to make something similar really appealed to me so you can imagine how chuffed I was when I was asked to be one of the guinea pigs and try out the 'beta version' before it was published for everyone. I got the guide emailed to me last night and used it this afternoon whilst watching two of my favourite series of Blackadder. I didn't have any leather thin enough to cover the back panels but I rather like the contrast the lighter leather has against the black so it's staying like this for now.

There are a few spots of glue and things that need touched up and apologies for the crappy photos - by the time I'd finished it, the light had gone so I was forced to use artifical lighting which I absolutely loathe.

Stablemate Scale Saddle

Stablemate Scale Saddle

Stablemate Scale Saddle

Stablemate Scale Saddle

Stablemate Scale Saddle

Stablemate Scale Saddle

Now that I had a saddle, I thought I may as well do a bridle to match. I and the glue had some arguments, the buckles are too big and the reins too short but it definitely beats my first attempt at 1/32nd scale bridling and vaguely looks the part so I'm happy! XD

Stablemate Scale Bridle

I didn't have any sticky wax so the bit is held in place by a bit of 'Pritt Stik' glue stick! XD

Stablemate Scale Bridle

I'll hopefully be entering this horse and tack combo in a performance class at the MHL live in a couple of weeks and under UK rules, I'd need a rider, so...

Stablemate Scale Saddle

Stablemate Scale Saddle

He's a repainted and slightly resculpted Britains motorcylist I found in the 2nd hand drawer at my local model shop years ago. I always knew he'd come in handy!

Stablemate Scale Saddle

The saddle rose up on the back here which I didn't notice until now so rest assured, it does sit on there properly!

Stablemate Scale Saddle

I'll probably make him a body protector and Brandy a breastcollar or something to go with it...

Stablemate Scale Saddle

So yeah, an afternoon well spent I reckon! MASSIVE thanks to Anna for making such a fantastic tutorial and something tells me it won't be the last time I make use of it! :D

I've still got LOADS of bodies to paint up for the show (for my showstring and sales table alike) and haven't even started working out who I'm taking and putting in each class but this is technically productive action...right? :P