Wednesday 27 January 2016

The wonders of Photoshop...

I think this has to be a record number of nigh simultaneous posts! XD

After their day out in the snow, the gang were left to dry off indoors while I sorted out the photos. 

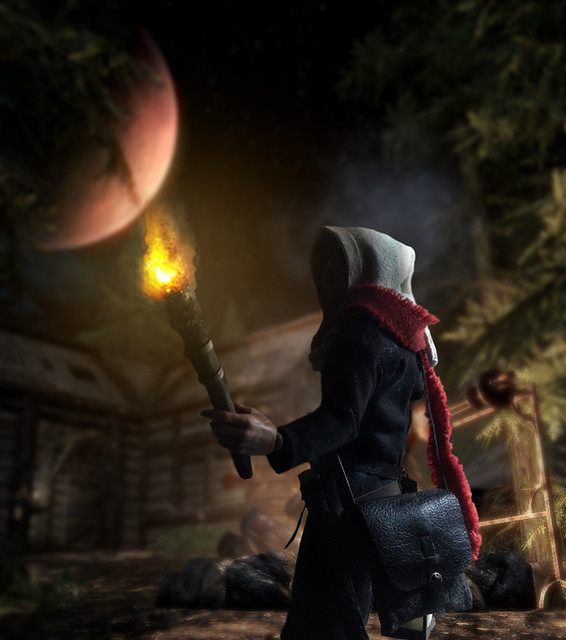
Most were ok, but there were plenty that were spoiled by obviously out of scale objects in the background. Luckily I had planned for this in advance, and had gathered together some of my best screenshots which I could digitally paste the 1/6th scale characters into. Some photos were taken with this in mind, while others I had to hunt through the hundreds (read thousands) of screenshots I've made for a suitable background.

brenn winter14

A Spellsword in the Snow!


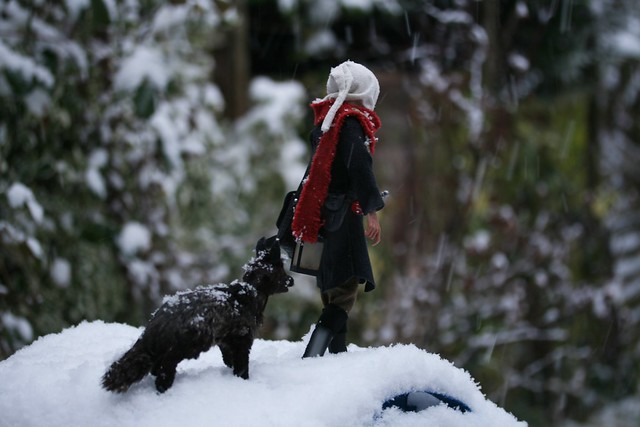
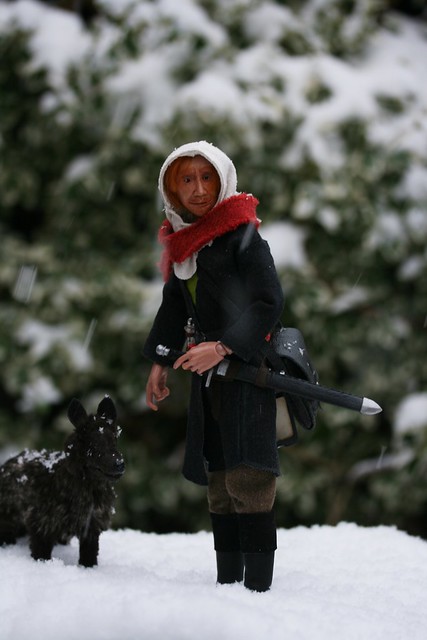
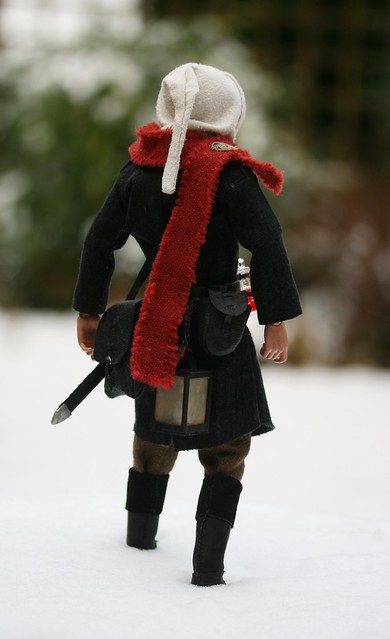
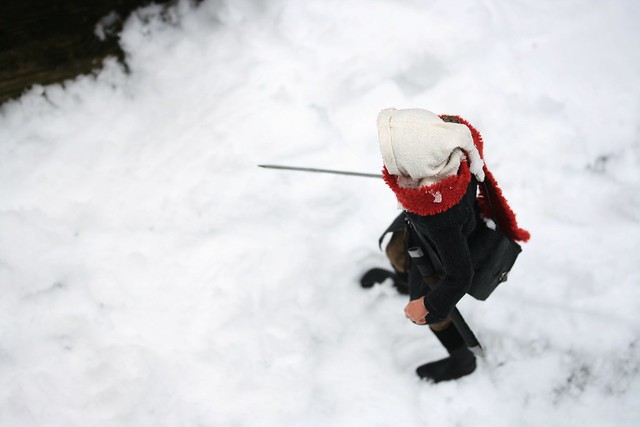
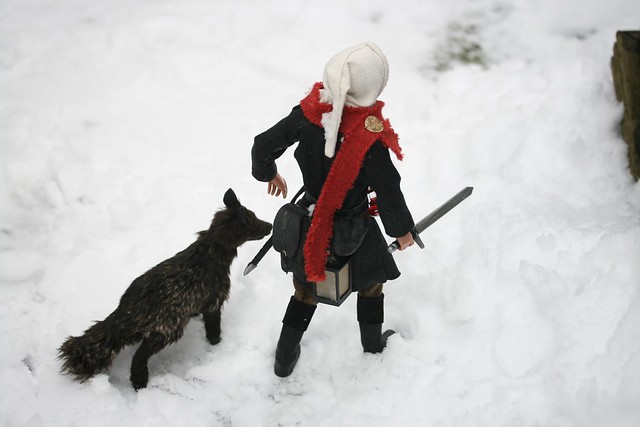
As the title of this post and many of the previous post's images would imply, snow came to town recently. It only lasted a couple of days, but that was more than enough time to take the boys out for a photoshoot.

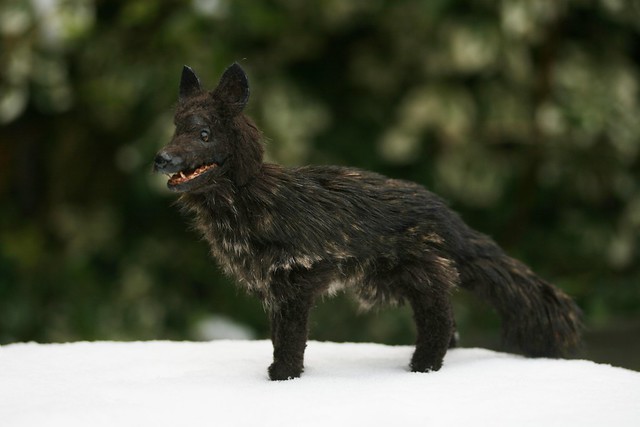
 Jorin


Brenn


Brenn


 Alas, my back garden is terrible for photography as its on a slope and has lots of out of scale features but never mind, it's better than nothing I suppose!
(Most of the following photos were actually taken on top of wheeliebins!)


Brenn


Brenn


Brenn


Brenn


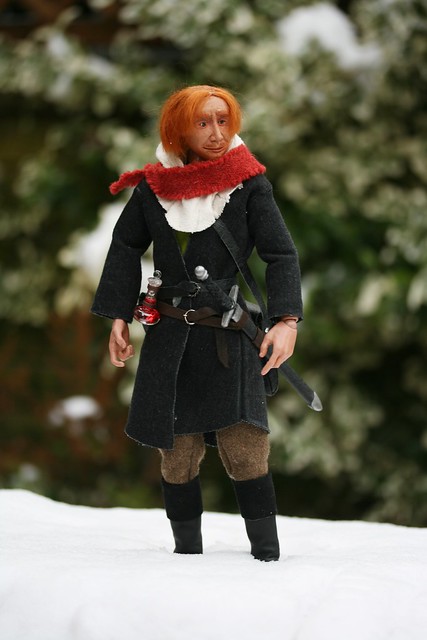
Cold didn't even begin to cover it, and I'm sure Brenn was glad I'd updated his wardrobe for the season. 
(particularly when he took a nosedive several times into a drift)


Brenn


Brenn


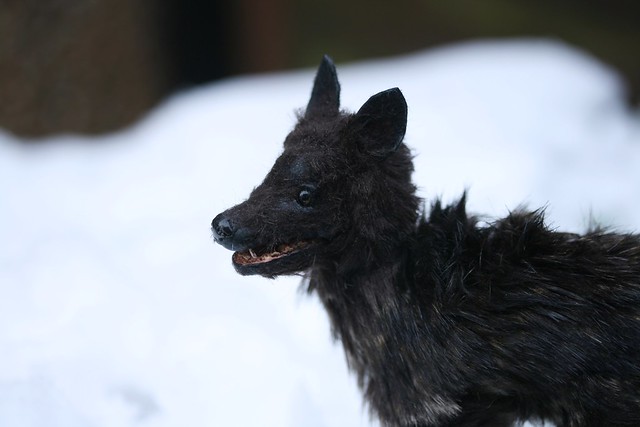
Jorin loved it though,


 Jorin


Jorin


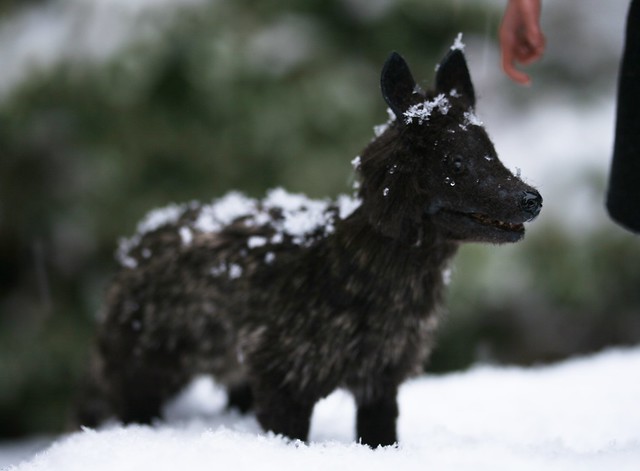
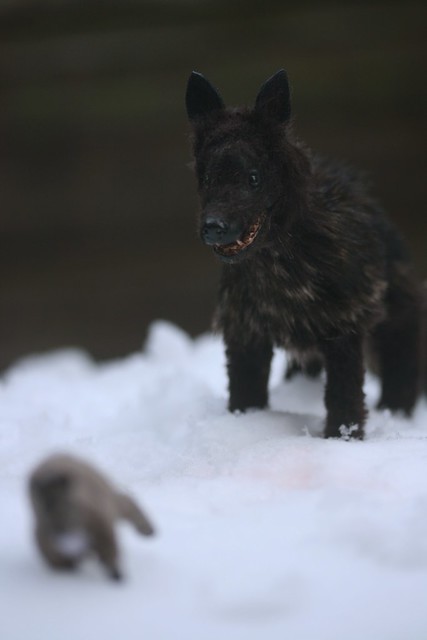
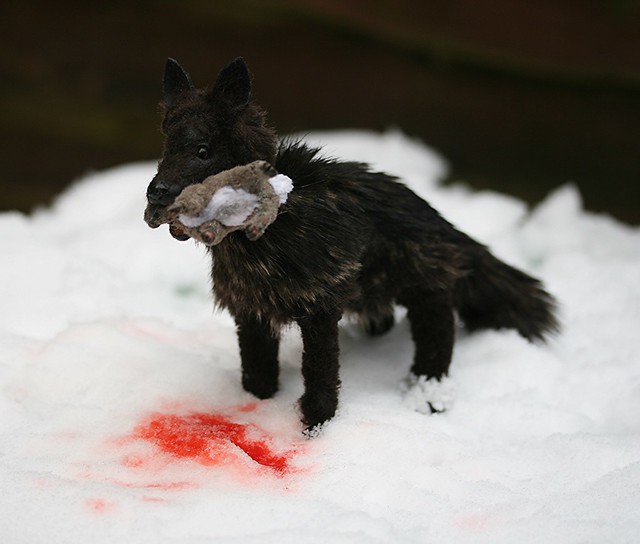
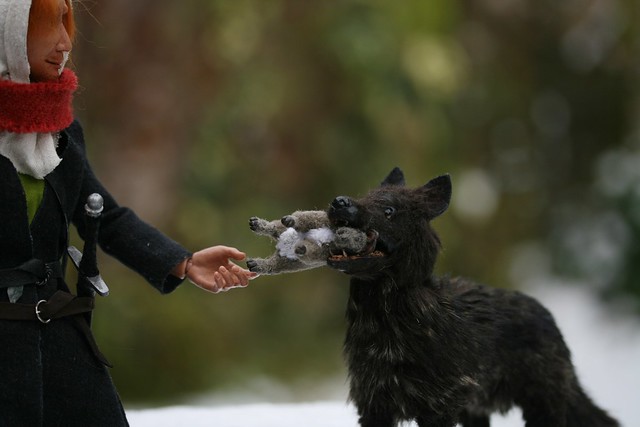
...it made hunting bunnies very easy!*


Jorin


Jorin


*No cuddly bunnies or Brenns were harmed during the making of this blog post.


As it was getting late, they made camp and Brenn set about getting a fire started for their dinner.


Breanaa


Jorin provided the raw materials...


Jorin


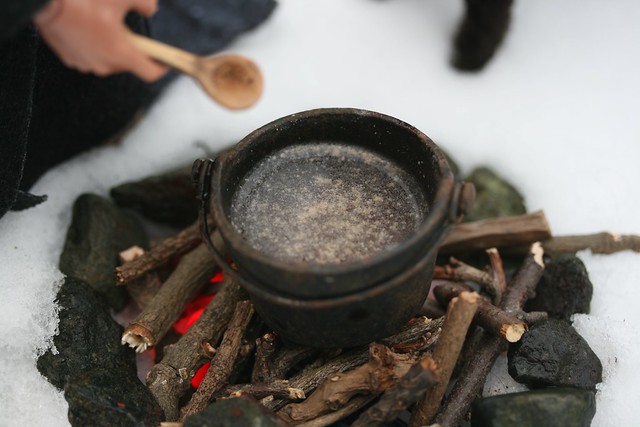
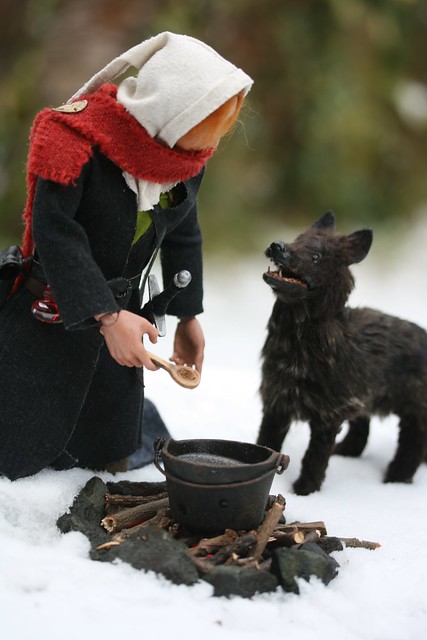
...while Brenn prepared it.


Brenn
The pot was a junk shop find and the stew? Bisto granules ftw!
The glowing embers are some battery powered Christmas LED lights, hidden under the snow!

Brenn
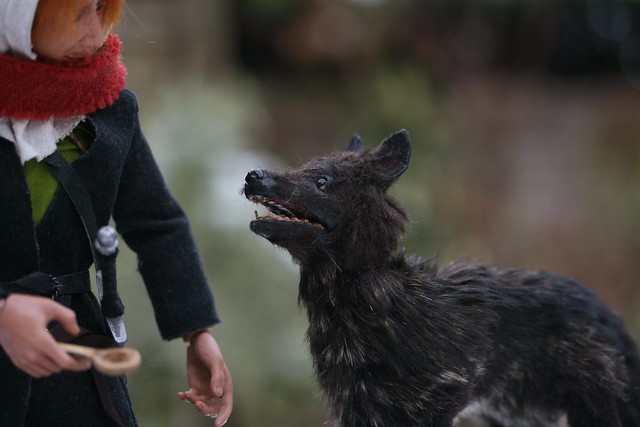
'I can has?'

Jorin
Greedy beggar!


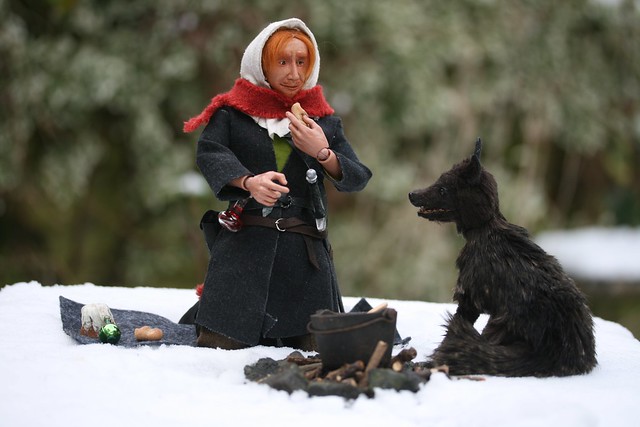
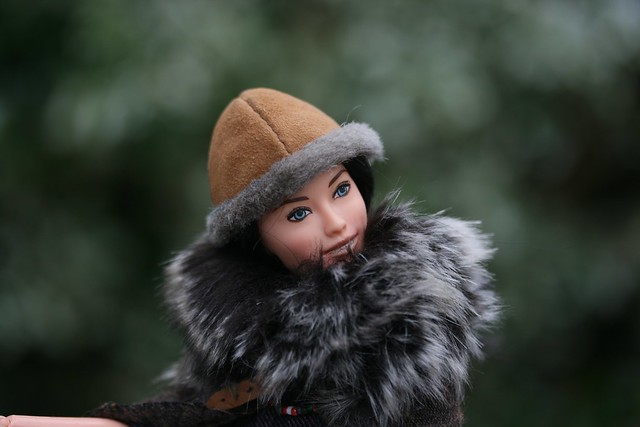
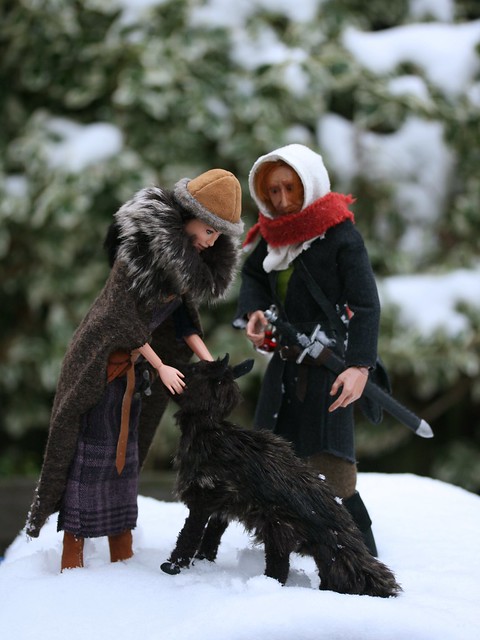
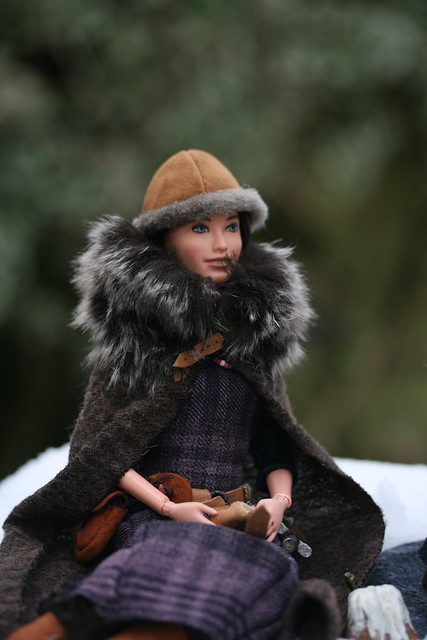
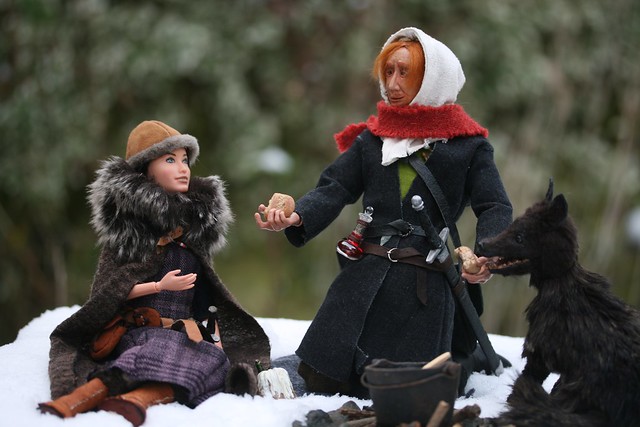
The pair bumped into fellow traveller Breanaa at some point later on.


Breanaa

Breanaa
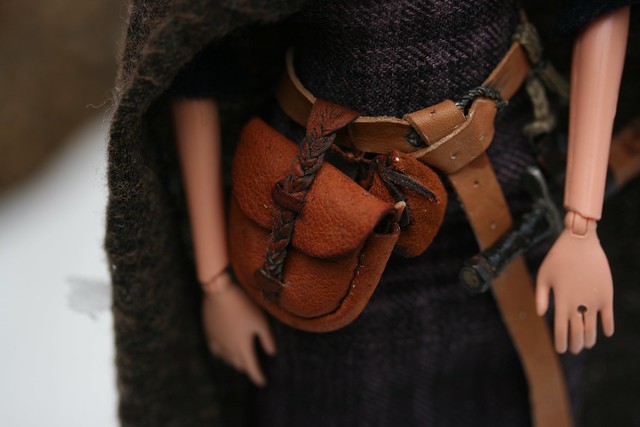
Seeing as I didn't manage to get a photo of her accessories last winter, here they are!


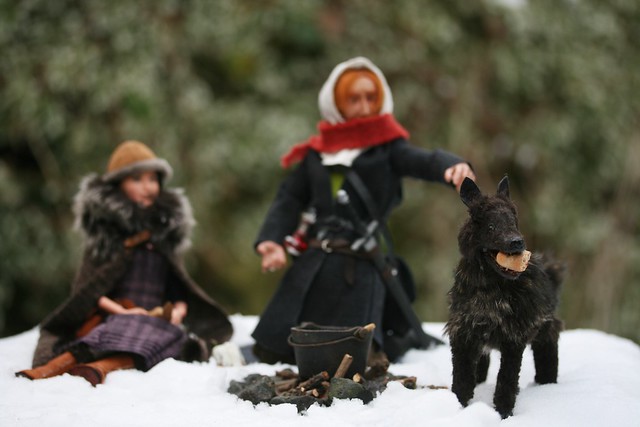
She fell utterly in love with Jorin (sorry Brenn) and joined them for a meal.


Breanaa


Breanaa


Well...


Breanaa


...at least until Jorin ran off with half of it!


Breanaa


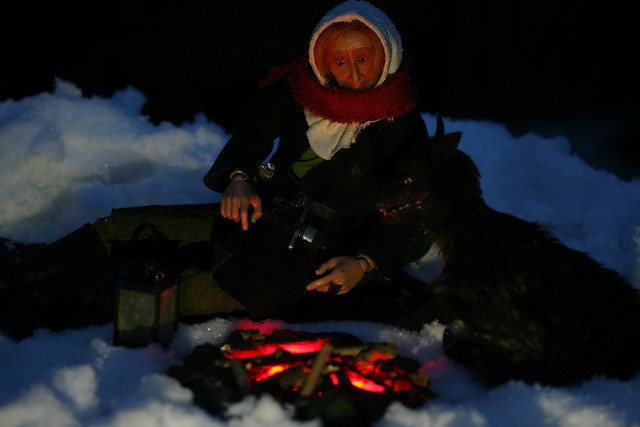
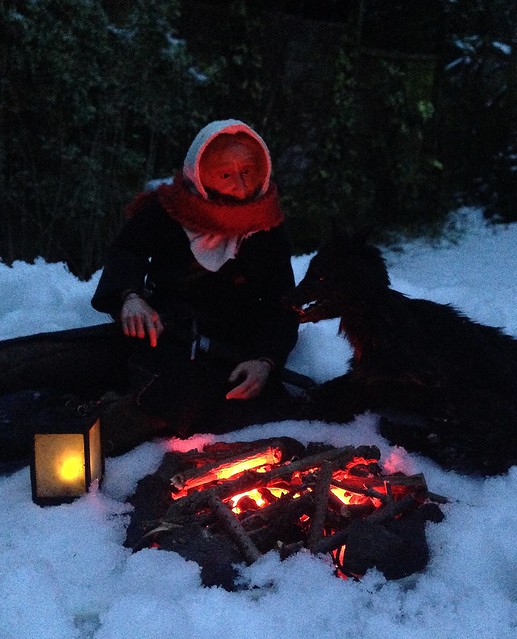
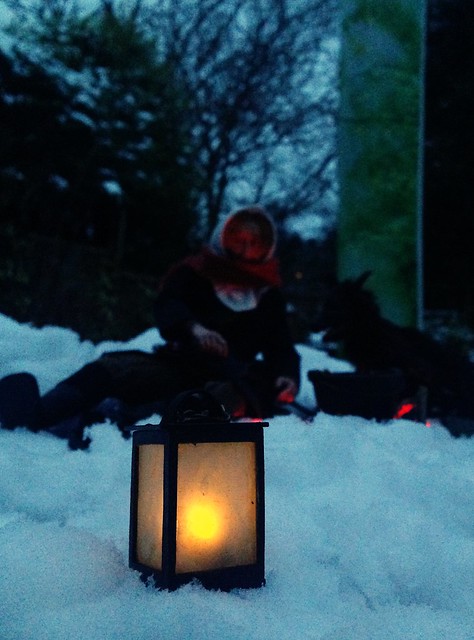
As night fell, they bid their goodbyes and Brenn and Jorin settled down in front of the fire, trying in vain to conjure up some extra warmth from its dying embers.


Brenn


Brenn


Brenn
Just try to pretend that the super obvious washing line cover is in fact...a tree. >.<


I'll have yet another post up after this with a couple of photoshopped photos because they looked miles better than these ones, but I'll leave you with this important announcement.


SAFETY WARNING FOR SNOW.


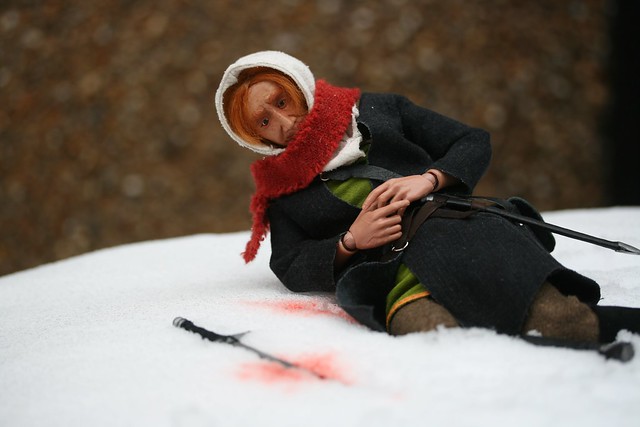
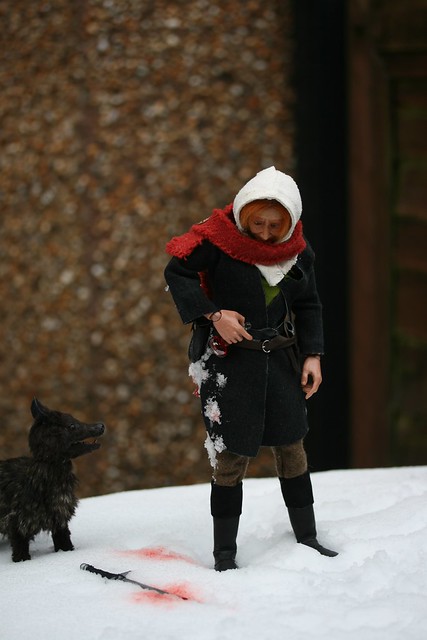
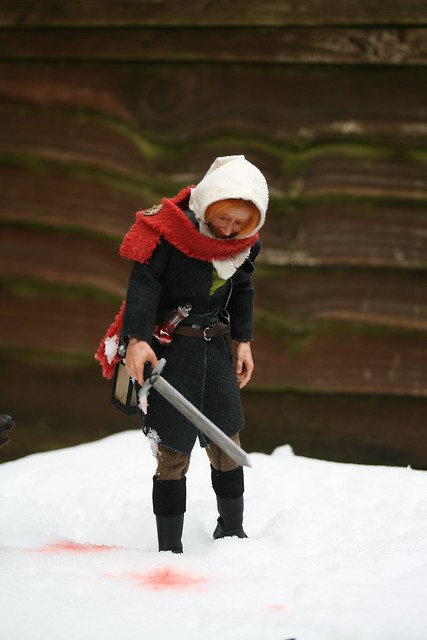
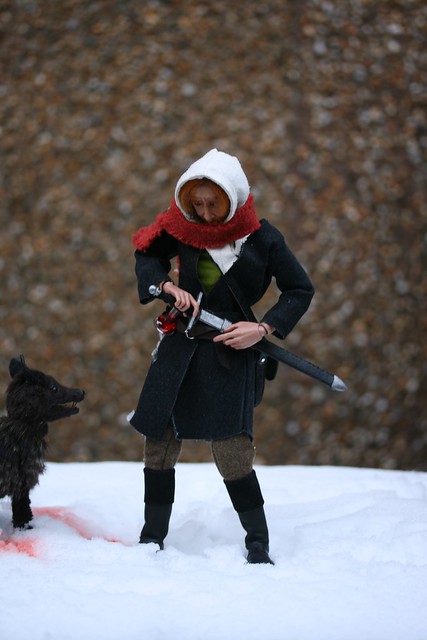
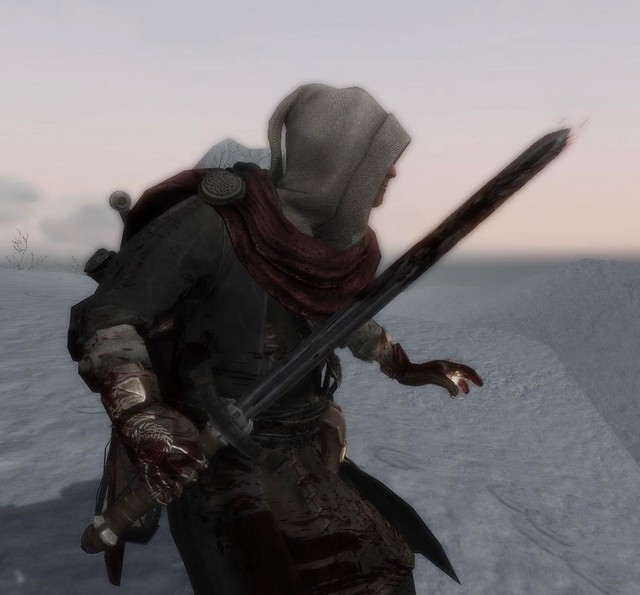
When trekking across the frozen wastes of northern Skyrim, do be careful and try to avoid slipping and falling on your own sword.


Brenn

Brenn
This is why health potions were invented, folks!


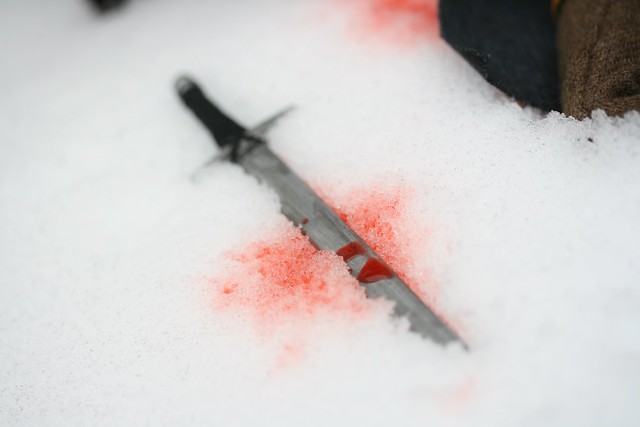
It's not fun for anyone and you get your blade in a terrible state.


Brenn


BrennBrenn

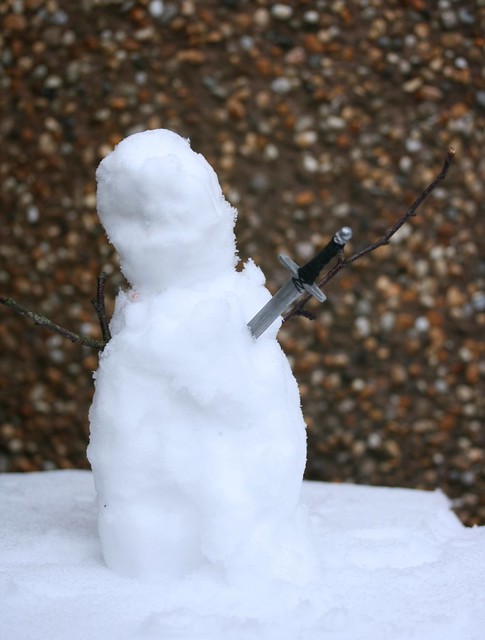
Remember adventurers, swords go in other people's bodies!


Brenn


XD


Let there be light(s)!

Contuining on from my last post as it was getting long, I've been having great fun coming up with things for my Skyrim crew, and especially Brenn.

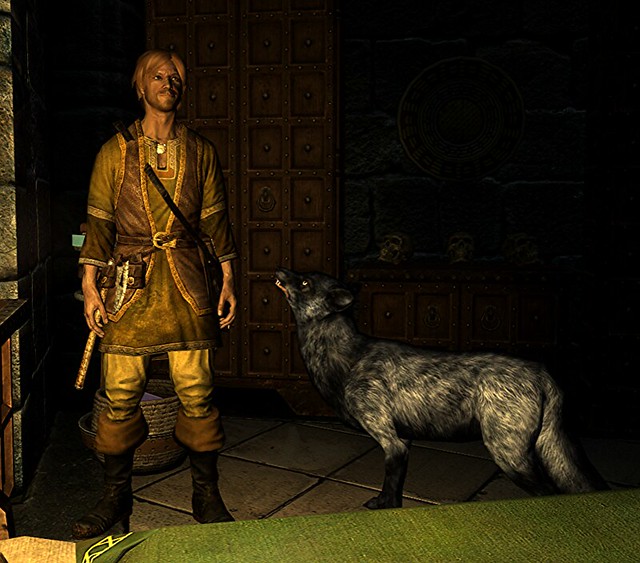
While he tends to model his yellow-green tunic when indoors and in warmer climes...

Brenn

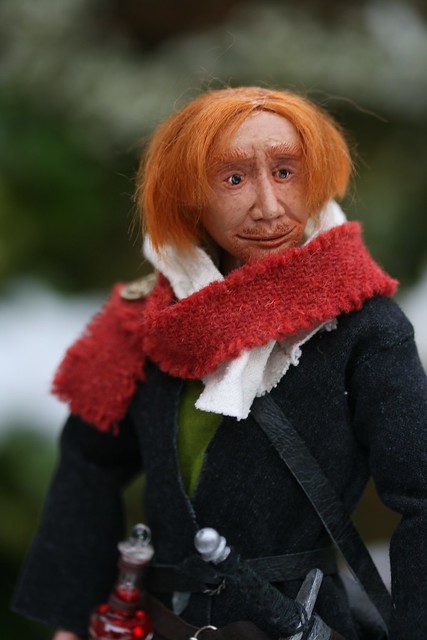
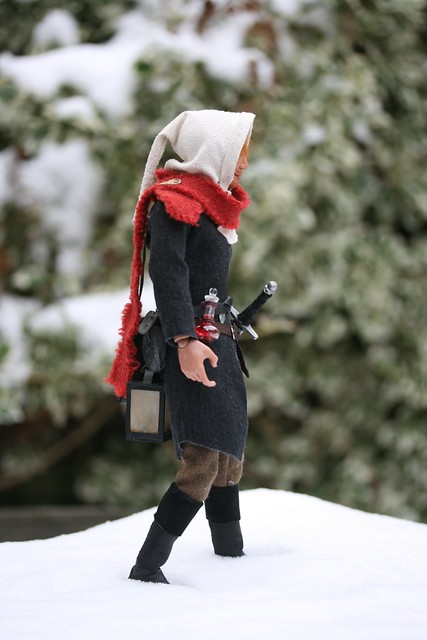
...when out and about in the colder regions, he favours this look, with strong and durable coat, a chunky knitted scarf and a sturdy hood with liripipe.

Brenn

 I couldn't resist, I just had to make my own version. XD

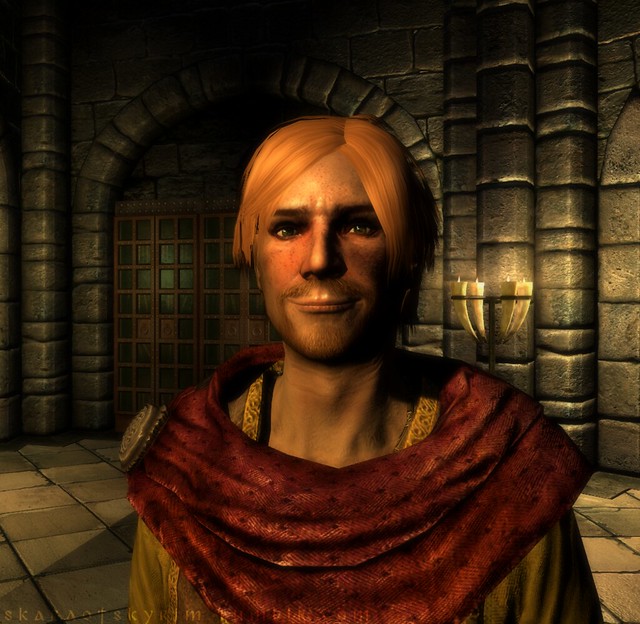
Brenn the Spellsword and his foxy friend!

Another post I've been meaning to share for months, this one introduces another of my motley cast of Skyrim characters. He's one of my favourites to play with, and I've had great fun coming up with his backstory and personality as I've gone along.

 Brenn

Tuesday 26 January 2016

A tree-mendous tutorial!

Ok, ok, I'll keep the tree related puns to a minimum. XD

I've had this little artificial pine tree in my collection for many years. It was originally a doll's house Christmas tree and came with working lights and, if I remember correctly, perfectly in scale tinsel. Over the years it's been adapted and tweaked, decorated and stripped bare for various photoshoots with my models until recently, when I realised I needed more as it was really quite small and obviously wasn't much use for the heavily forested scenes I wanted to create.

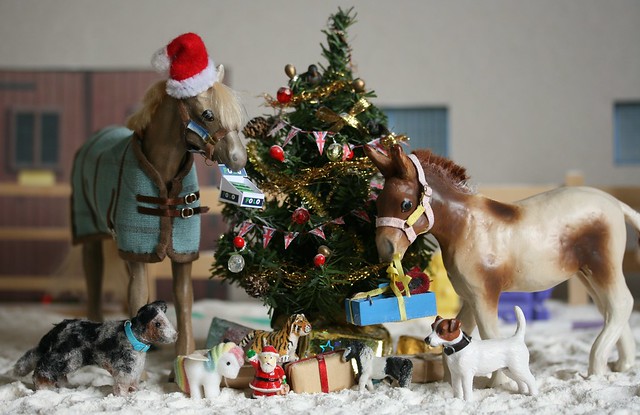
Christmas Presents

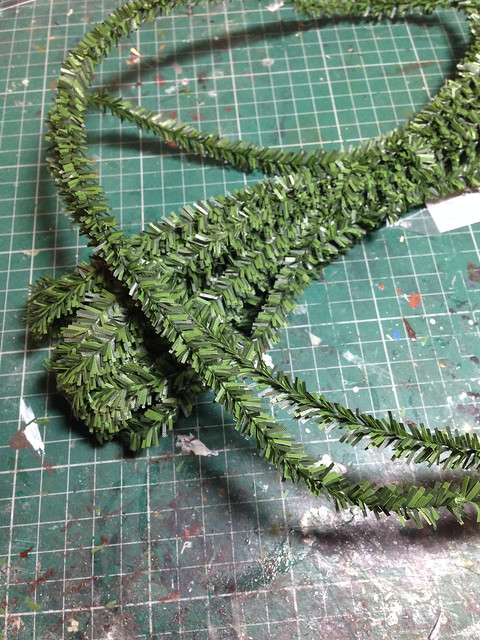
I found a tutorial for making pipecleaner trees on pinterest, and adapted it for some wired Christmas wreath material we'd had knocking around in a cupboard from years before.

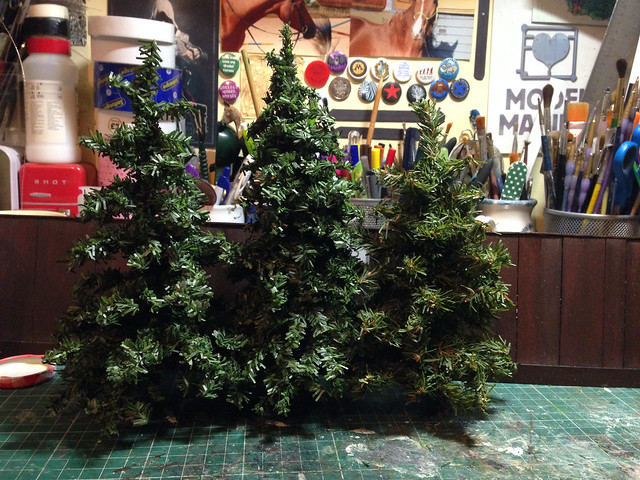
The resulting tree, seen here on the left, I felt was pretty good, but unfortunately I'd used up all the wire and was quite unable to find more as I didn't even know what to call the stuff!

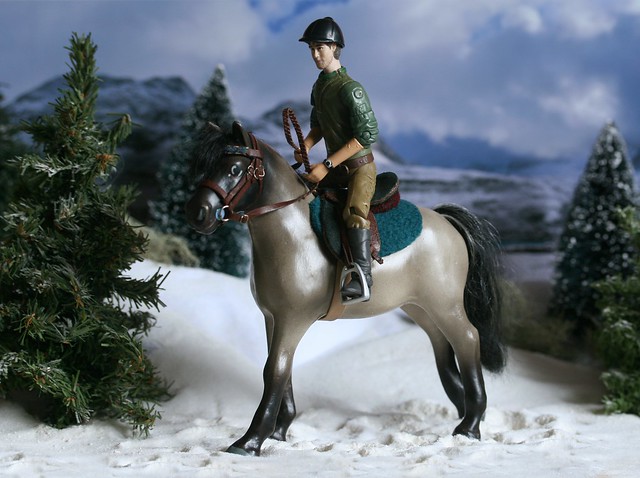
Winter Ride

This year I managed to find some more, albeit in a slightly different colour, and thought I'd illustrate the process as best as I can for anyone who fancies making their own.


Tree tutorial

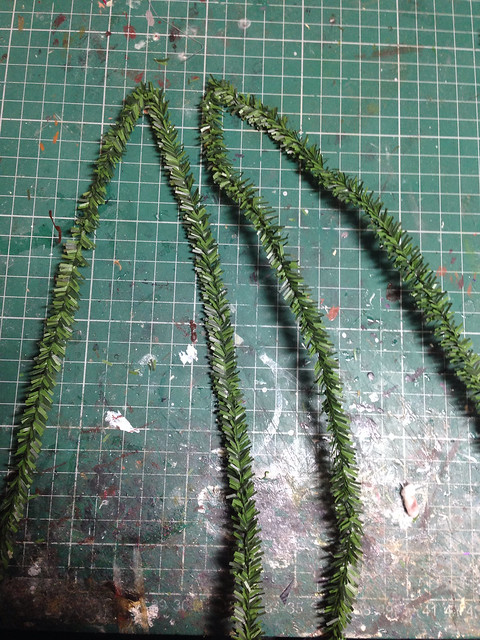
The first step is to take two lengths of wire, twice as long as you'd like the height of the tree to be and fold them over down the middle. These will make up the trunk and will hold all the branches together.

Tree tutorial

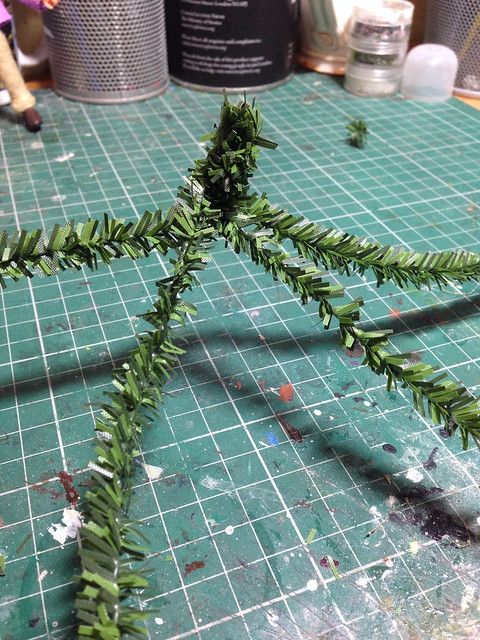
Hook each folded section over the other and twist together until you get one solid trunk, with four 'arms' emerging from the centre. This is now the bottom of your tree.

Tree tutorial

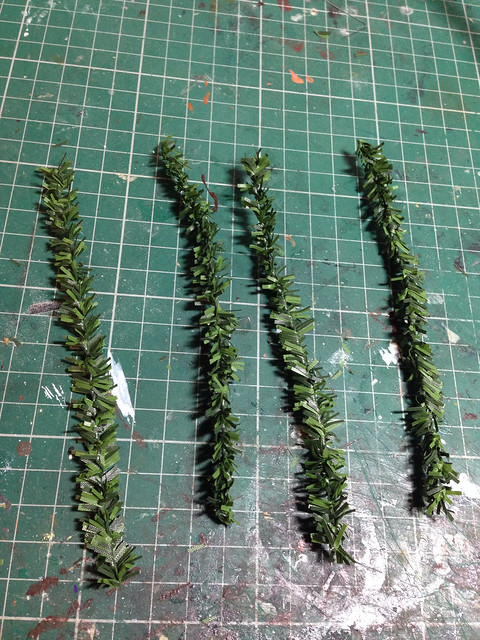
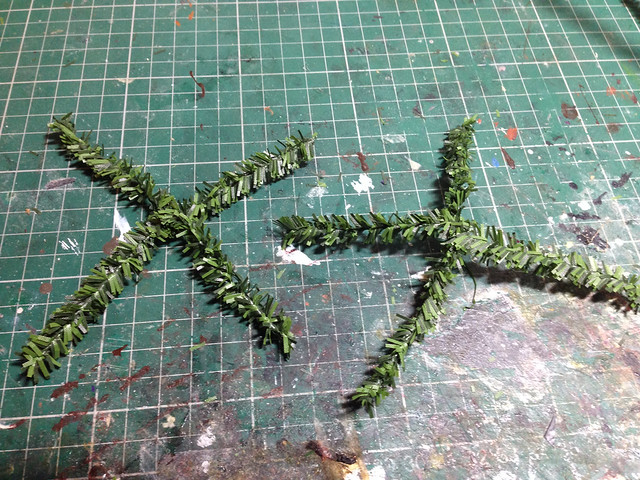
Now for the bottom layer of branches. You'll need four lengths of wire, as long as you'd like the base to be wide, if that makes sense.

Tree tutorial


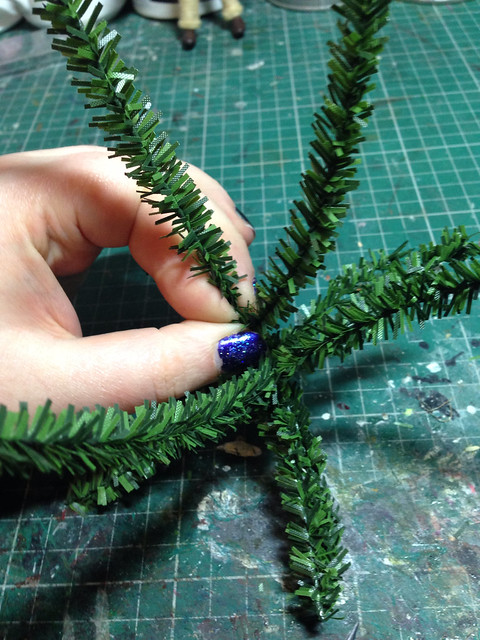
Twist two together, forming crosses, then place one on top of the other, so that the branches are evenly spaced in a star.

Tree tutorial

Tree tutorial

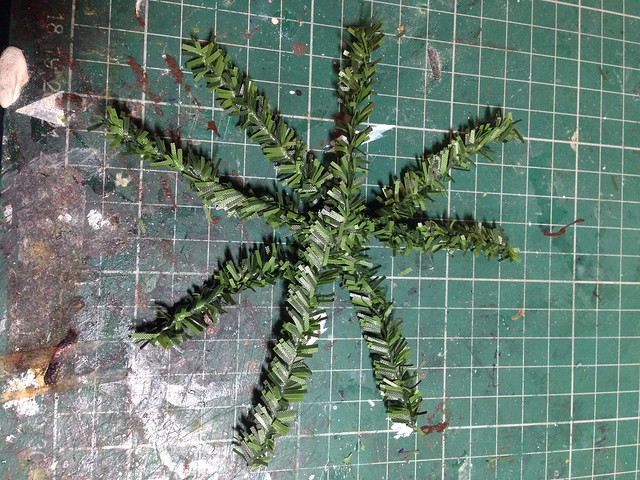
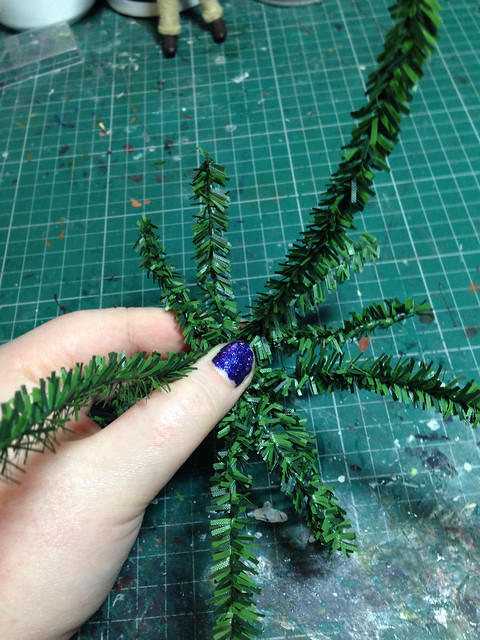
Now place this 'star' on top of your trunk, with two branches between each arm and twist the arms around them as close to the centre as possible. This part is really hard to describe, apologies!
Tree tutorial
This shows the two branches at the back in between the longer arms of the trunk.

Tree tutorial
Twisty turny!

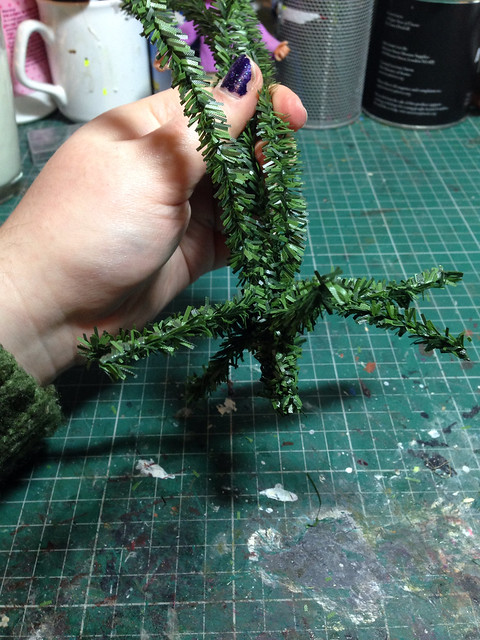
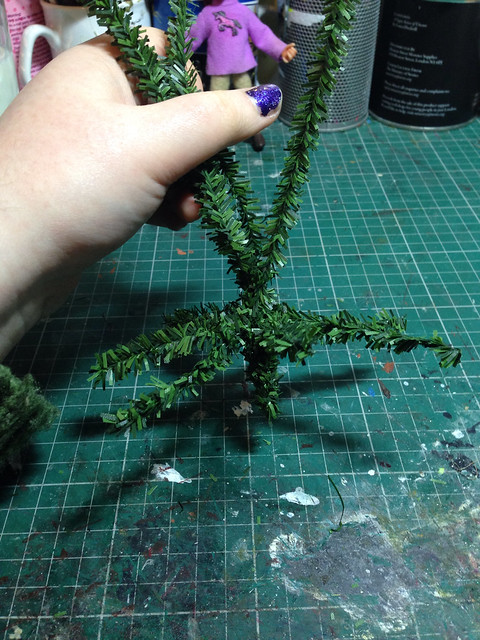
Once you've twisted the arms around the branches, do the same for the neighbouring arms until you have another section of trunk above the layer of branches.

Tree tutorial

Tree tutorial


Now rinse and repeat for the rest of the tree!

Tree tutorial

Tree tutorial

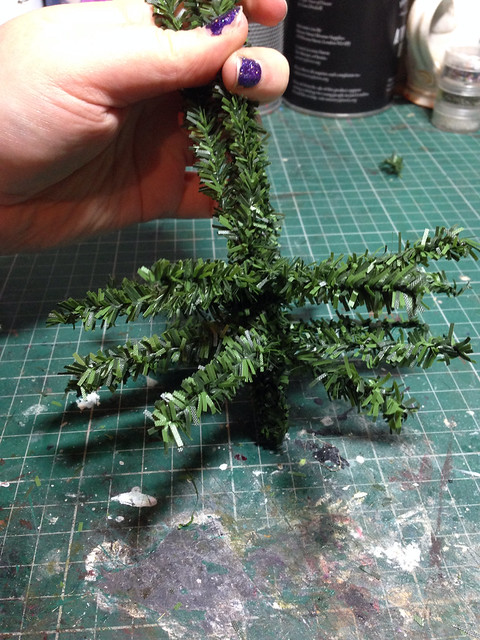
I made each successive layer of branches narrower, but you could just as easily keep everything the same width and trim to size afterwards if you like. The first method wastes less material though.

Tree tutorial

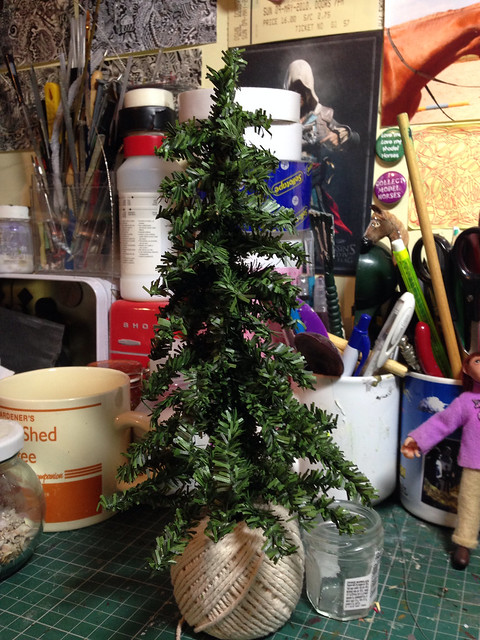
With the trunk merely stopping at the bottom, it doesn't stand up on its own without help, but you could easily splay out the base at the start like roots, or sink it into a base or other form of support.

Tree tutorial

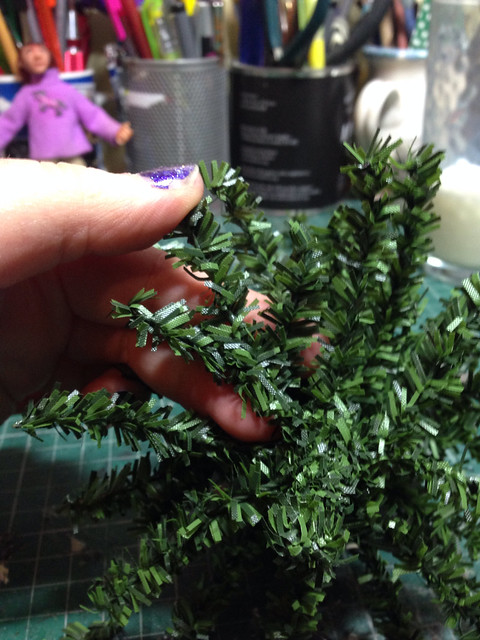
Varying the number of layers and how close together they are really changes the feel of each tree, allowing for a huge amount of customisation. 

I haven't bought from any of these retailers myself yet so I can't recommend them either way but seeing as it took me so long to find the material in the first place I thought I'd give you all a head start!

Anyway, I hope this comes in handy for someone - I meant to post it just after Christmas but you know what I'm like when it comes to posting things at the most inopportune moments. XD