
Ok, ok, I'll keep the tree related puns to a minimum. XD
I've had this little artificial pine tree in my collection for many years. It was originally a doll's house Christmas tree and came with working lights and, if I remember correctly, perfectly in scale tinsel. Over the years it's been adapted and tweaked, decorated and stripped bare for various photoshoots with my models until recently, when I realised I needed more as it was really quite small and obviously wasn't much use for the heavily forested scenes I wanted to create.

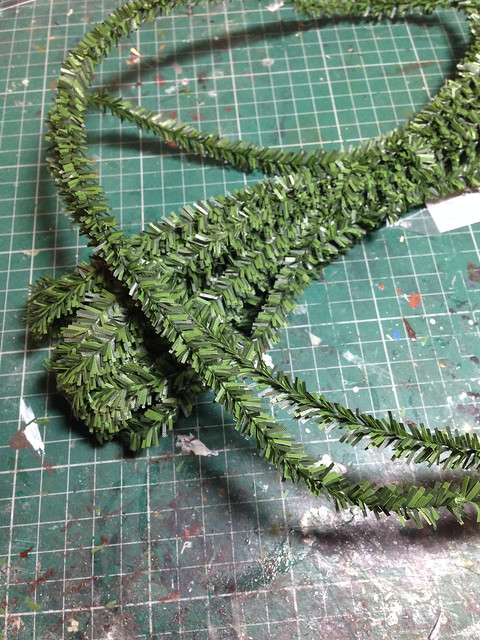
I found a tutorial for making pipecleaner trees on pinterest, and adapted it for some wired Christmas wreath material we'd had knocking around in a cupboard from years before.
The resulting tree, seen here on the left, I felt was pretty good, but unfortunately I'd used up all the wire and was quite unable to find more as I didn't even know what to call the stuff!

This year I managed to find some more, albeit in a slightly different colour, and thought I'd illustrate the process as best as I can for anyone who fancies making their own.
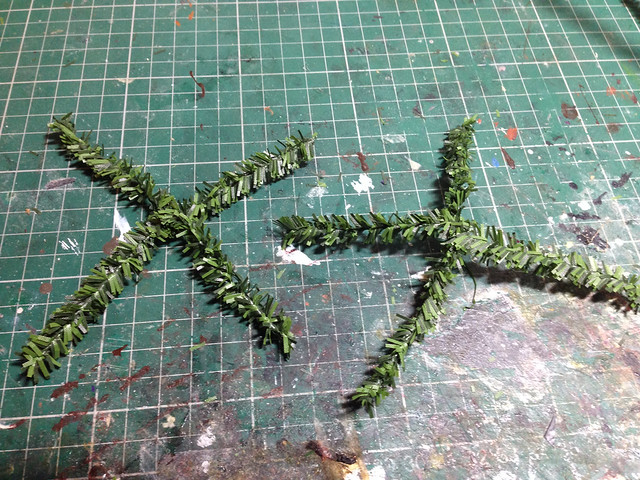
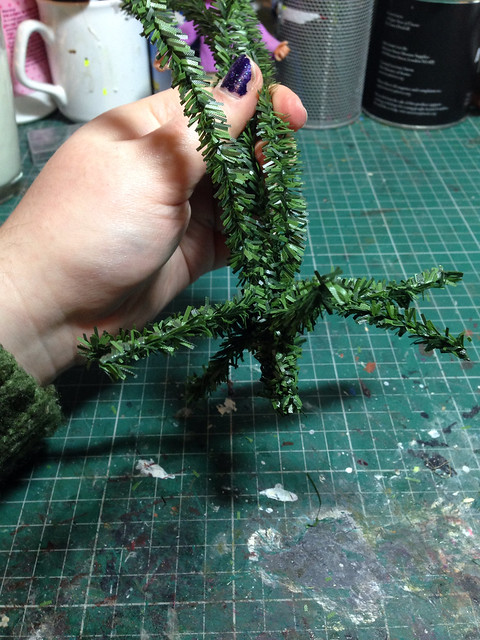
The first step is to take two lengths of wire, twice as long as you'd like the height of the tree to be and fold them over down the middle. These will make up the trunk and will hold all the branches together.
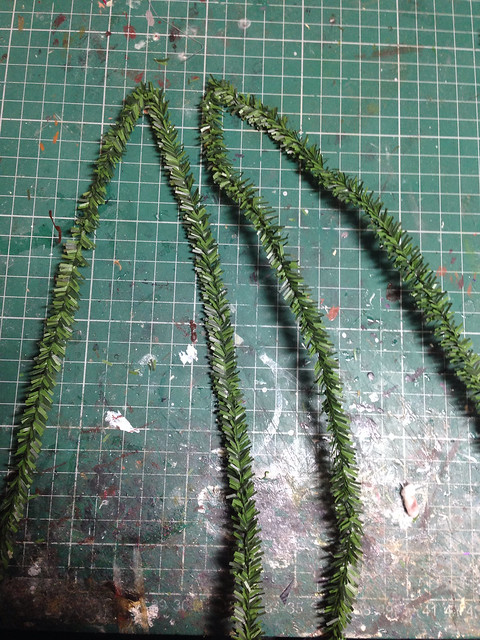
Hook each folded section over the other and twist together until you get one solid trunk, with four 'arms' emerging from the centre. This is now the bottom of your tree.
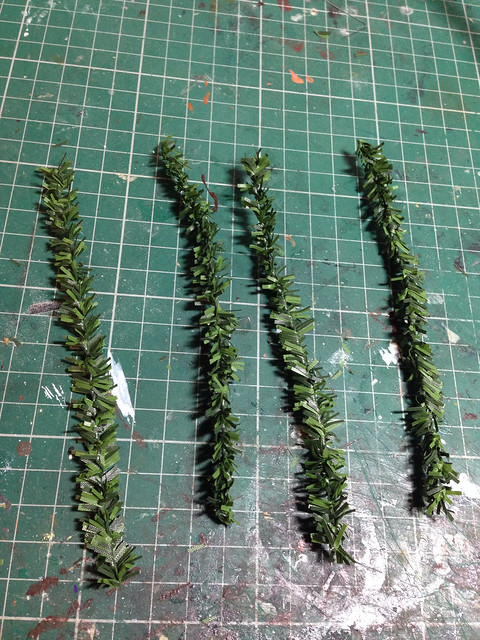
Now for the bottom layer of branches. You'll need four lengths of wire, as long as you'd like the base to be wide, if that makes sense.
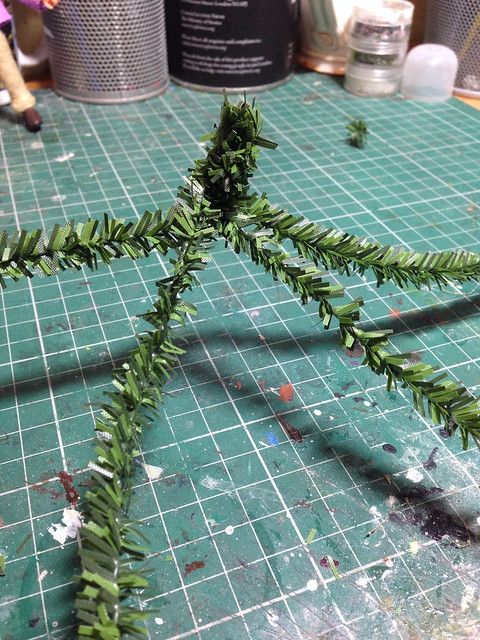
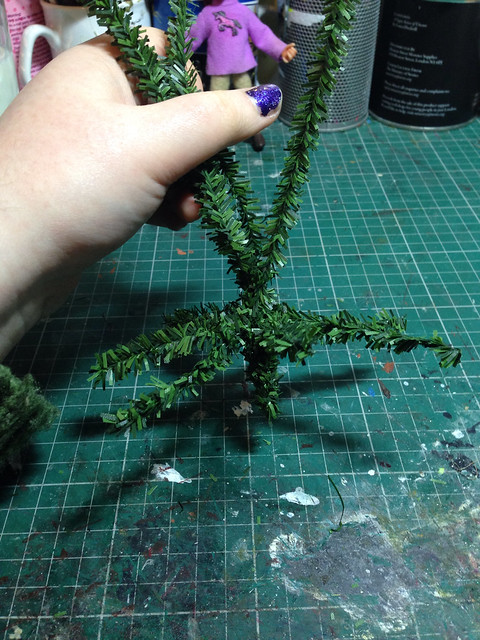
Twist two together, forming crosses, then place one on top of the other, so that the branches are evenly spaced in a star.
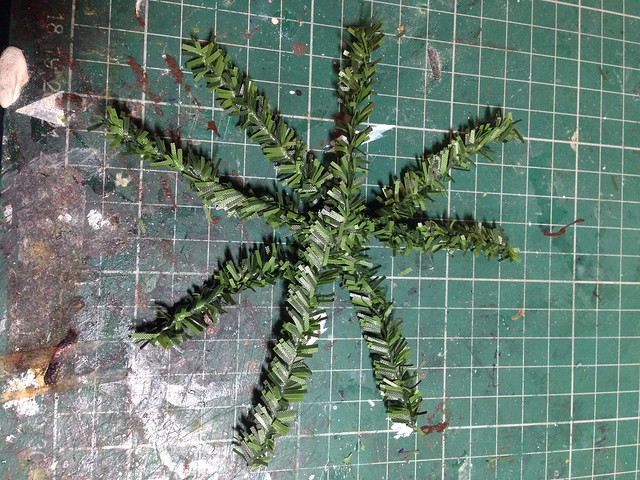
Now place this 'star' on top of your trunk, with two branches between each arm and twist the arms around them as close to the centre as possible. This part is really hard to describe, apologies!
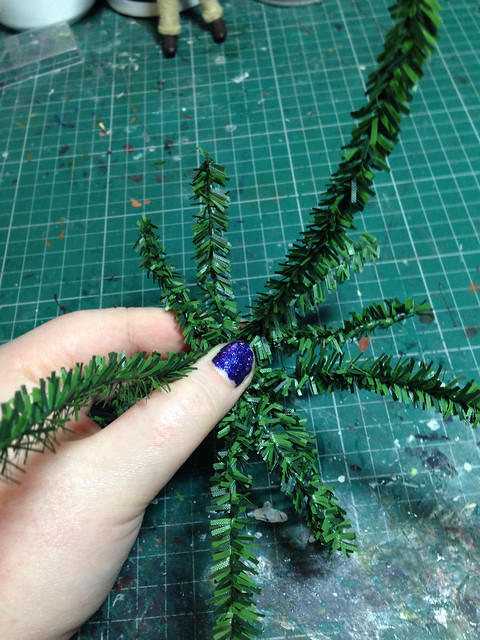 |
| This shows the two branches at the back in between the longer arms of the trunk. |
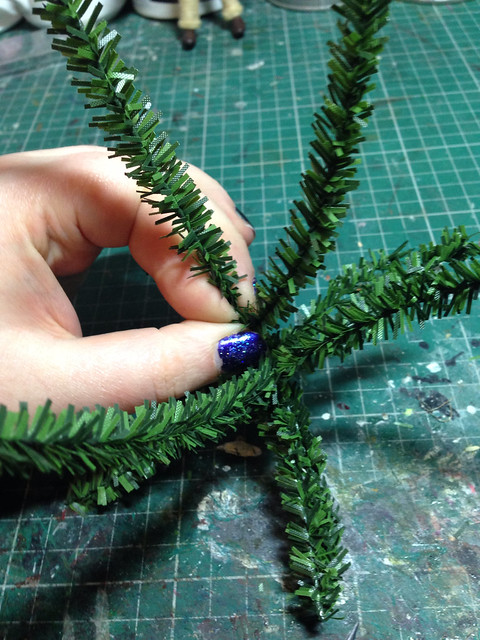 |
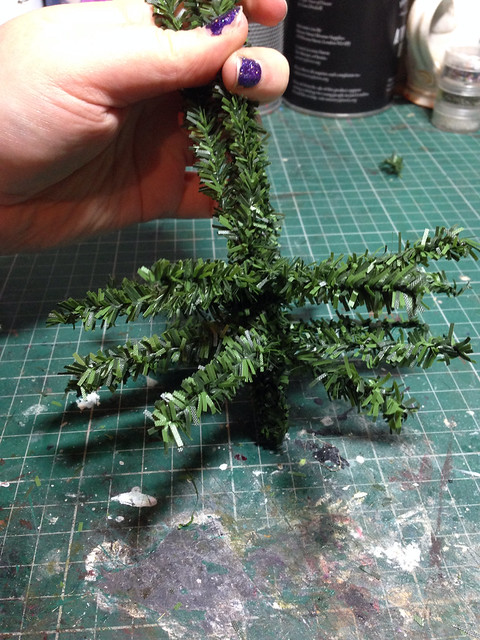
| Twisty turny! |
Once you've twisted the arms around the branches, do the same for the neighbouring arms until you have another section of trunk above the layer of branches.
Now rinse and repeat for the rest of the tree!
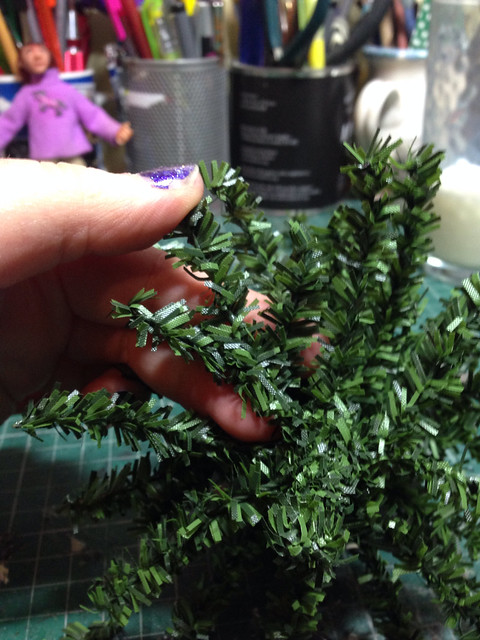
I made each successive layer of branches narrower, but you could just as easily keep everything the same width and trim to size afterwards if you like. The first method wastes less material though.
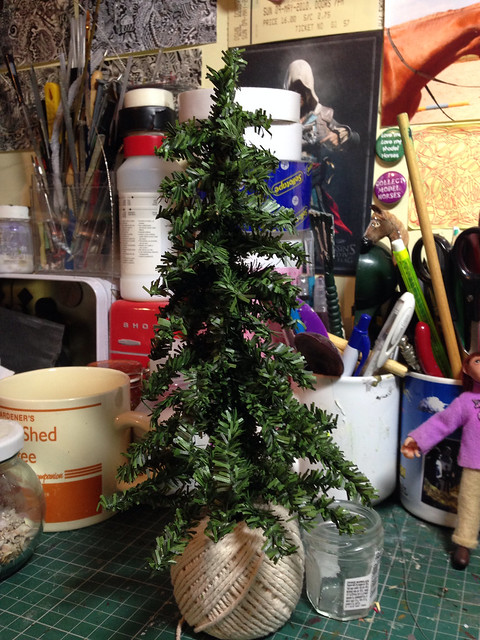
With the trunk merely stopping at the bottom, it doesn't stand up on its own without help, but you could easily splay out the base at the start like roots, or sink it into a base or other form of support.
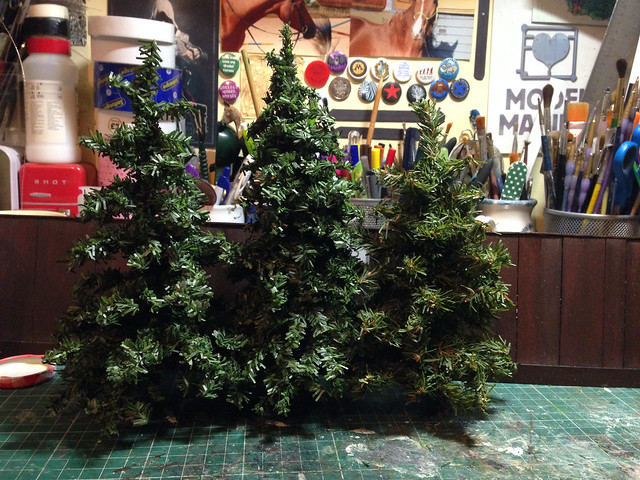
Varying the number of layers and how close together they are really changes the feel of each tree, allowing for a huge amount of customisation.
I haven't bought from any of these retailers myself yet so I can't recommend them either way but seeing as it took me so long to find the material in the first place I thought I'd give you all a head start!
Anyway, I hope this comes in handy for someone - I meant to post it just after Christmas but you know what I'm like when it comes to posting things at the most inopportune moments. XD
Outstanding! Thank you!
ReplyDelete