Showing posts with label model horse diorama. Show all posts

Sunday, 14 February 2021

The teeniest of teeny tiny stables.

I meant to post this weeks ago but you know what I'm like so better late than never. XD

I'd had so much fun with the Bridle Tree Barn-Raising challenge that I didn't want to stop, but I was totally out of space for any more stables. Well, there's an exception to every rule and mine was definitely that small things don't count.


Monday, 30 May 2016

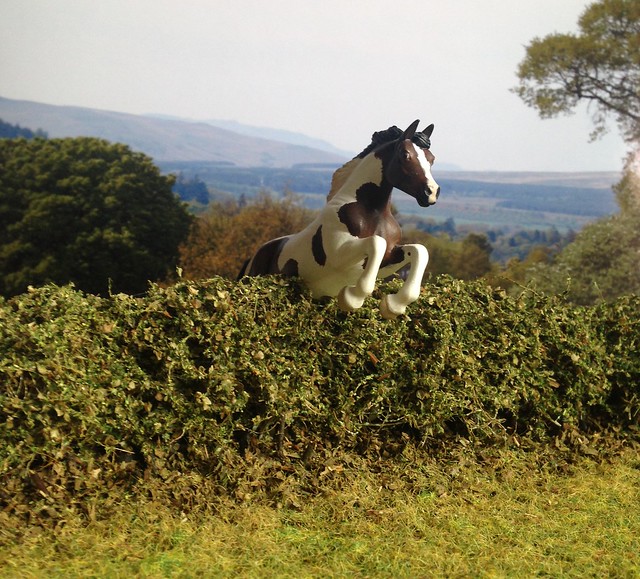
Jump to it!

Continuing on from my previous post...

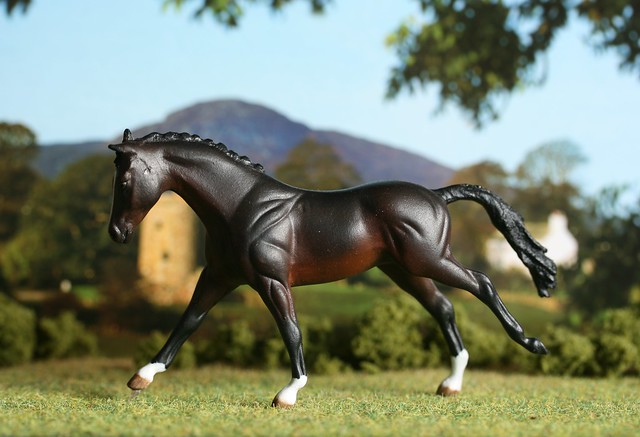
After the success of my G2 TB resculpt, Eclipse...

EA Eclipse

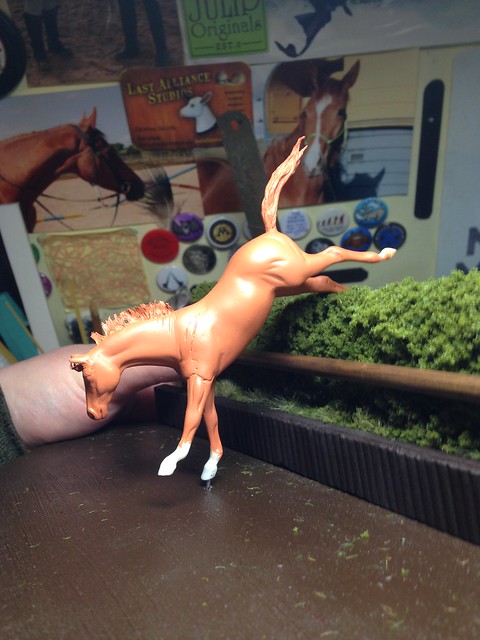
...I really fancied attempting another custom I'd been wanting to do on that mould for years - a landing horse.

Showjumping Talentseekers

I know, right, not the easiest thing in the world to do!

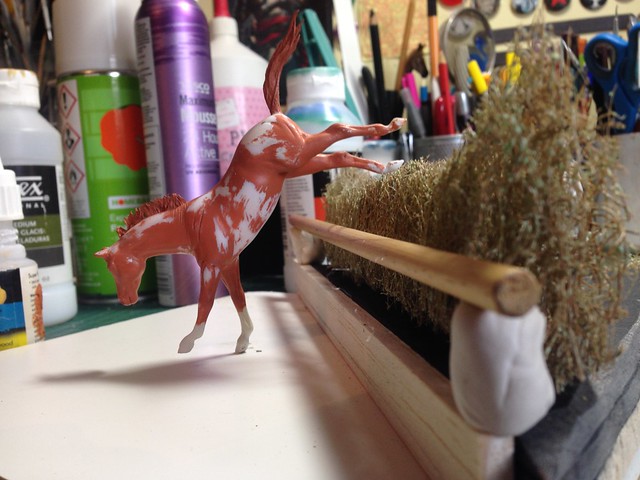
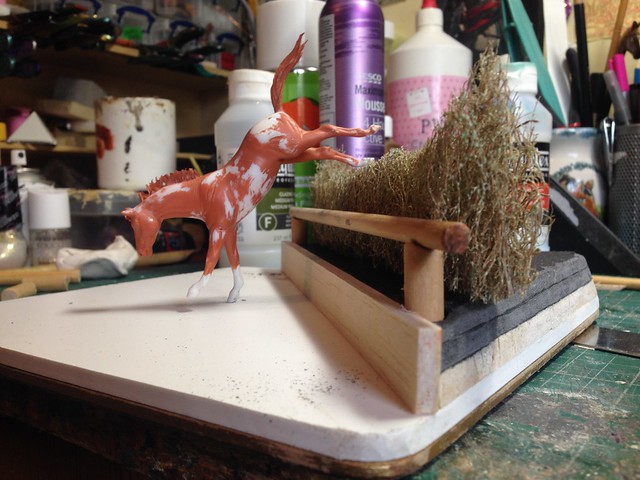
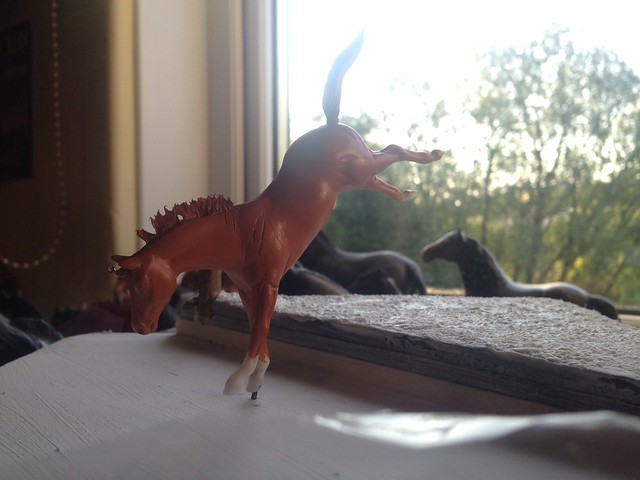
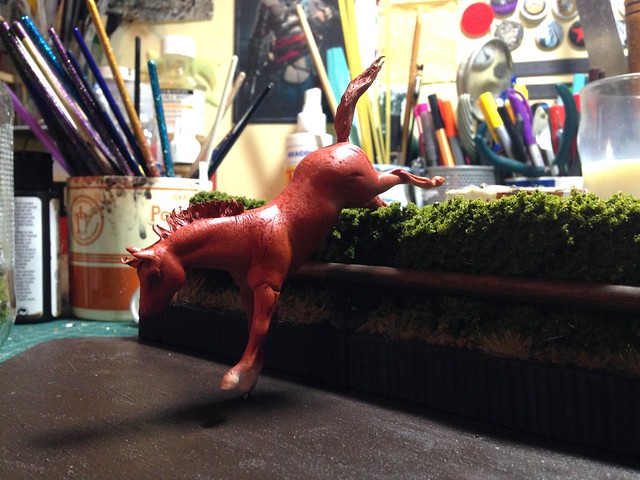
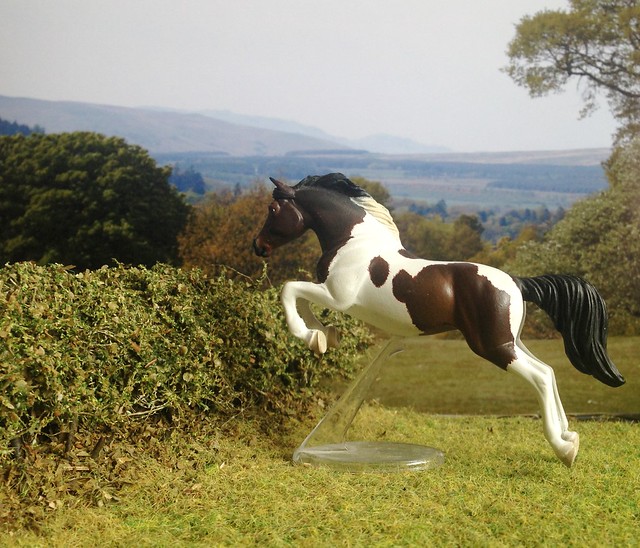
I knew I wanted it to stand on only one leg, through a wire onto a base (and let's be honest here, I really wanted to make multiple dioramas more than anything else!) in this kind of pose, with the other foreleg thrown out ready to touch down.

Showjumping Talentseekers

The sculpt as it was was fairly close to that kind of pose, so it didn't take much to remove one foreleg and reset it. I did all the resculpting with superglue and bicarbonate of soda rather than epoxy - more because I'm incredibly impatient sometimes and wanted to get as much done in one day, and also because I really hate using epoxy. It gets everywhere and just eurgh.

I wanted to tweak the hind legs more but I think I'll leave that for another future custom.
Anyway, I redid her mane and tail with glued thread which is definitely my new favourite way of doing hair as you can get some really nice natural poses I'd really struggle to capture with clay.

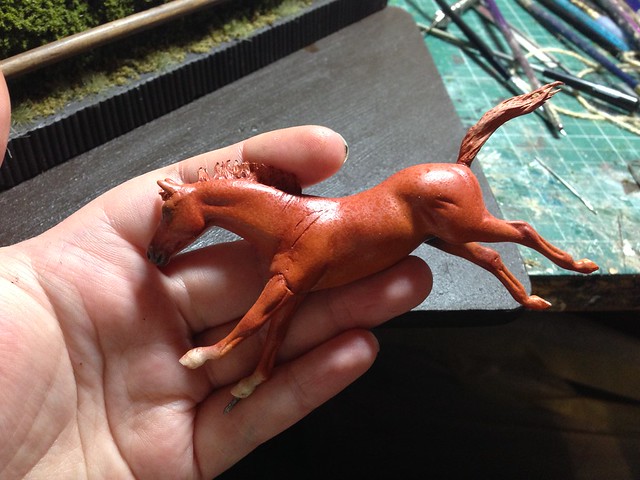
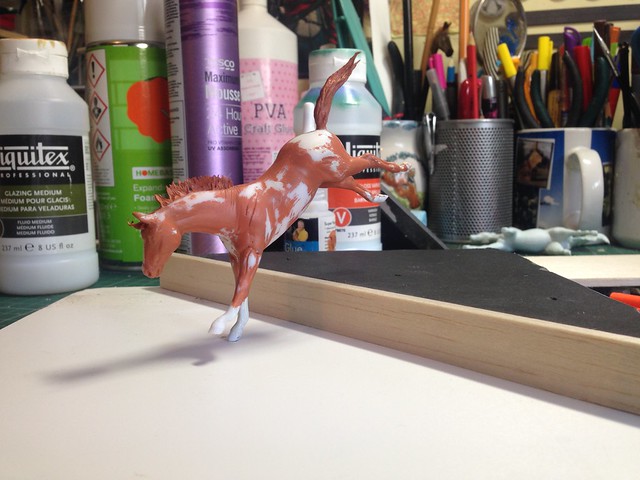
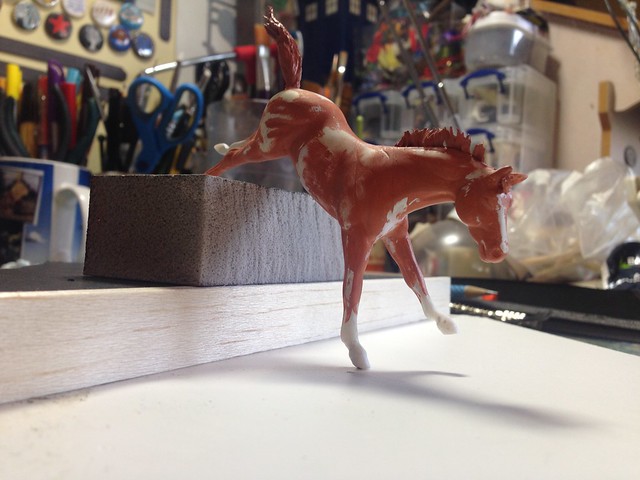
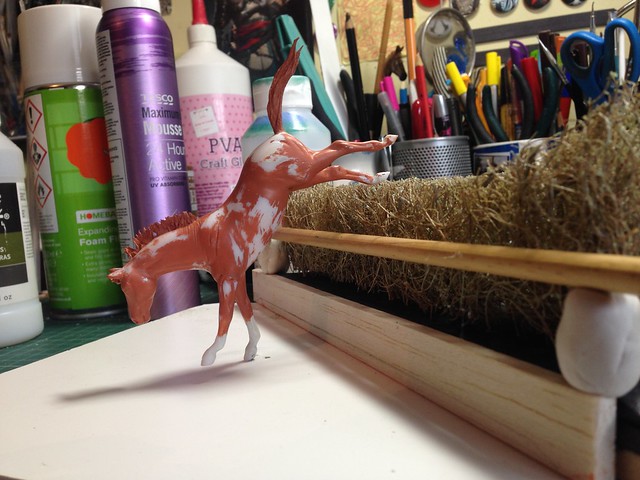
She's going to be a nice bright coppery chestnut with a bit of chrome, but at the moment I've hit a bit of a snag - I ran out of dullcote unexpectedly, and really needed to seal some pastels. I had an old can of sealer I thought would be ok but it spluttered a lot and well, you can see the result. I've ordered up some more dullcote which should arrive in the next few days, then I'll hopefully be able to fix it with another few layers, if not I'll need to sand her back and start again.

G2 TB resculpt WIP

Prior to painting her properly, I set to work on what she'll hopefully be doing as a performance prospect - cross country!

Although I've made a teeny tiny micro mini water complex before, I wanted to try my hand at a proper water jump, and when I saw photos of -this one- at the 2010 Rolex Kentucky course, I knew I just had to make my own interpretation.

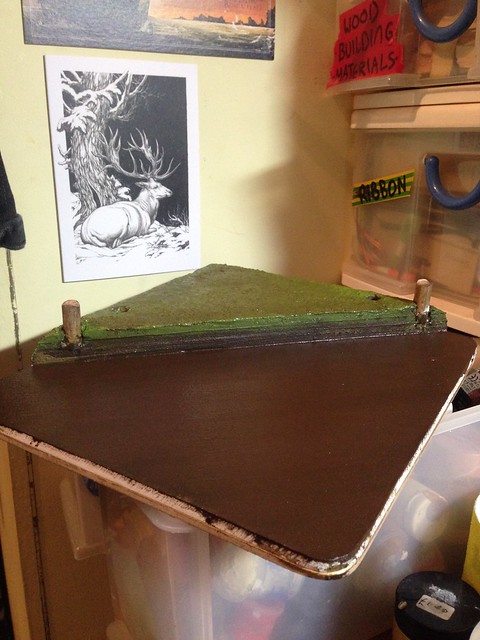
I started off with a cork-based placemat and a thickish piece of foamex for the base, then built up one end for the bank.

Stablemate water jump WIP

With a sanding block 'hedge'

Stablemate water jump WIP

A slightly better mockup with wooden dowelling and a rubberised horsehair hedge.

Stablemate water jump WIP

Stablemate water jump WIP

Stablemate water jump WIP

I roughed up the surface of the bank and 'water' with filler to give a nicer texture...

Stablemate water jump WIP

...then gave everything a first coat of paint.

Stablemate water jump WIP

Whilst I put the hedge together elsewhere, I started to add foliage to  the bank section. I probably should have waited a bit but it looked so empty!

Stablemate water jump WIP

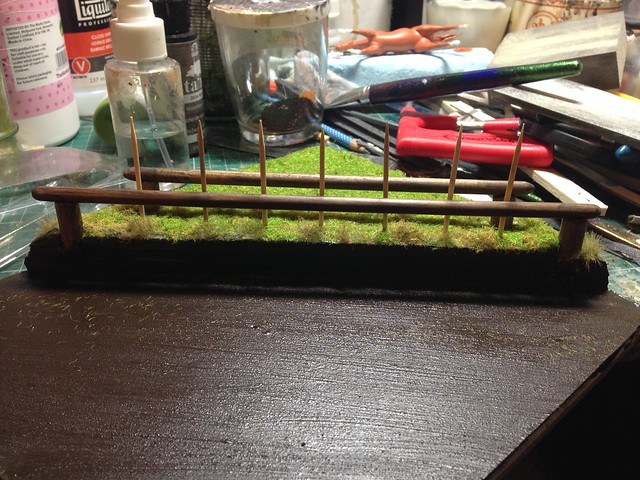
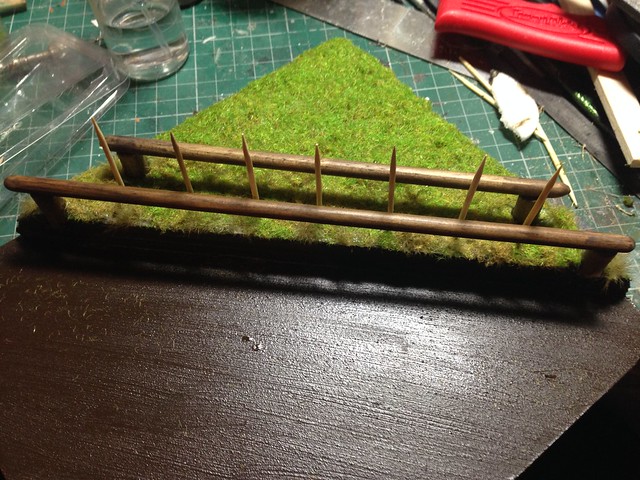
I drilled some holes for the internal supports for the hedge and stuck them into place. I painted them afterwards so they wouldn't be so obvious. The wooden supports were made from pine dowelling and stained and buffed with natural beeswax (which smells amazing by the way, I should have been a carpenter!)

Stablemate water jump WIP

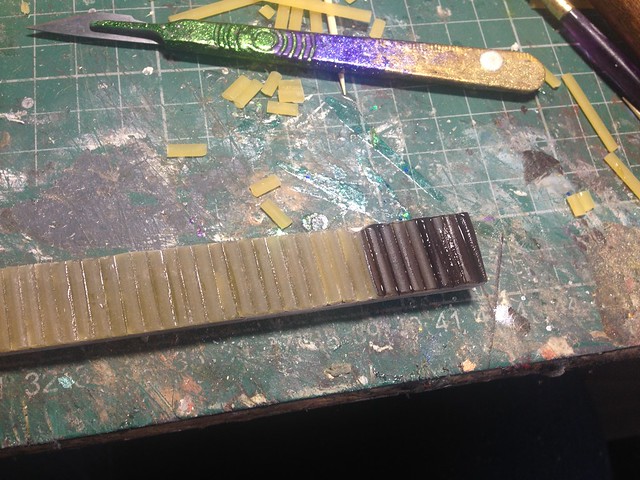
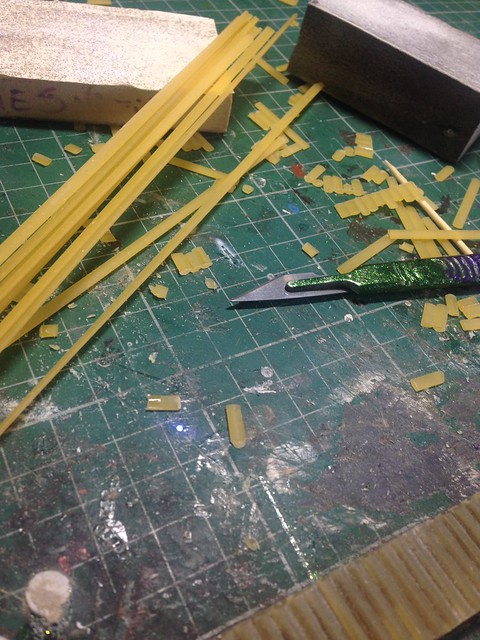
I couldn't find any suitable wooden sticks or thin dowelling in my wood stash for the uprights, but hit upon a cunning solution in the kitchen of all places - pasta!

Stablemate water jump WIP

Well, linguini to be precise.

Stablemate water jump WIP
Who has the shiniest scalpel handles? I doooooo!

Once in situ it really looked the part, as did the hedge once that was in place too.

Stablemate water jump WIP

Stablemate water jump WIP


I'm not quite finished it yet so I'll leave you with a sneak peek of how it looks at the moment...
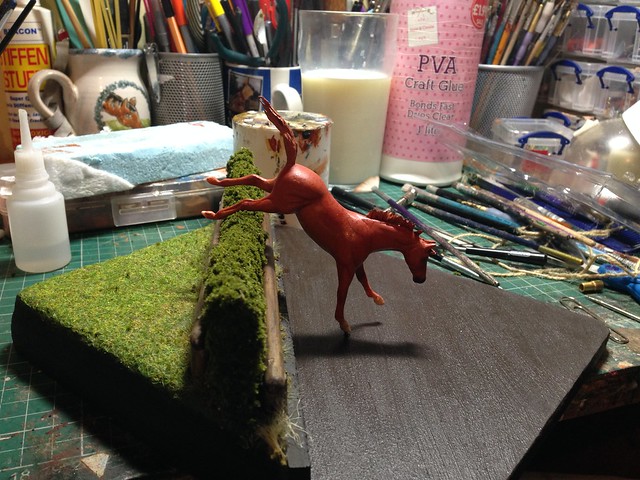
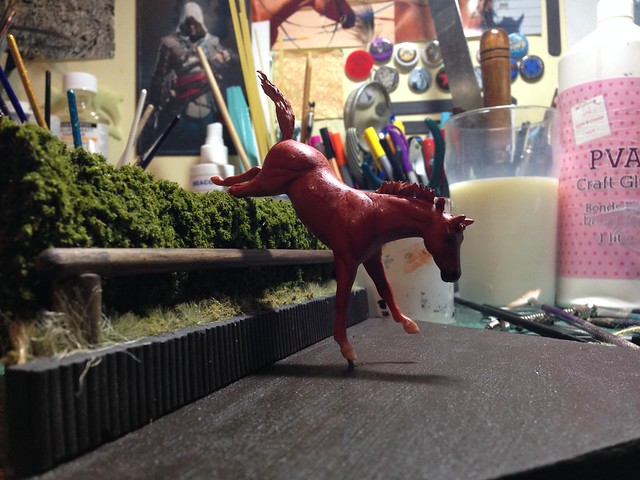
 Stablemate water jump WIP

Stablemate water jump WIP

 
...and I'll hopefully have an update this week once I've finished it off!


Wednesday, 2 March 2016

Copperfox 10 Day Challenge! - Minis, minis everywhere!

Day 5:  Create something for your models or try a new skill
The model horse hobby is full of things to create both for your models or using your models. Today's the day to be brave and have a go at creating that jump for your models or to have a go at painting your horses hooves.
--------------- 
I've been procrastinating again, apologies! I knew I'd never manage to do consecutive posts for this but I did hope I'd manage to get them all done in a reasonable amount of time! (For some reason this post accidentally submitted itself before I'd even finished writing it, so apologies if you clicked on it earlier and wondered why there was nothing there!)
To my credit, I've been struck down with the lurgy this week and spent most of yesterday in bed as my entire body felt choked up, heavy and just bleurghhhhhh in general. I still feel pretty rotten but the show must go on as they say!
---------------------------
I haven't made a lot recently, but I have two commissioned Schleich scale dioramas to start on soon, as well as some miniature flowers for someone else, in addition to a super secret project that has a swiftly looming deadline!

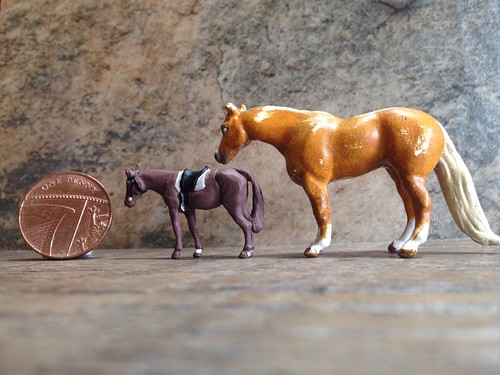
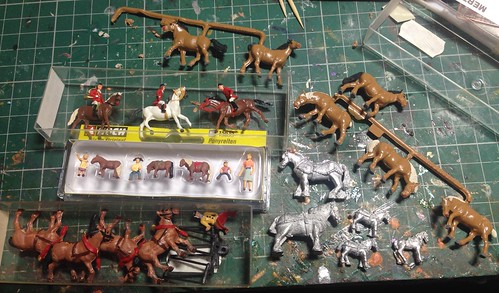
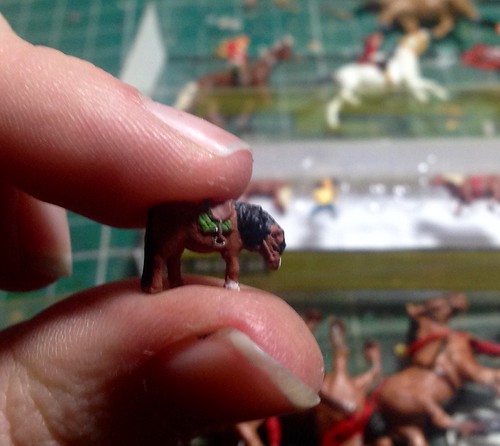
I always find time for minis though, especially as I've been really getting into the super tiny ones, intended for model railways and the like. They're expensive for their size, but incredibly detailed and depending on the manufacturer you can get some in a variety of shapes, sizes and poses which makes for some good performance prospects.

Compared to Breyer Mini Whinnies they're positively minuscule, but just look at the difference in sculpting!

WIP micro mini

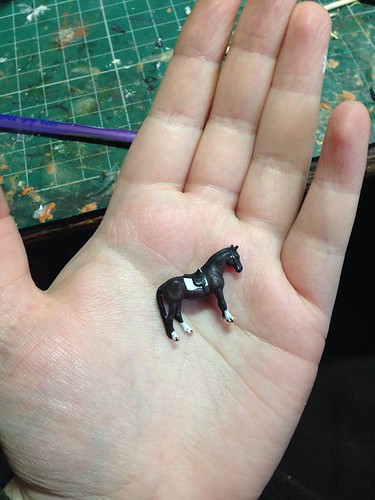
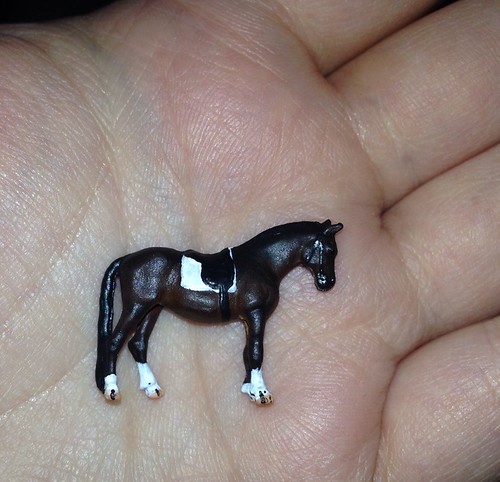
Some of them have sculpted on tack which is both a blessing and a curse because there's no way I'd be able to make anything that small, but at the same time, sometimes I'd have preferred them without any.

Most people don't like painting micros because of their size but I love the challenge, especially as a good camera will pick up EVERY detail.

WIP micro mini

This one was done with acrylics and pastels.

WIP micro mini

 I went to a model railway show the other day (which my next post will be about, hopefully) and came away with a selection of new minis.

image

The shetlands were about a tenner, which, being the cheapskate that I am, I was loathe to pay, but come on, how often do you see micro mini ponies?!

image

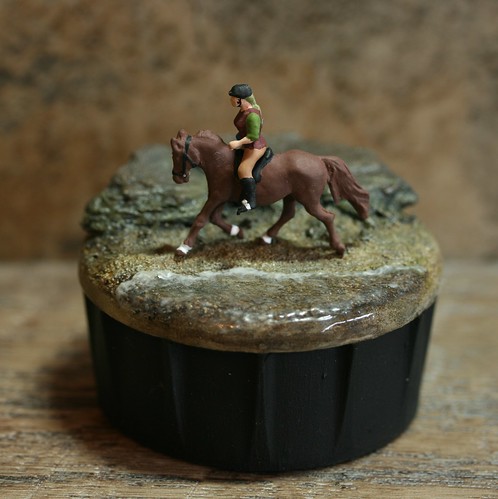
They'll all be customised,and I'm hoping to show some at the Copperfox tour live show in a couple of months. In light of this, I've been working on a few dioramas...

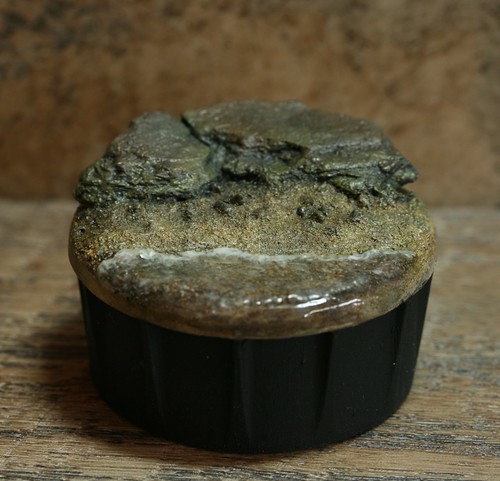
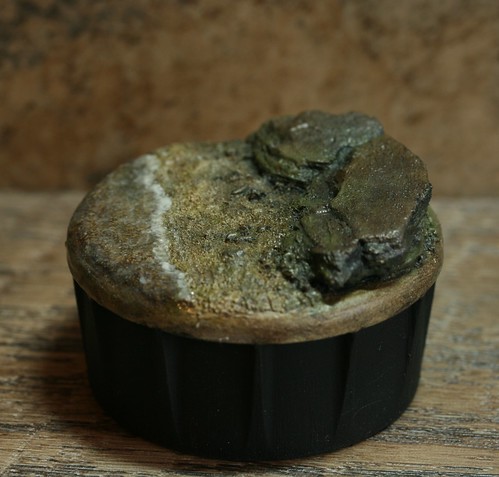
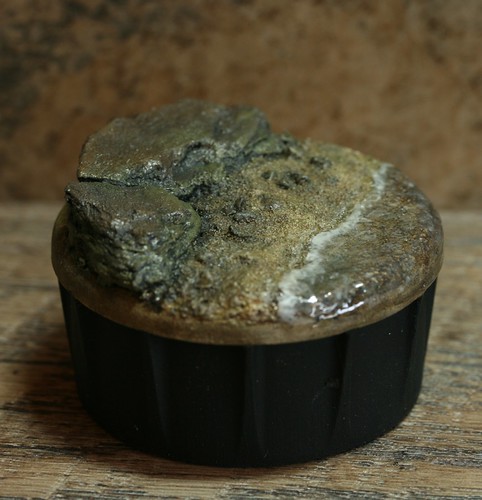
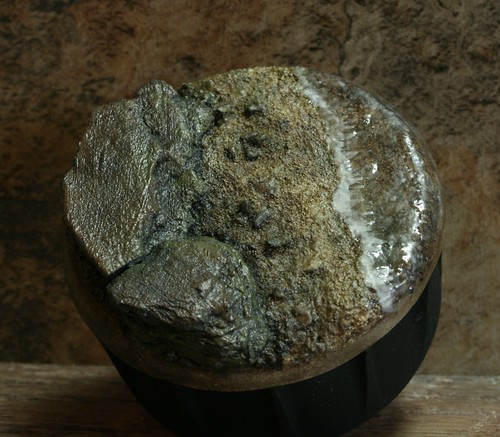
I found a really nicely shaped bottle lid the other day and knew it had the potential to be something more interesting, so I turned it into a beach one afternoon.

Micro mini diorama
Micro mini diorama

Micro mini diorama

Micro mini diorama

I'm actually customising this horse and rider combo at the moment, but this is how they looked in their original finish. The riders are removable, which is SO handy.
Micro mini diorama

I've also been working on a cross country water jump. Alas, I accidentally mucked up the water after these photos were taken (I put on another layer and smudged it before it was fully dry! D:) so I've had to take the water off it and start again which is a pain.

Micro mini XC jump WIP

Micro mini XC jump WIP

Hopefully I'll get it looking more respectable soon, I'm really pleased with it otherwise!

Sunday, 4 October 2015

Kinetic Sand!

I first heard about Kinetic Sand a while ago, and after seeing other hobbyists use it to great effect at shows and in photographs, I decided to take the plunge and try it out for myself. Until now, I've used buff coloured felt glued to a piece of cardstock for an arena floor, but the seam between the two sections really bothered me - not to mention the fact that it only vaguely resembles sand.

Byron

I've experimented with sand and other footings before but I don't have a phenomenal amount of storage space in my room, and finding room for a tray or something that could contain a lot of loose material has been difficult, but thankfully I no longer need to worry about that!


Sunday, 20 September 2015

A new look for the indoor arena.

As much as I liked the old one, it never really felt right to me, and looked amateurish and plain - especially considering that the arena fence was originally made as a temporary thing for a single photostory! (and it was a circus background at that!)

I want EA Equestrian to be the kind of yard I wish I had in real life - lots of brick and dark wood with green and brass fittings, and this, err..wasn't.

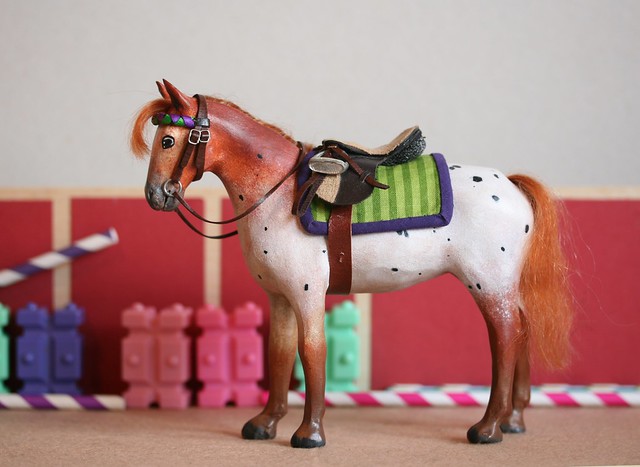
Freckles in tack

I've always wanted to change it, but Nichelle's blog post the other day finally convinced me to actually do something about it and I couldn't be happier with the results.

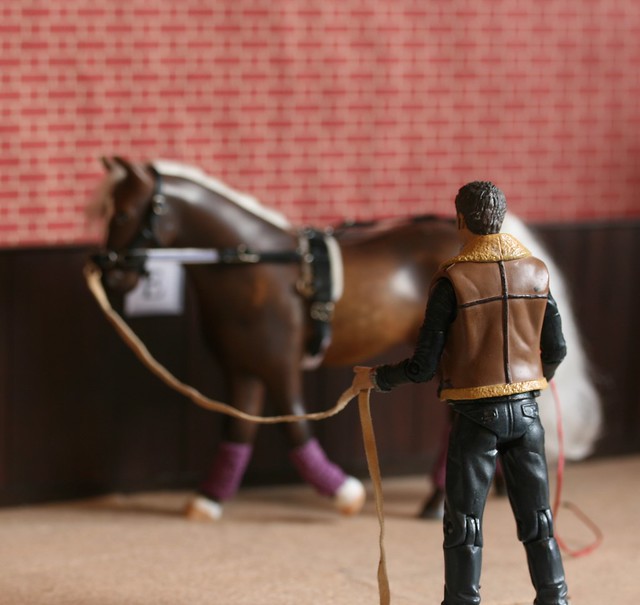
Echo's Training


I kept the same fence - a length of balsa wood - but flipped it over and glued stained strips of thinner balsa to it, along with another at the top and a kickboard at the bottom to neaten it off. Some of the planks fitted together almost too well, so the joins seem to disappear, but I can assure you that they're there!

I toyed with making some supports at the back so it would stand unaided, but I don't have much space for storage as it is, so I decided against it. It stands perfectly well propped up from behind with jam jars and glue pots anyway. XD

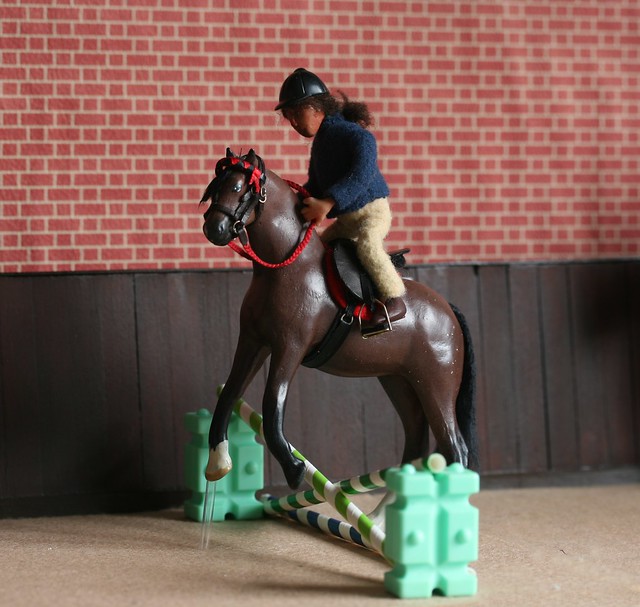
Jumping Lesson
Looks like someone forgot to photoshop out the foot support!

The bricks came courtesy of slightly textured doll's house wallpaper, which I've used for the livery block's stables (which are set in the same building) before, so it actually works far better with them than without. The letters round the outside aren't as 3D as they look - I made them up in Poweerpoint and just printed them out, then stuck them onto thin card with double-sided tape to give them a bit more strength. I may get rid for future photoshoots though, as nothing looks worse when trying to give the illusion of a whole arena, than a really obvious landmark.

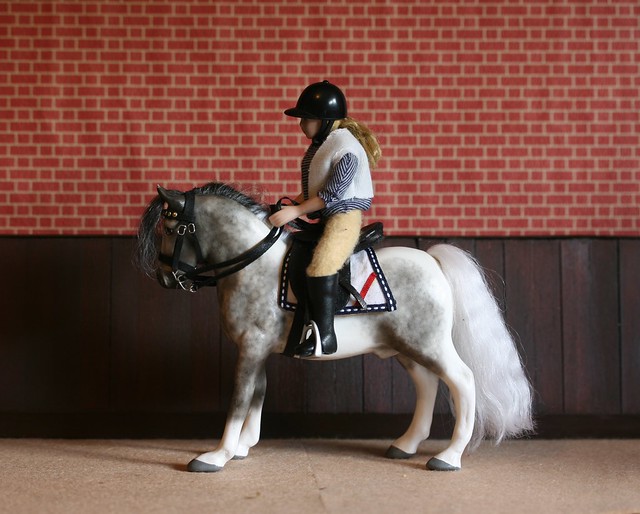
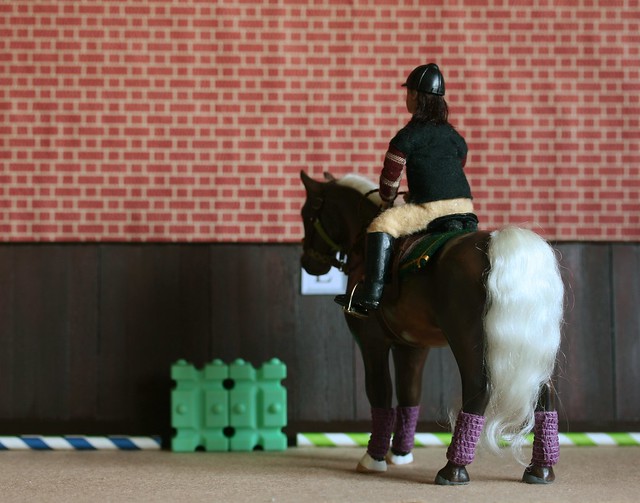
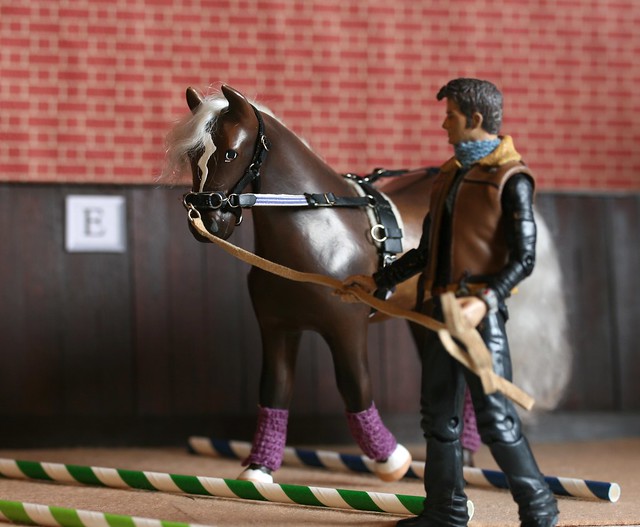
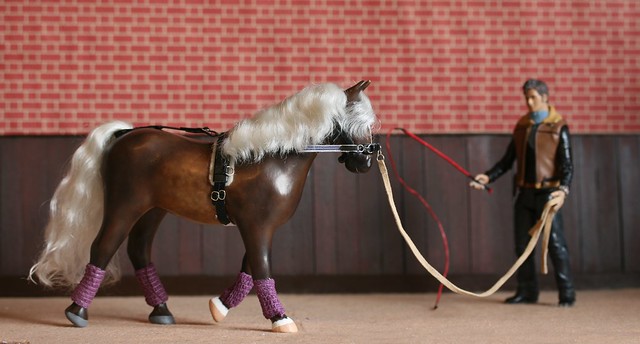
One of the first to try it out was David, and very green Kaimanawa mare, Echo. She's taken to being ridden well, but is very easily distracted, so she still needs rather a lot of work.

Echo's Training


Echo's Training

Echo's Training


The leg wraps came from Utterly Horses, but now that they're finishing, I can't get any more without buying a full roll of vet wrap which is pointless as I don't have any real need for it. So if anyone could spare some scraps I'd greatly appreciate it! :P

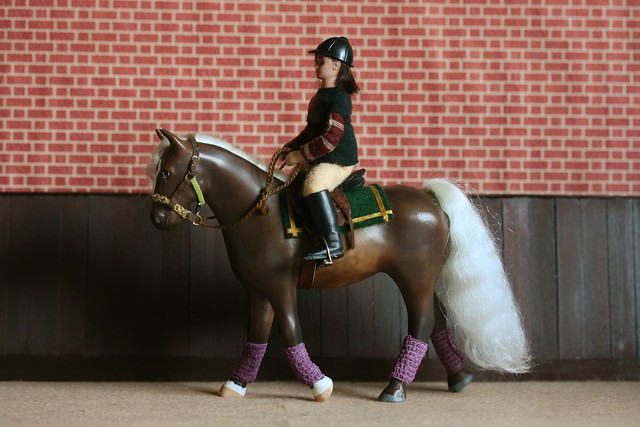
Once she was ready, working pupil Lexi hopped on, and took her for a ride.

Echo's Training

I made the halter/bosal thing a while ago with the original intention of giving it to Chego, the Criollo...but Echo has apparently claimed it for herself. She's obviously very good at acquiring things as she's nicked Pirate's saddle and Callisto's pad too!

Echo's Training

The modifications to the background took little more than a couple of hours and now that it's done, I'm so happy I finally got round to doing it, as it makes such a difference and really makes EAE that little bit more 'real' in my eyes. I need to get some kinetic sand though, I think that would make it perfect.

...and finally, a sneaky peek at a future post where I'll spill the beans on where I got that very distinctive fabric... :P

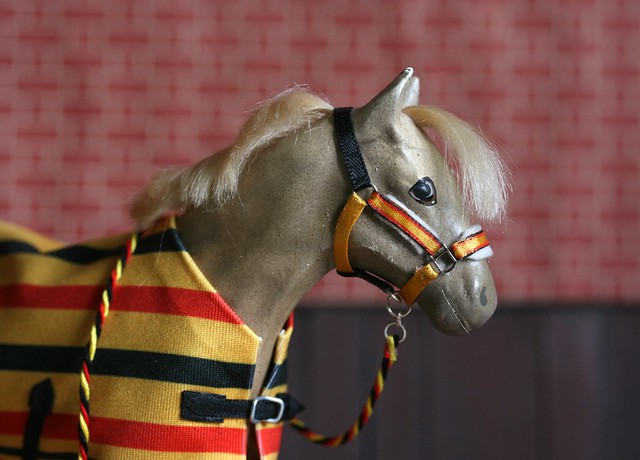
Newmarket rug/headcollar set


Wednesday, 1 October 2014

SM Hedge diorama!

Yes, yet another diorama! XD

This was another commission, but this time I was left to design it myself, with the only stipulation that it had to be 'very green'. I think I did rather well on that basis. :P

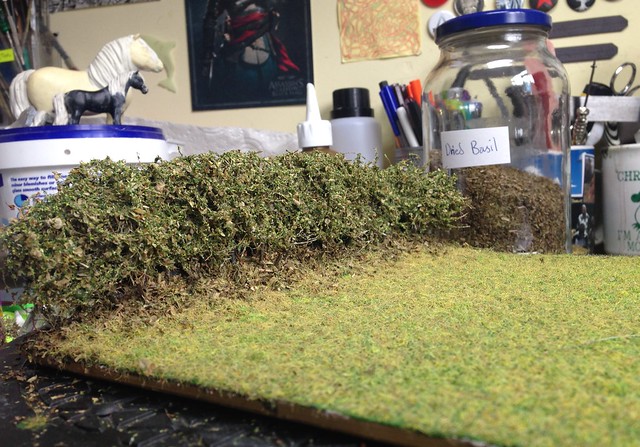
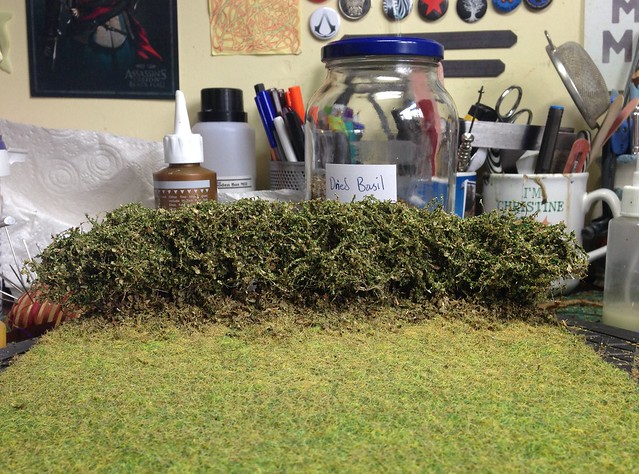
I've been wanting to make a mini hedge for a while and now seemed like the perfect opportunity to give it a go. The base itself is a little smaller than A4 but can accommodate several stablemates at once. The first few shots were taken on my phone so the colours are a little off.

SM Scale Hedge Diorama


SM Scale Hedge Diorama

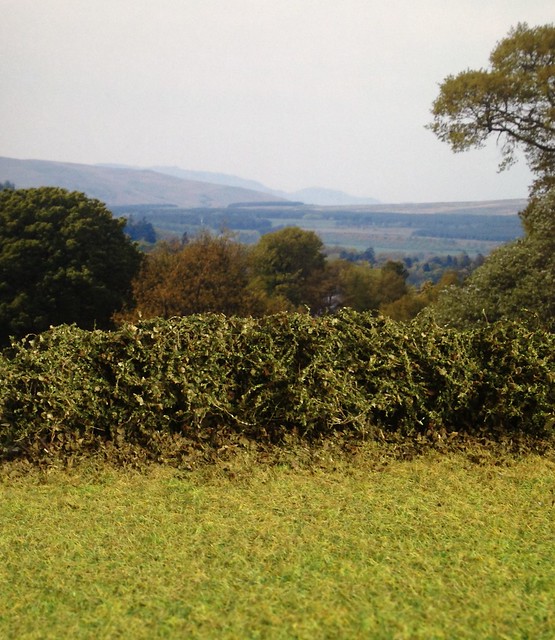
It has actual 'trunks' and branches that the foliage grows out from which true to form doesn't actually show up in pictures, heh.

SM Scale Hedge Diorama


SM Scale Hedge Diorama

SM Scale Hedge Diorama

SM Scale Hedge Diorama

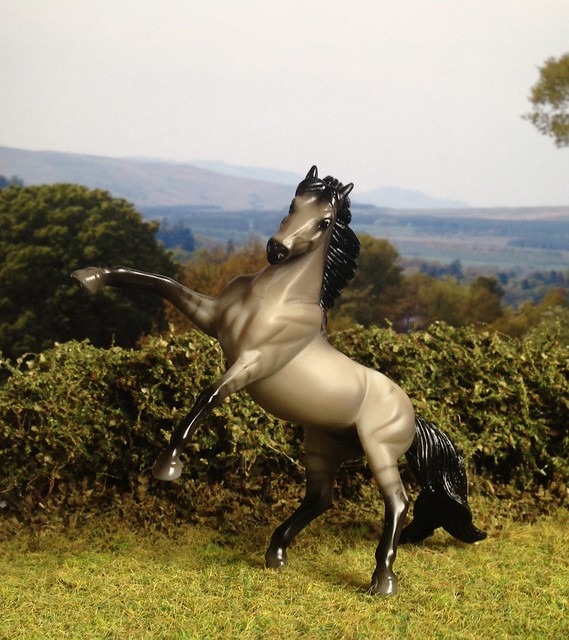
The colours are more accurate here.

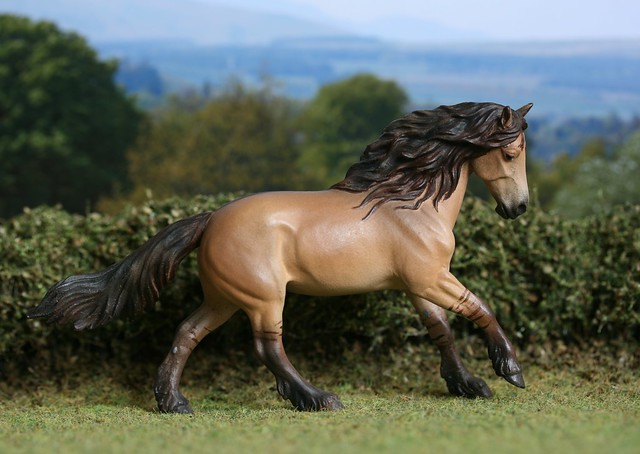
EA Driftwood Pixie - Highland - Gelding - AR - EG2

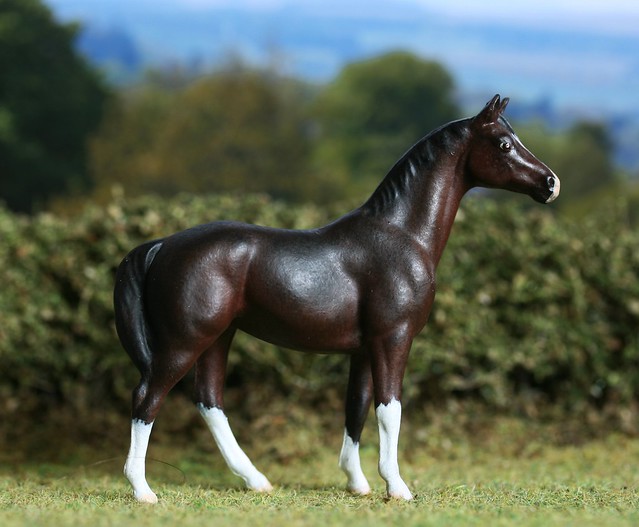
EA Reridan - TB - Gelding - CM - EG 2

I really enjoyed making it and quite fancy doing another for myself as this one showed off my customs really rather well. (though I'd like to try doing a winter one...with snow. :D)