
I meant to post this weeks ago but you know what I'm like so better late than never. XD
I'd had so much fun with the Bridle Tree Barn-Raising challenge that I didn't want to stop, but I was totally out of space for any more stables. Well, there's an exception to every rule and mine was definitely that small things don't count.

I'd seen this tiny little N Gauge scale kit on ebay and had been humming and hawing over whether or not to get one for months. It was just made of paper and card, of which I had plenty of in my craft supplies, and there were plenty of full scale stable/barn plans out there I could have drawn from to design my own, but frankly, I didn't like the idea of doing so much measuring and planning, so I happily parted with the £6.49 it cost on eBay and eagerly awaited its arrival.
For anyone wanting their own it's the PN822 Stable Block kit in N Gauge by Metcalfe Models and Toys LTD. They also make one in the slightly larger HO gauge, but I wanted something extra small for Max.

Yes, that was my excuse, it wasn't a stable for me, I wasn't going to make it, Max was.
Anyway, it arrived pretty quickly and I - sorry, Max, got straight to work.
The kit comes with very easy to follow instructions and everything is pre-cut for the most part. The block comes in two sections, a standard two stable block and a corner section which can go on either end of the main block or act as a standalone building. The bases for each and end walls are made from mountboard - the kind of sturdy grey card you get at the back of sketchbooks - and the pre-printed walls are thick paper/thin card.

You do have to do a little scoring and cutting in places to free up the lasercut edges but for the most part everything just pops out easily. The kit recommends UHU glue but I..er, we just used tacky glue which worked just as well and is significantly less messy.

The inside of the walls was just plain white, but Max fancied something with a little more detail so she cut out pieces of cereal box card to make the interior a consistent brown colour. The gap here is to account for the internal wall support which also got some card cladding.

A strip of paper cut out of a magazine provided some 'wooden' boards for the inner walls and black card made excellent rubber matting. The inside of the stables wasn't really intended to be seen from the outside, but where was the fun in that?

The kit did come with doors but I, in my wisdom, totally skimmed over the part of the instructions which covered them and totally messed them up, so I decided to just make my own from scratch. Max drew on the wooden planks and added hinges and a lock, then glued them into place. She wanted them all to open properly using a masking tape hinge, but it didn't work properly, so they all just got glued into position instead, with one door open and one closed.

I had some super fine sawdust I'd saved from an extraction fan at GMRC which was the perfect scale for miniature bedding so some of that was glued in later on.

Also included in the kit was a sheet of clear plastic so you could add 'glass' to the windows, but that was a little boring, so I rummaged in my fabric stash until I came across the fine mesh I'd liberated from the pocket of an old wallet. It was just plastic, so cut easily with scissors and adds some really nice detailing to the build.


Some subtle weathering was added with the same Citadel washes I used in the larger stable, as well as a little flocking for some moss here and there.

The corner stable went a little wrong when Max accidentally assembled it with the base upside down. (I would never have made such an obvious error 😉) This meant that the internal supports wouldn't line up with the roof properly, so rather than attempt to peel the paper walls off and risk breaking them entirely, a new slot in the base had to be cut with a scalpel. The interior is super messy as a result, but this one was definitely not going to be viewable from above, so once everything was secure, the roof was permanently glued on.


The whole build took much longer than it probably should have as I kept
tweaking things and trying to adapt things that really didn't need
adapting, but all in all it made a brilliant little stable!

That was all well and good of course, but Max insisted on making a proper yard diorama for photoshoots and who was I to argue?
She began with a sheet of scrap styrene, placed the stables on top and drew around them so their footprint could be cut out and they could slot snugly into position. She wanted a section of arena at the front and a few grassy areas for a bit of interest as well.

I didn't take any photos of the next bit I'm afraid so just imagine glue being applied, and scenic scatter of all kinds being added. Not very exciting tbh. I made the trees out of black pipecleaners and acrylic paint - if you brush it on in one direction, then the other, it makes really convincing little conifers.

The fencing was a problem. I toyed with the idea of having a hedge around the arena, but felt it would obscure the stables too much, but at the same time, I really didn't fancy making tiny fencing out of styrene strips. (Max didn't like that idea either, just fyi.)
In the end, we went for a slightly bizarre, yet ultimately successful material - dry wholemeal spaghetti! I learned about this technique when I was at college doing modelmaking and can really recommend it! It's cheap and easy to get hold of, comes in a uniform size/shape, can be snapped by hand or cut with scissors, and it takes glue and paint really well. Obviously it's fragile and you need to be careful with it, but it's ideal for adding trim to furniture and stuff.
Holes were made in the styrene at regular intervals for the upright sections to be superglued into, then once they were dry, the horizontal sections were glued over the top after a bit of sanding. They got a coat of paint to make them look less, well, spaghettish, and that was that. The background scene was cut from an old postcard.

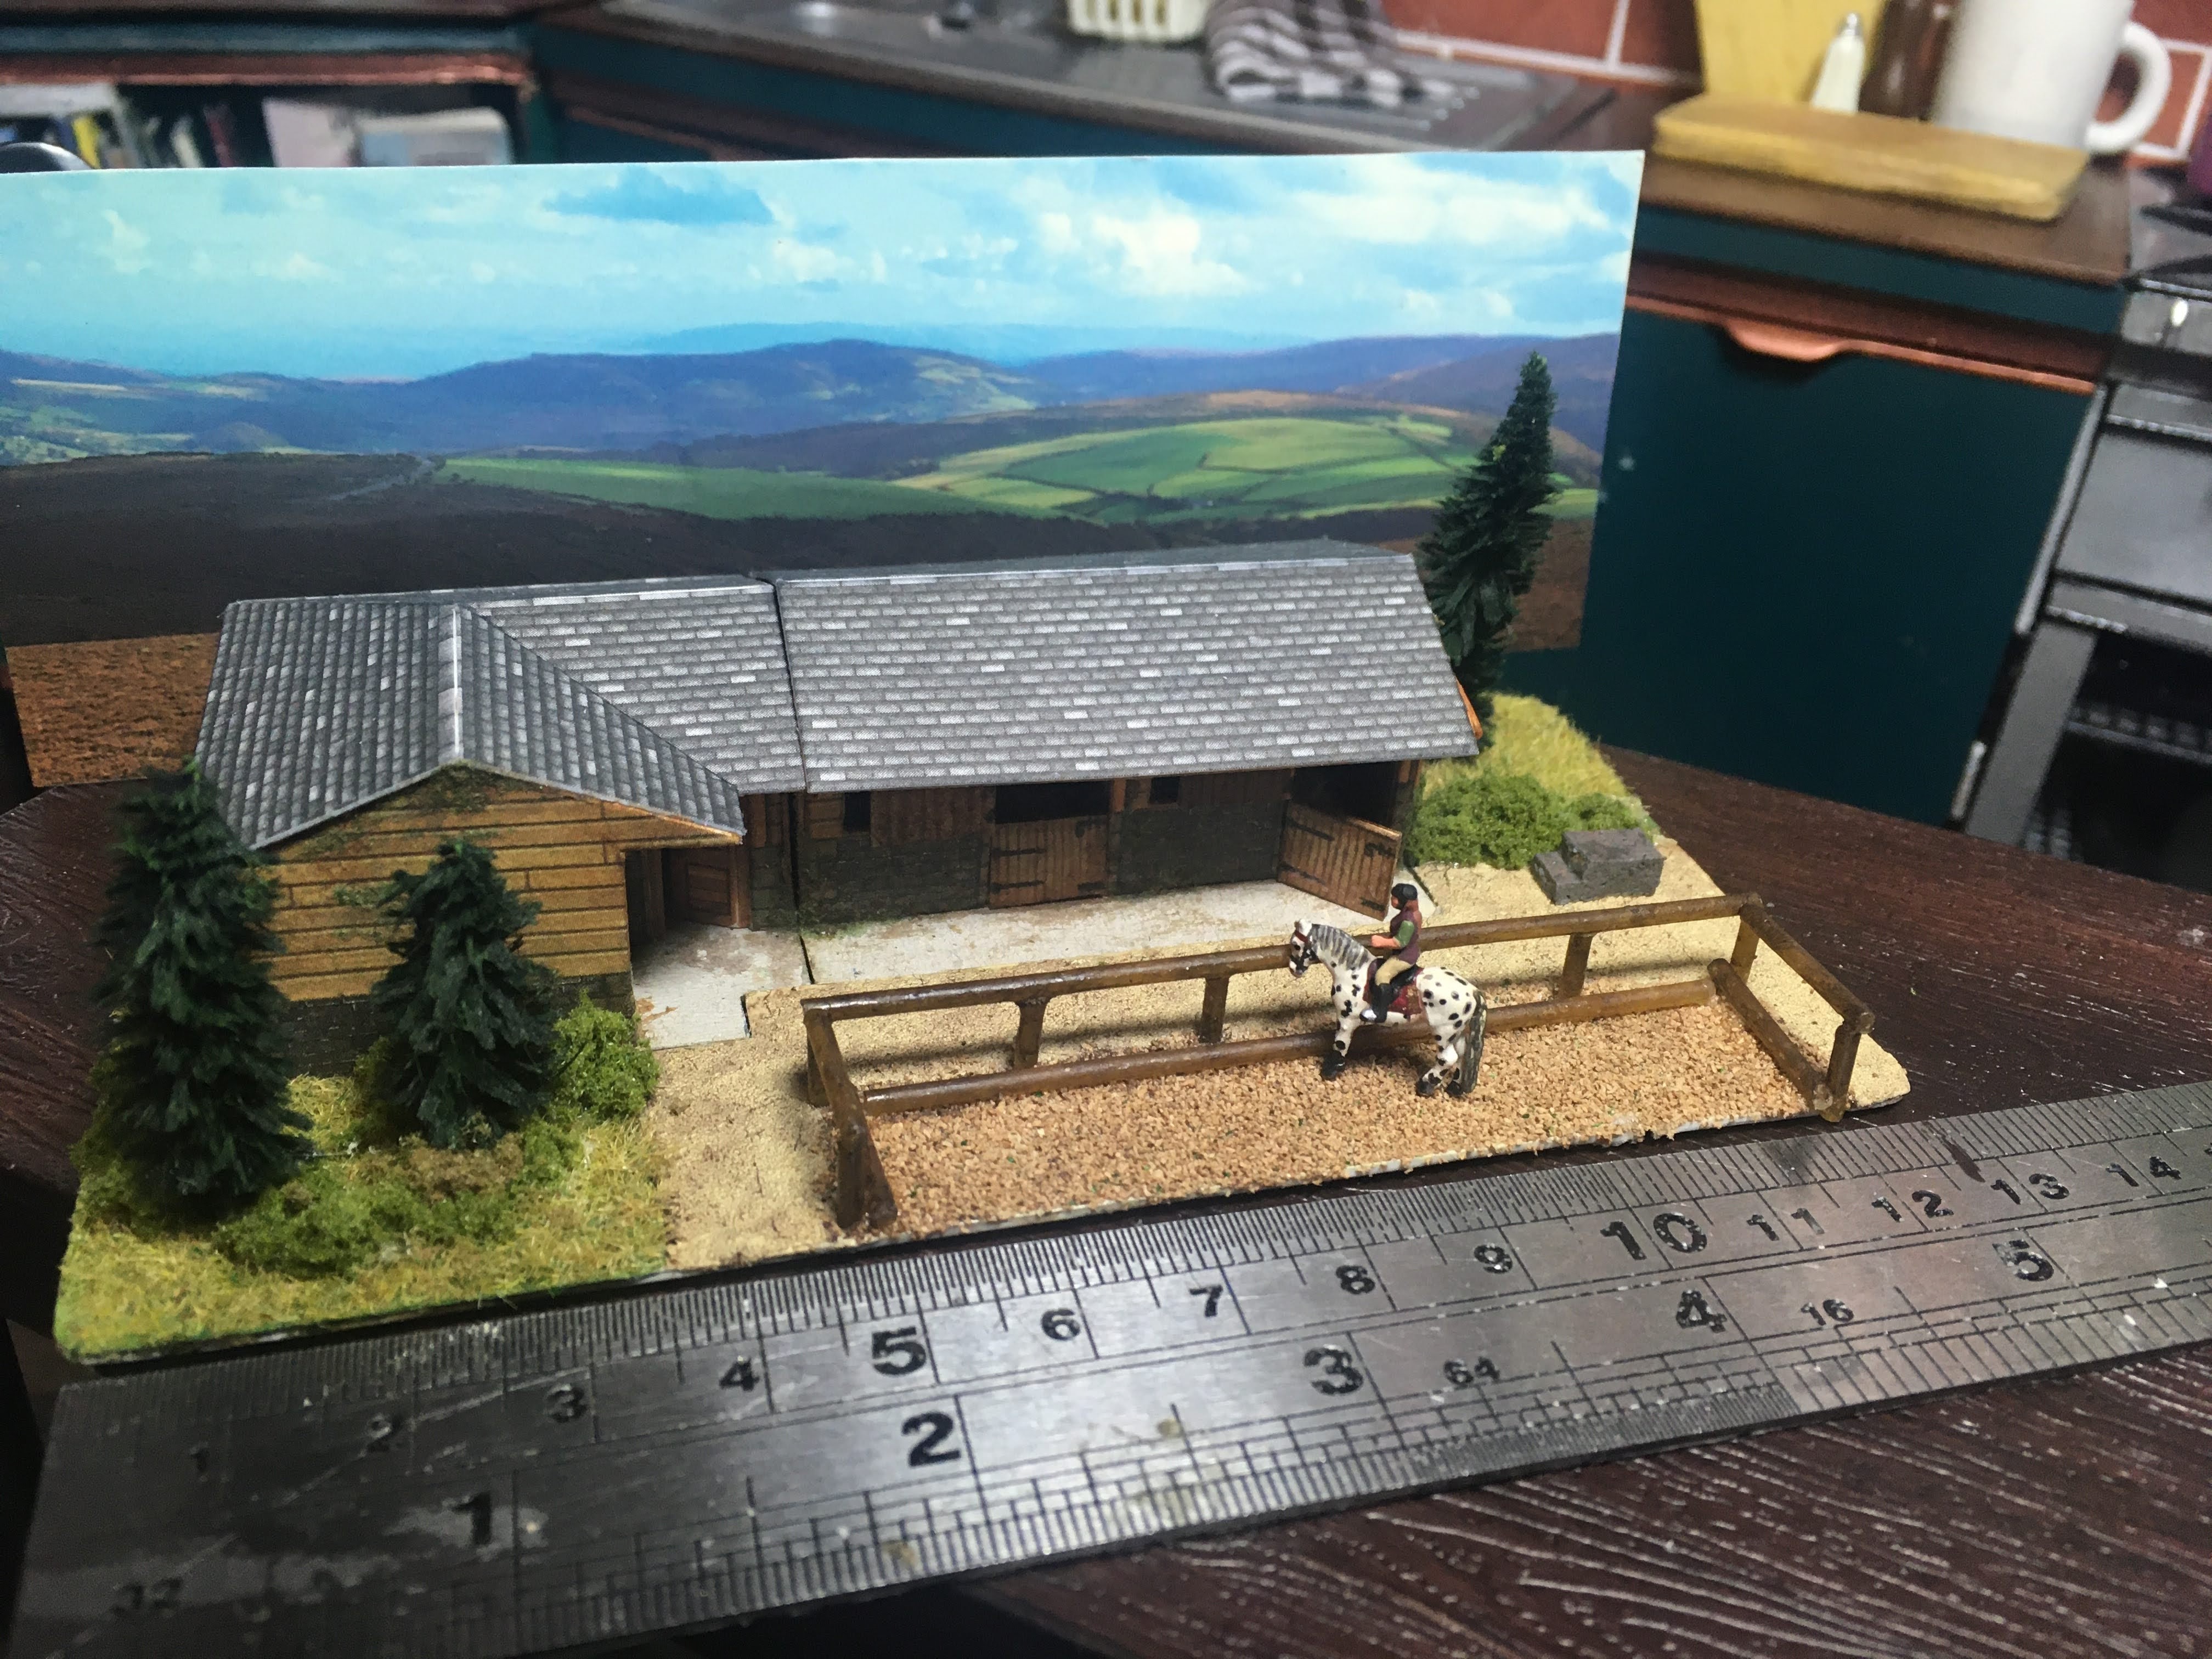
The kitchen table soon became the focus of a very keen photoshoot.


Juno fully supports Max's hobby, and dabbles in it herself from time to time, though right now she was more interested in observing.


^ Just in case you needed a sense of scale, that's a standard thumb tack!
It's very satisfying to hold in the palm of your hand!

https://www.instagram.com/p/CJw4LJ5J7wF/?utm_source=ig_web_copy_link
Obviously the kitchen is no place to have such a diorama on display 24/7 so you'll be pleased to know that Max and Juno have been working on a dedicated craft/hobby room which will hopefully be revealed soon!
Next up will be my expansive look at this year's NaMoPaiMo project, which turned out to be my absolute best custom to date, and one that I still can't fully believe I painted!
This is such a good project, I like the little stable well enough for it's own sake but the bigger scale scenes of the making are brilliant. Miniatures in miniature!
ReplyDelete