I've been in the mood for making food recently, and after posting photos of these on Instagram and Facebook, got lots of requests for a tutorial, so here it is!
I've got lots to post about in the next week or so (some scenic scenery and a sneaky behind the scenes look at the newly relaunched Magpie Model Horses!) but I haven't uploaded all my photos yet so you'll just have to put up with this instead; another brief look into the daily goings on at Max and Juno's place...
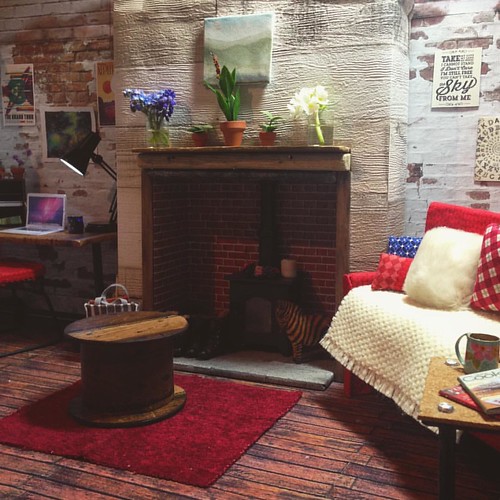
I made one of those fancy reclaimed wire spool tables that's all over Pinterest from a cardboard tube, some scrap balsa wood and more of the wood effect wallpaper. The delightfully carved wooden zebra by the stove was a lucky charity shop find by my dad - I've trained him well, he now actively searches for horse shaped objects for me!
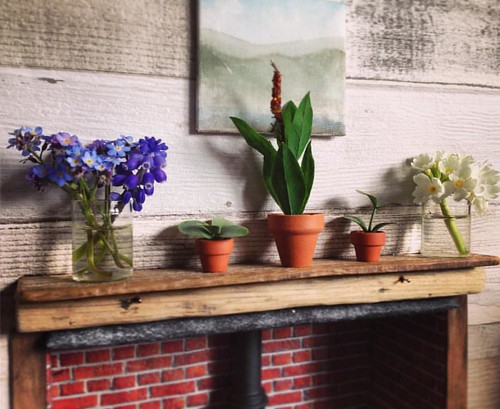
As I knew the real flowers I'd used for my Easter photo session wouldn't last, I rummaged through my bag of plastic planty bits and dug out a couple of tiny terracotta plant pots I'd bought at a recent craft fair. The soil is just a chunk of blue foam to pad it out, then covered in a liberal dollop of PVA glue and dried coffee and tea grounds.
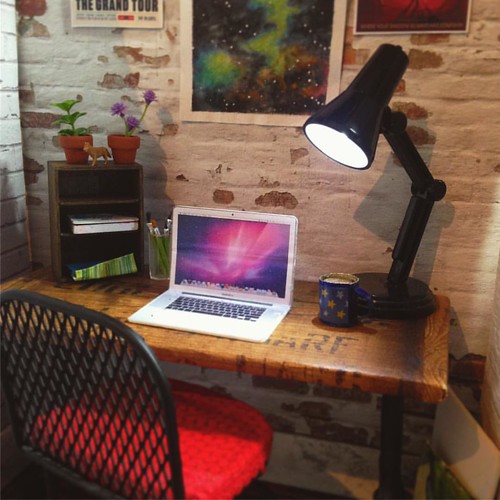
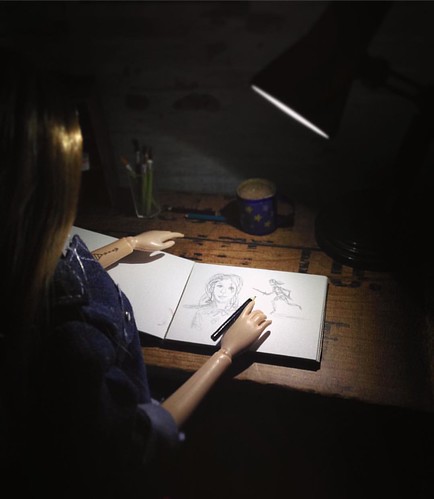
The anglepoise lamp on the desk was a £4 bargain from Flying Tiger Copenhagen, and is completely poseable as well as fully operational, which comes in very handy when Juno feels the urge to draw late at night...
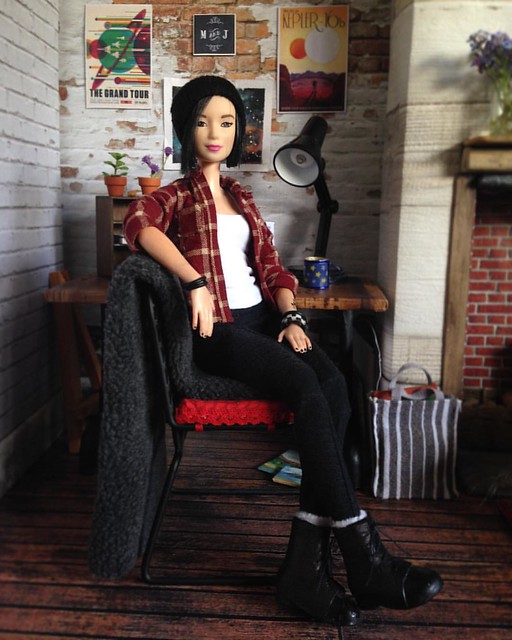
I've been on a real 1/6th scale kick recently and my poor ponies have been abandoned for the time being in favour of my dolls. I'll get back to them soon I promise, but for now the girls have taken over!
As seen in my last post about them, Max and Juno now have a sofa, but it was hardly a living room! After perusing Pinterest for inspiration I decided to make them a fireplace to go with it, and an assortment of walls and flooring options. It would probably have been sensible to make the walls and floor first, then the fireplace but when have I ever gone for the sensible option?
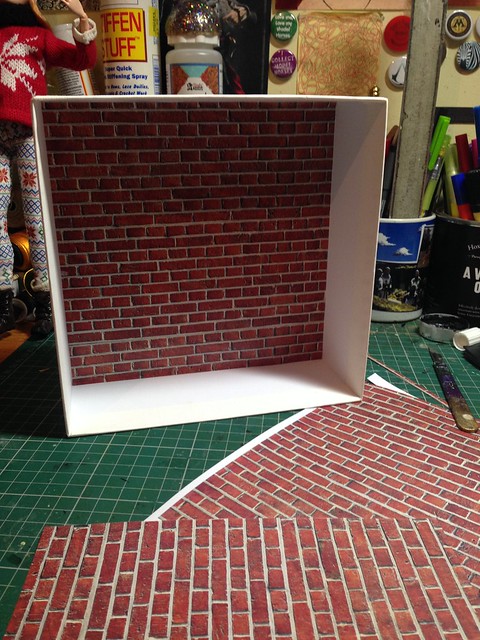
I hunted around for a suitably sized box and eventually found one in the form of packaging for some bath products. It was just the right height and depth, and despite the sides being relatively thin, it was made from very sturdy card. I found some tileable brick patterns online and printed out a few pages for the back and side which were affixed with double-sided tape.
The little occasional table in the last picture of Part 1 looked deceptively simple from a distance, but that couldn't have been farther from the truth!
I've always loved Moroccan styled furniture, especially the intricately patterned fretwork in tables and screens, and as there was a laser-cutter handy I really couldn't pass up the opportunity to make my own...
Months and months and months ago I posted about an exciting new project I was starting at college in my final block...and then promptly never mentioned it again. This was due to many reasons, mostly me stressing over getting the damn thing finished, and my apparent inability to post things as and when they occur and not half a year down the line! I also hadn't taken any photos of the finished piece and as the model was still at college over the summer, I couldn't get at it until the next term. It's been yet more months since term restarted but I finally have it in my house after getting my dad's assistance to help me get it into the car so I was able to get photos of it at last.
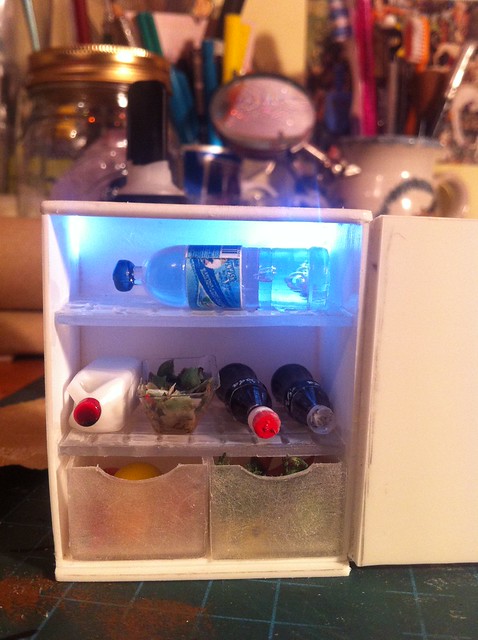
The partner to my previous make; this didn't evolve quite as smoothly as its predecessor!
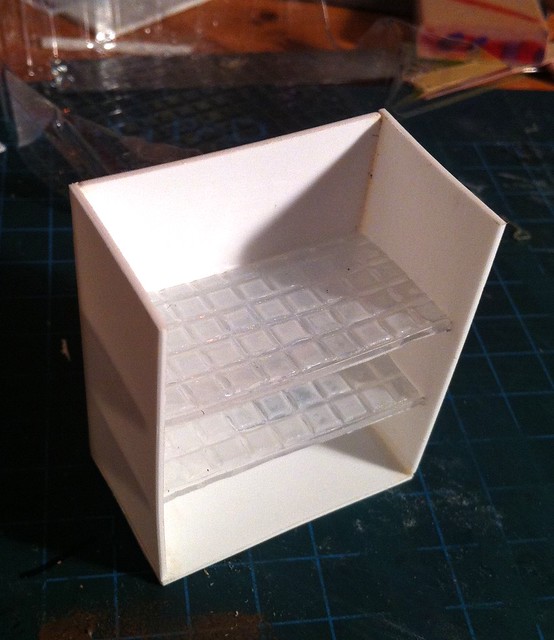
While made nearly entirely from styrene, a few more interesting bits and pieces came into play as it went along.
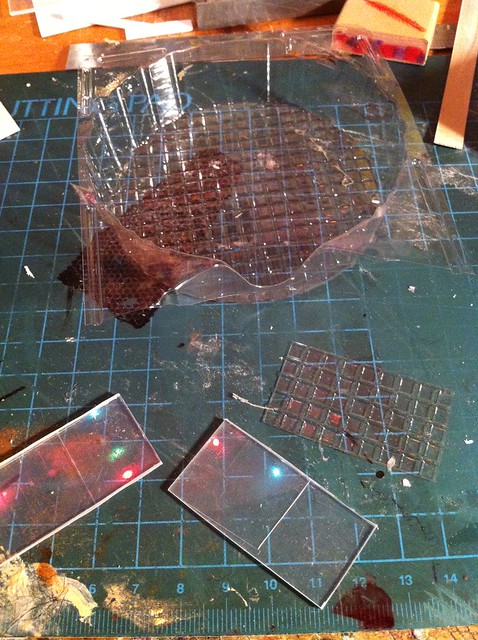
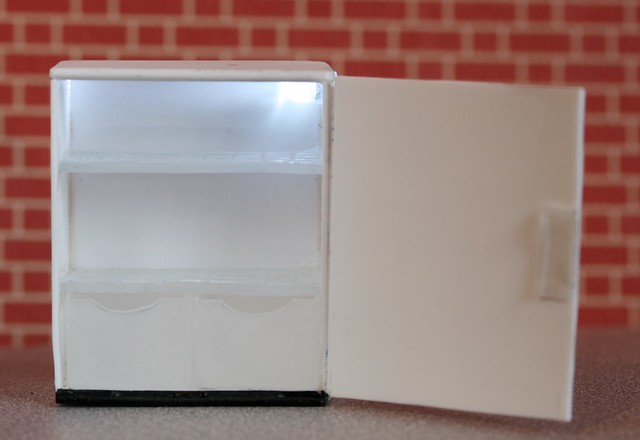
I made the main structure from normal white styrene but the shelves were composed of clear styrene with some nicely textured plastic from some rather delicious Dutch Waffles I had bought earlier that da - oh, this is amazing, I've just realised I can activate italics as I type by hitting Ctrl I. Italics on, italics off! Shiny. :D
Anyway, I dichlo'd the plastic on and although it went a bit opaque I really liked the effect.
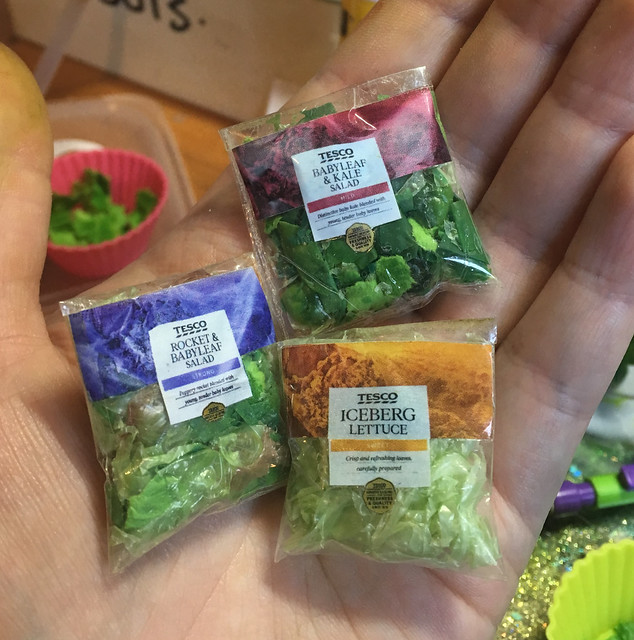
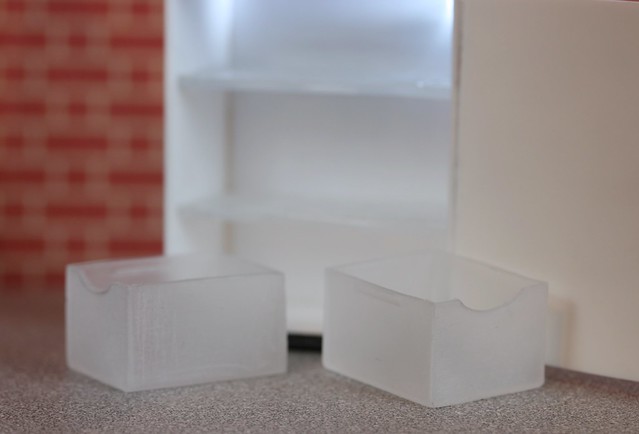
I really fancied making some little drawers to go at the bottom for keeping salady stuff in them but in the end I didn't need to as I already had some ready made with very little alteration needed.
Can you guess what they are yet?
No?
Pill boxes!
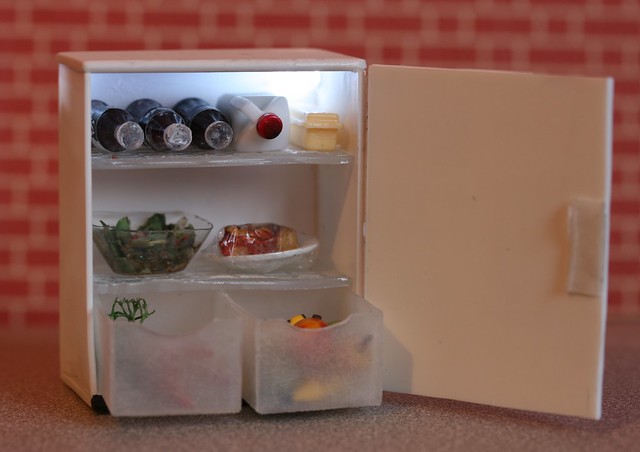
I got a couple of them from the pound shop a while ago and although you have to sacrifice a couple if you want individual boxes (they all share sides) they're the ideal size for keeping small things in and remarkably, fitted perfectly into the fridge first time!
I had already sanded one of them as I'd been intending to paint it and needed to give the paint something to adhere to so I gave the other a once over with sandpaper to match before cutting the lids off and giving them both cut-out 'handles' at the front.
Alas, I became so engrossed in construction that I neglected to take any more photos of it in progress! Suffice to say, my attempt to make a glazed door failed in spectacular fashion to the point that I literally threw it across my desk in disgust and started again with a solid door. This one is a bit wonky and I know I should have really spent a little more time on it but it's only held on with double-sided tape so I can easily redo it if I feel like changing it.
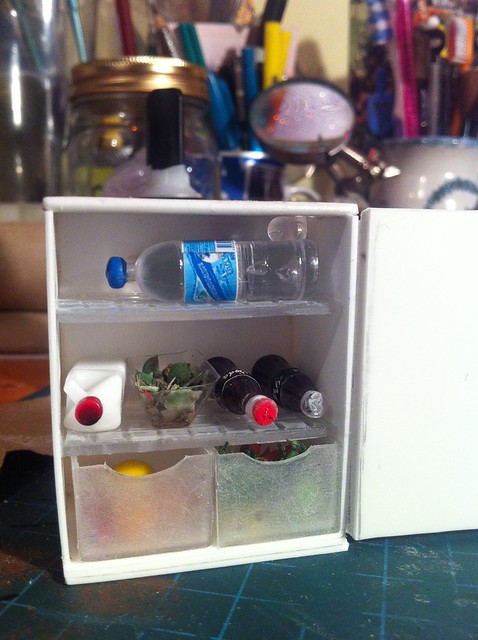
I put in another LED which, although it doesn't light it up as much as the microwave's one did, it does give it a really nice cold glow which was exactly what I'd hoped. As before the 'switch' is activated by touching two wires together which doesn't look fantastic but I managed to hide most of it at the back and when the door's open you can't see any of it so it doesn't really matter.
Ignore the massive wad of double-sided tape on the door - it's the only way I can get the damn thing to stay closed at the moment! XD
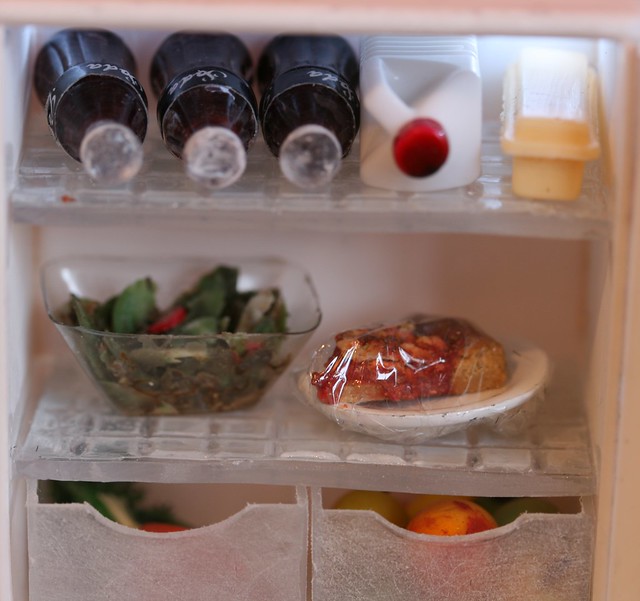
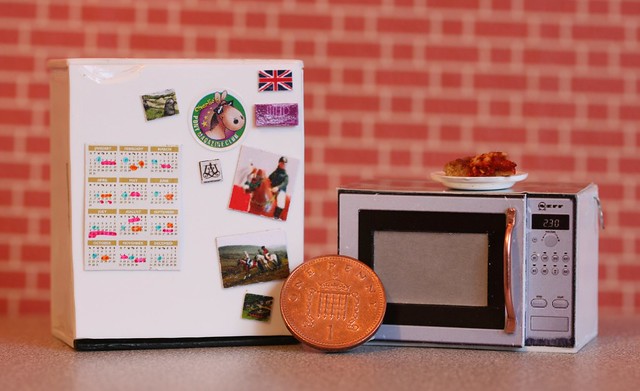
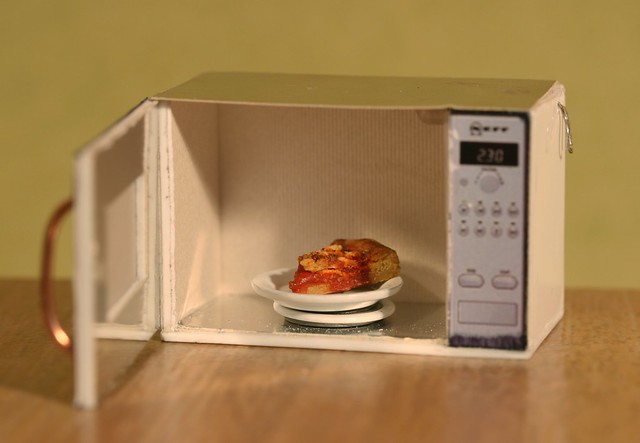
Lisa's nice healthy salad contrasts somewhat with David's plate of leftover pizza...
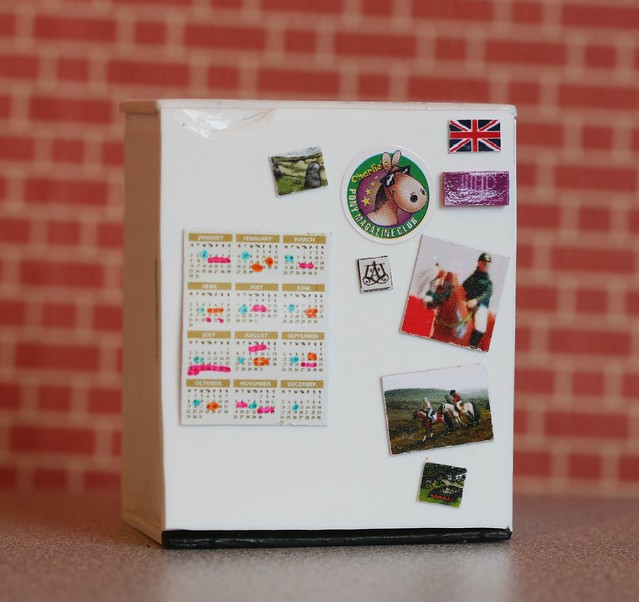
The front is decorated with a few 'magnets' and photos along with a yearly calendar for putting all the show dates and holidays in so no one forgets.
Yes, I know, just a bit random when you're more used to me making horsey stuff but, in my defence, I've been meaning to make this for a good long while now and I was hit with a sudden burst of inspiration this morning, lol.
I intend to make another roombox at some point with a big tv, comfy sofa and a mini fridge/sink/microwave/kitchen area so that people can come in from the cold and have their lunch or watch the eventing when it's on etc and being able to reheat last night's cold pizza would be a godsend in winter! While I'm still no further forward on actually getting the roombox itself, I see no reason why I can't make things for it in advance! :P
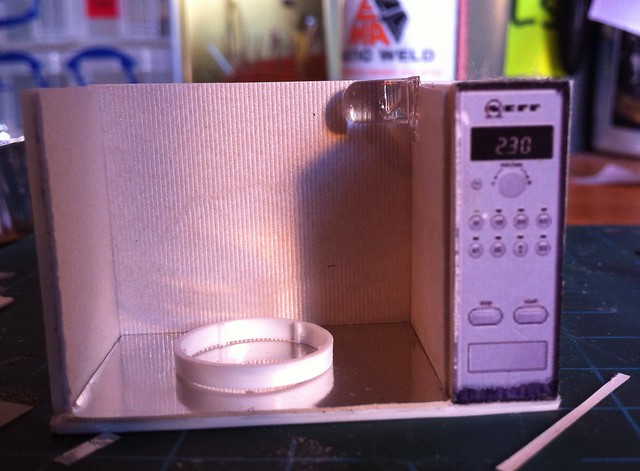
To begin with I made the obligatory google image search for a suitable microwave to construct. in hindsight I could have probably just photographed the one in the kitchen but meh, lazyness. :P I printed it onto some nice shiny photo paper, cut it out and took away the window part as I would be replacing it with tracing paper afterwards.
Double-sided tape ftw! :D
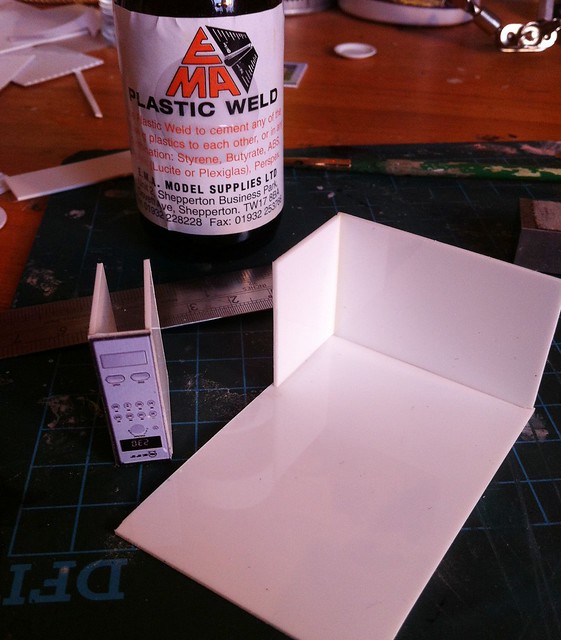
After a moment of epic facepalming when I remembered that the door and buttons were supposed to be separate I started on construction. My styrene handling skills were VERY rusty and it took several attempts to make a box that actually had reasonably straight edges.
It was after this that I decided to take a risk and make it awesome.
LEDSSSSSSS!
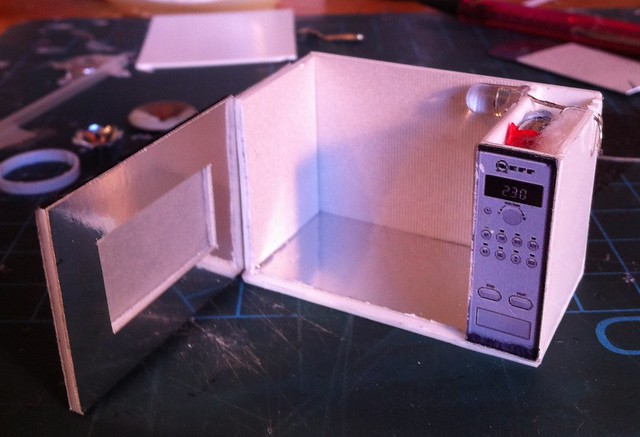
I bought a box of 'flameless candles' from the £1 shop before Christmas with the intention of using the LEDs for something and this seemed to be the perfect thing as the space in the box that in the real thing would be full of electronic components was now filled with...slightly smaller electronic components. I used the battery it came with but completed the circuit with a length of very fine wire. I taped everything together as I wasn't sure if it'd still work if I glued it but the connection seems strong for now and as the eventual lid was just glued card I can easily remove it and fix it if it dies. The 'switch' is just the two ends of wire sticking out the sides that can be pushed together. I probably should have moved them to the back so they aren't visible but I honestly didn't think of that at the time!
I made the hinge joint out of double-sided tape which works well but could very well break in the future. I didn't have any actual hinges small enough and my attempts at making my own ended up in the bin so this will have to do for now.
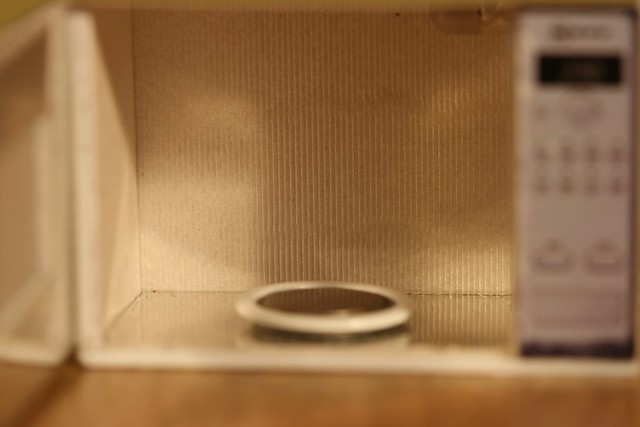
The lovely interior texture came from an unlikely source - a Christmas card!
The handle was something of an afterthought when I realised that the door shut flush with the frame and I'd need something to open it with other than fingernails which ruined the finish. It's a piece of copper wire with the ends flattened and glued onto it. It's a little fragile but as it's not a prop I'll be using often and can be easily re-glued if necessary I think it'll be ok.
So you see, you put in your food...
...punch in the time and cook away!
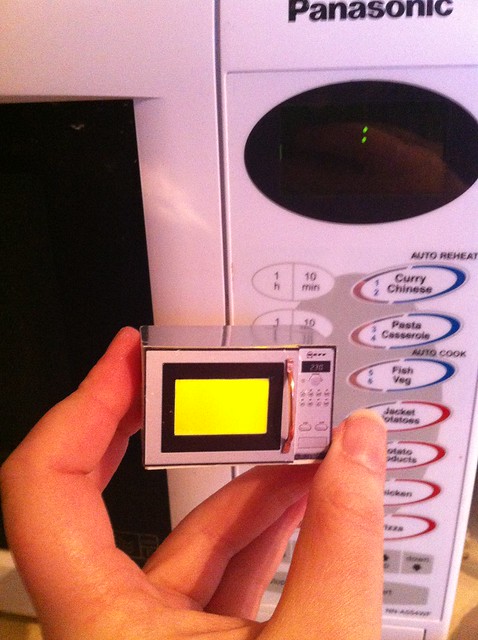
...and just for the lulz...
Here it is working - it's looking a bit out of place there but I thought it could live beside the kettle for now. :P
I felt like making some more polymer clay food the other day. It's odd, I find it incredibly relaxing!
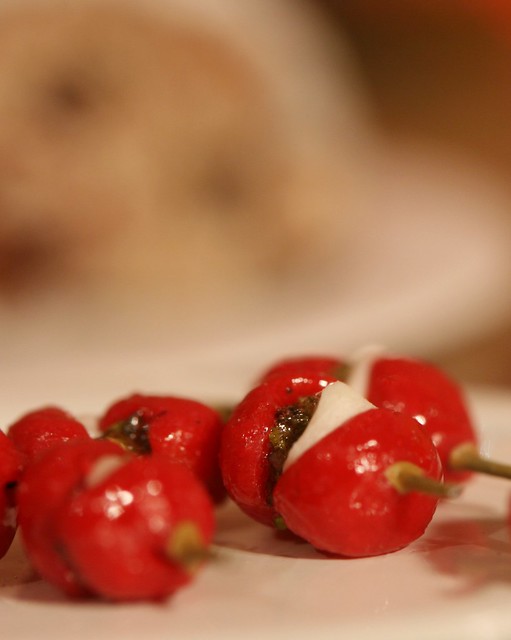
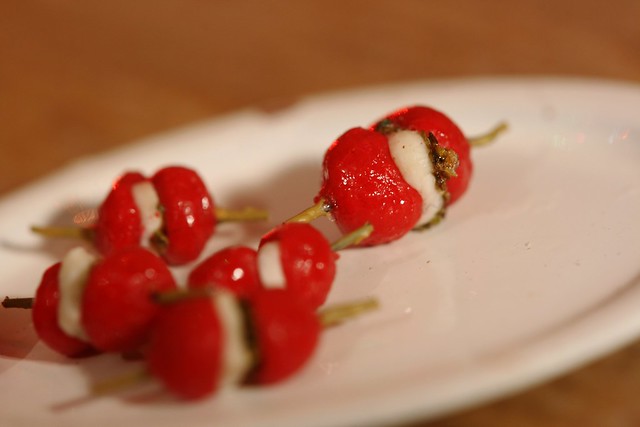
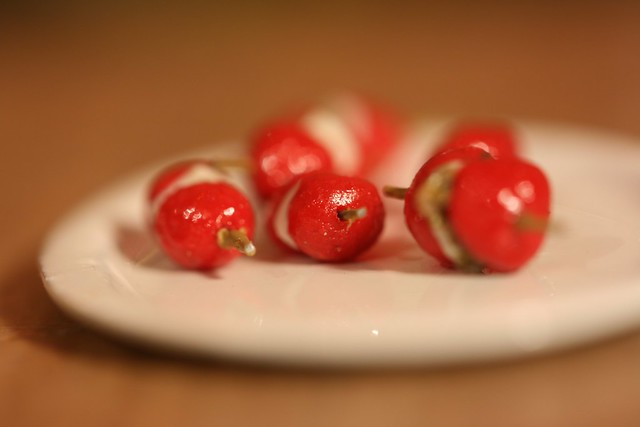
Every Christmas we make up a selection of 'nibbles' to have as a kind of starter before we get the turkey and trimmings sorted out. They're usually small and light snacky things and my favourite is always these - cherry tomatoes with pesto and mozzerella on cocktail sticks. Here's the ones I made up a couple of years ago...
NOM!
...and the fimo version from the other day...
The pesto is simply some green 'scenic scatter' for dioramas mixed with some clear nail varnish and a little drop of Games Workshop paint wash to give it a little more colour. The cocktail sticks are actually very very fine wire, painted afterwards. Annoyingly they make them look more like little stuffed chillies but oh well!
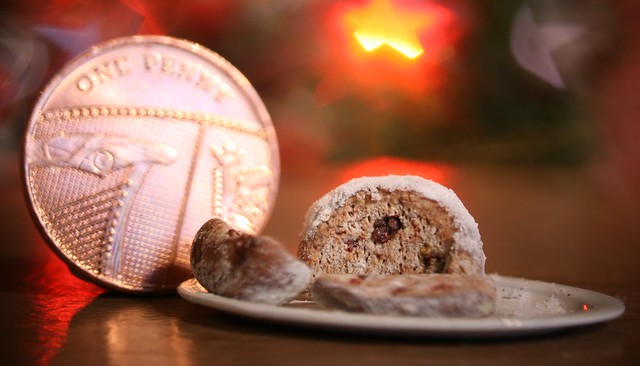
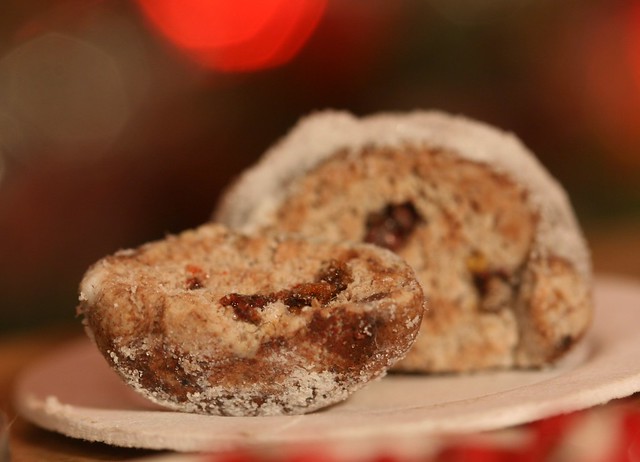
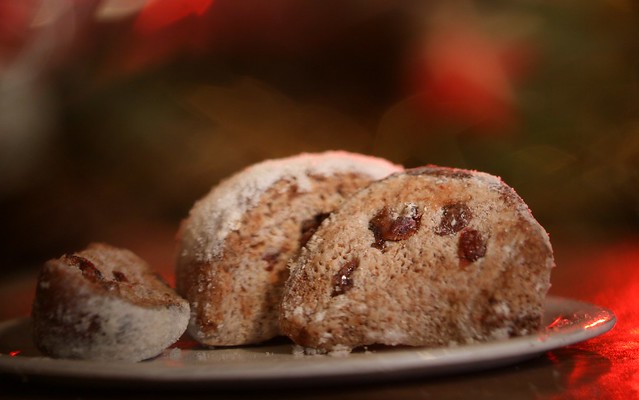
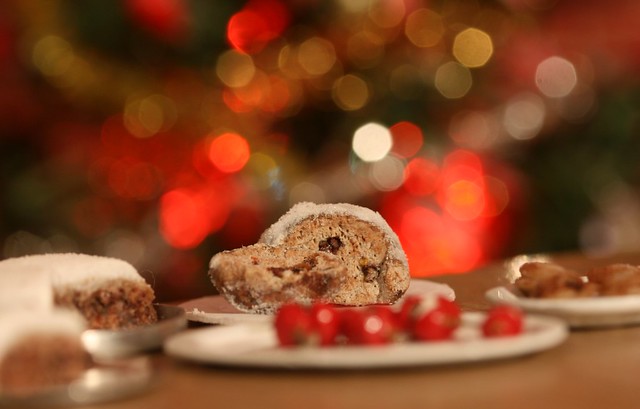
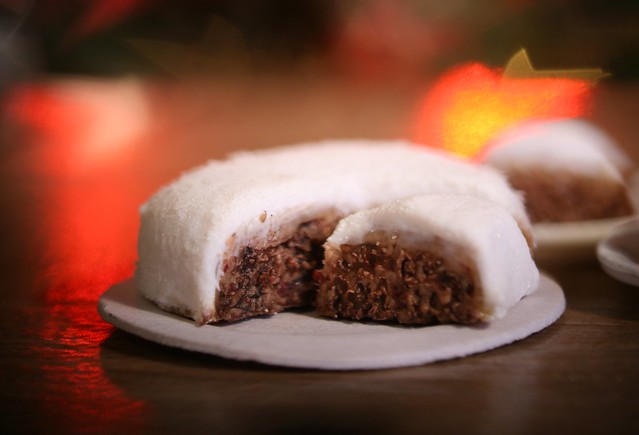
One thing that my parents love to get every year is Stollen. I'm not a big fan because I don't really like dried fruit (which explains why I don't like fruit cake, christmas cake, christmas pudding or indeed, mince pies!) but I love the smell and the look of the thing so I couldn't resist trying to make one for my little people who don't have such picky appetites!
It's all fimo - the 'fruit' was baked prior to the actual loaf being made and then glossed with clear varnish to give it that lovely moist look. I mixed lots of other bits into the 'dough' of the loaf but they didn't really show up afterwards which was a bit disappointing so I ended up just shoving these ones in afterwards, texturing the surface, colouring it all with pastels and some thinned down paint and then baking. The sugar effect was created with a combination of oil, baking powder and pastel dust. I have no idea if it'll stand the test of time but it looks brilliant in photos so I'm happy. :P
Bokeh ftw!
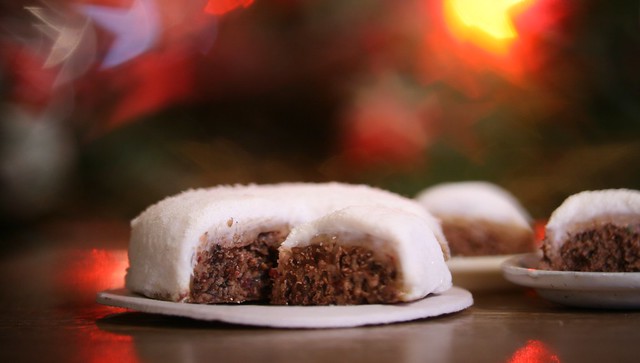
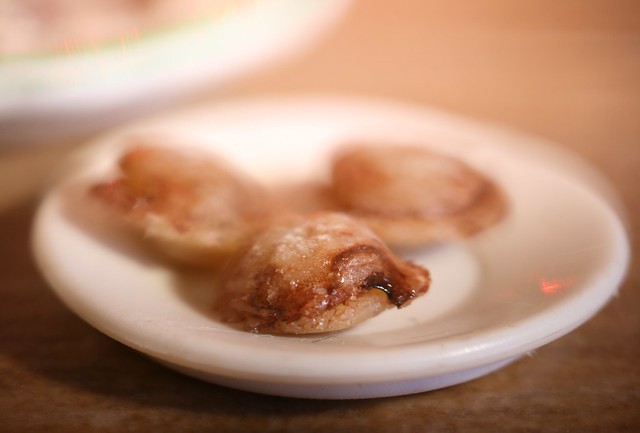
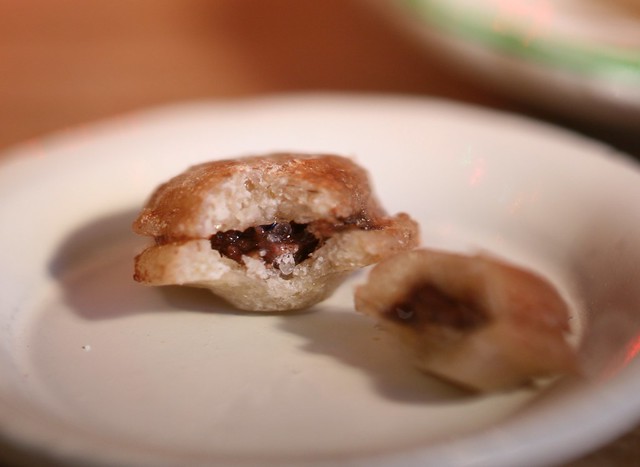
As I mentioned before, two of the other things I don't actually like are christmas cake and mince pies...
These photos are terrible but in reality that icing looks AMAZING! The cake texture itself is awful though; I wish I'd spent more time on it before I baked it. :/
The mince pies worked out really well though and I probably would eat one if they weren't so small...
Now, onto things that I really want to make in real life!
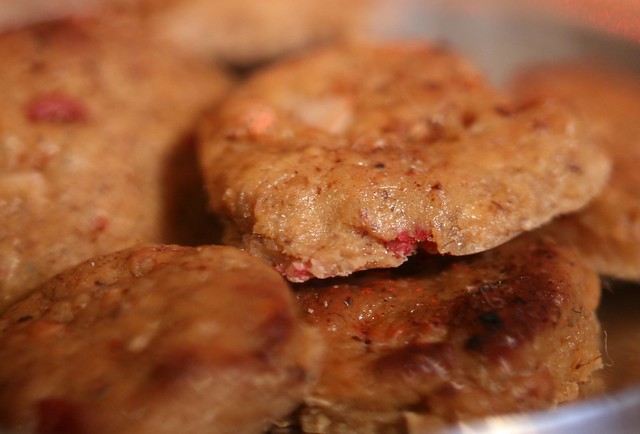
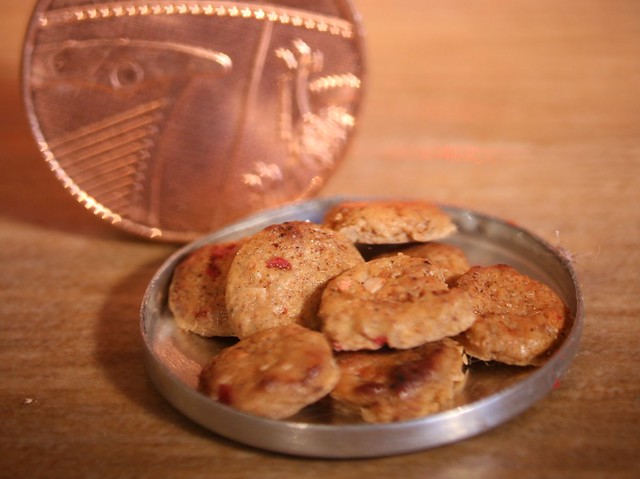
White chocolate and cranberry cookies! I've got a recipe for these somewhere so I might see if I could attempt to make them sometime in the new year because they're just so damn tasty!
Same process as the Stollen with all the ready-made fruit/chocolate chips mixed in and I sprinkled some pastel dust over them before baking to simulate cinnamon.
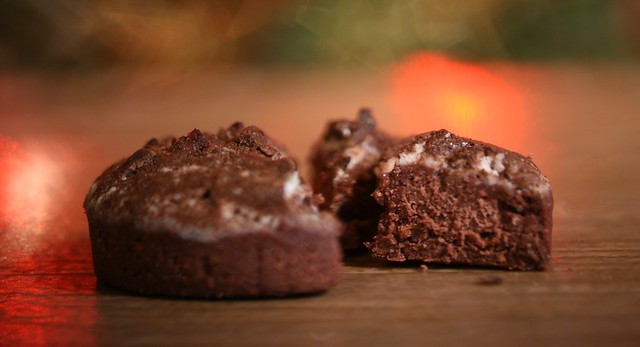
Seeing as I didn't really like the christmas cake, I thought I'd go for something that I was sure to like instead - CHOCOLATE!
You can never go wrong with chocolate cake, let's be honest. ;)
So yeah, that's what I've been doing, well, I was going to say 'this week' but I actually made all that on the same day so it doesn't really count, lol. I have a rather exciting project starting at college that I can't wait to get started on but you'll have to wait a little longer to find out what as I need to do rather a lot of planning before I can actually do any making which is a pain but hey-ho.
Anyway, if I don't get the chance on the day I wish you all a very merry christmas/cake-nomming day and all the best for 2013! :D