Showing posts with label diorama. Show all posts

Monday, 24 February 2025

Max Does NaMoPaiMo 2024 - Photostory! IMG INT


What's this, blog activity?! In this economy?! 🤯

I actually shot this photostory last year, but procrastinated to a ridiculous degree in doing the actual writing part, so here we are a whole year later and I'm still finishing it last minute!😂

Anyway, here's when Max reeeeeally struggled to get started with her NaMo pony...


There's a LOT of photos in this btw, and I'm still getting to grips with google photos for hosting instead of Flickr. XD
 

Monday, 1 March 2021

Max and Juno's Craft Room - A step by step guide

As you'll have seen in my last post, Max and Juno gained a new favourite room this month.

 Considering the complexity, it actually didn't take all that long to put together!

...and now you'll find out why!

Sunday, 14 February 2021

The teeniest of teeny tiny stables.

I meant to post this weeks ago but you know what I'm like so better late than never. XD

I'd had so much fun with the Bridle Tree Barn-Raising challenge that I didn't want to stop, but I was totally out of space for any more stables. Well, there's an exception to every rule and mine was definitely that small things don't count.


Wednesday, 8 April 2020

1/6th scale Kitchen Tutorial

A kitchen for Max and Juno has been top of my list for years, but making such a diorama was going to be tricky thanks to all the appliances and accessories. Luckily you know how much I love a challenge, so I took it on with gusto...

This is going to be a loooooong post with lots of photos so consider yourself warned!

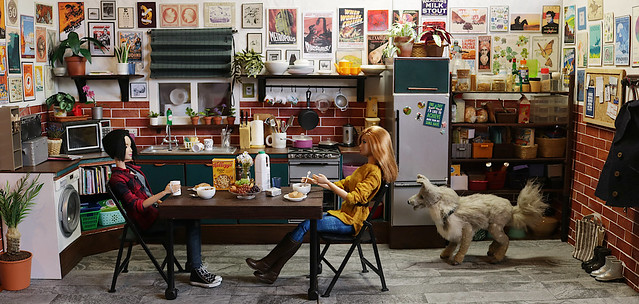
Max and Juno's new kitchen

Max and Juno's new kitchen!

I've been wanting to make Max and Juno a kitchen diorama for years, and finally got started on it last year, then had a total breakdown of motivation and gave up on it until a few weeks ago when the inspiration hit once again and I was able to finish it. 

A post listing how I made the majority of it will be going up immediately after this one, so check that out if you want to know how I put the main parts together. :)

Anyway, without further ado, I'll let the girls show off their latest room...

Max and Juno's new kitchen

Monday, 4 September 2017

Deja Brew! (WIP)

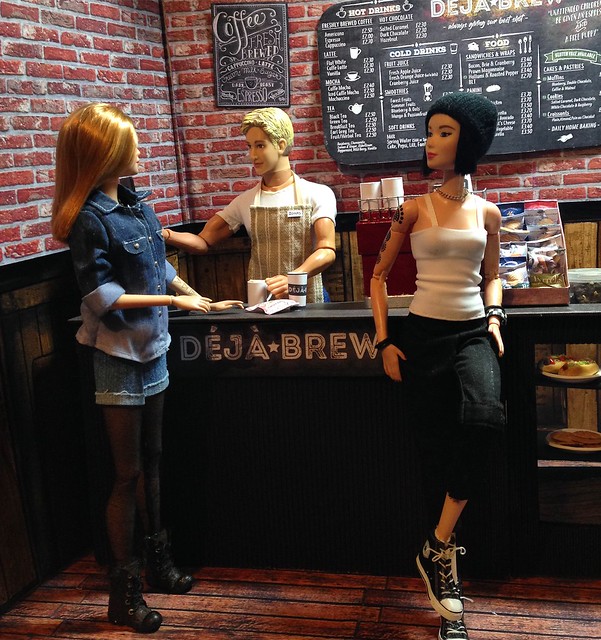
One of the 1/6th scale projects I've been working on for months is a coffee shop. While Max and Juno's kitchen and bedroom are priorities, I felt I needed somewhere they could socialise with the rest of the cast. A coffee shop seemed like the logical solution, though perhaps not, as I don't drink tea or coffee so I'm very unfamiliar with what's actually available! 😂

 I couldn't resist a good pun for the name though. :P

It's still very much a WIP at the moment but I thought I'd share what I have so far anyway!

 image

Thursday, 4 May 2017

An interlude...

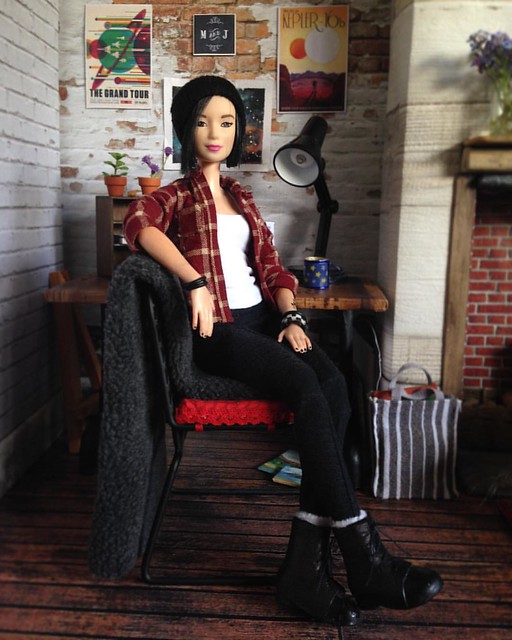
I've got lots to post about in the next week or so (some scenic scenery and a sneaky behind the scenes look at the newly relaunched Magpie Model Horses!) but I haven't uploaded all my photos yet so you'll just have to put up with this instead; another brief look into the daily goings on at Max and Juno's place...

Max  . .#dollroom #dolldiorama #dollfurniture #barbiecustom #barbie #barbiecollector #sixthscale #dollphotography #playscale #fashiondollphotography #dollstagram #instadoll #maxandjuno #dollsofinstagram #doll #gaydolls #gaybarbiedoll #dollswithtattoos #ba


Desk . #dollroom #dolldiorama #dollfurniture #dollshouse #dollhouse #roombox #barbiecustom #barbie #barbiecollector #sixthscale #dollphotography #playscale #fashiondollphotography #dollstagram #instadoll

The living room . .#dollroom #dolldiorama #dollfurniture #dollshouse #dollhouse #roombox #barbiecustom #barbie #barbiecollector #sixthscale #dollphotography #playscale #fashiondollphotography #dollstagram #instadoll

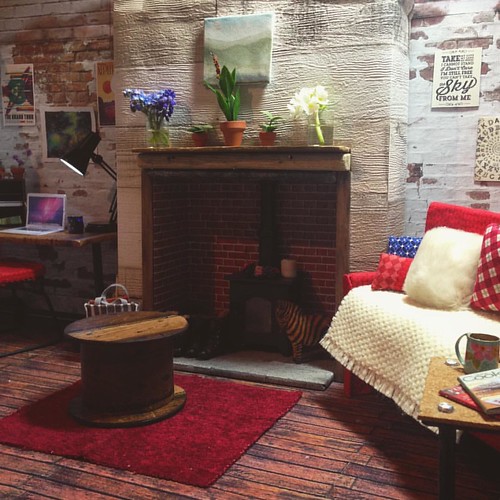
I made one of those fancy reclaimed wire spool tables that's all over Pinterest from a cardboard tube, some scrap balsa wood and more of the wood effect wallpaper. The delightfully carved wooden zebra by the stove was a lucky charity shop find by my dad - I've trained him well, he now actively searches for horse shaped objects for me!

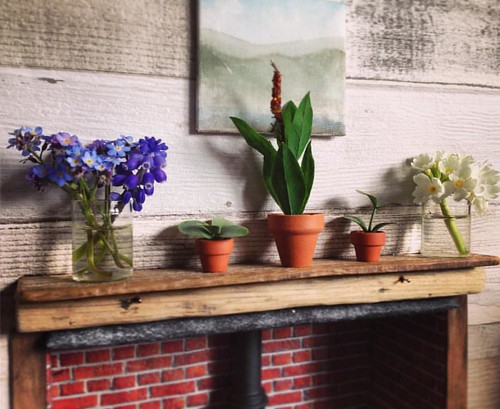
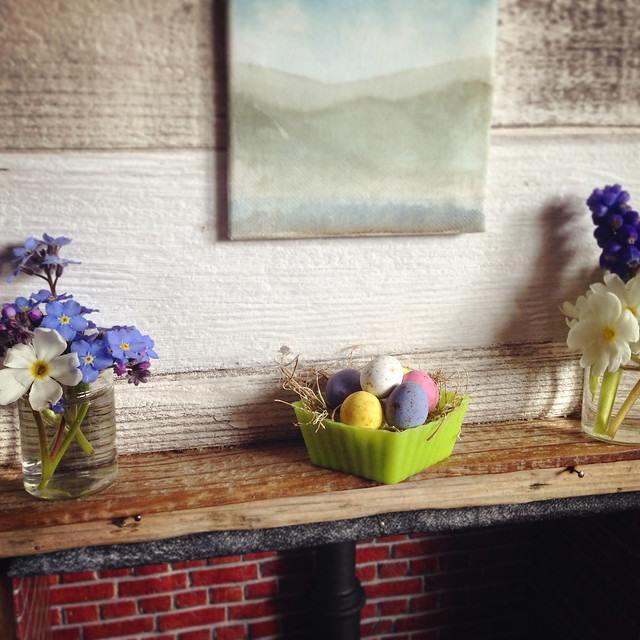
As I knew the real flowers I'd used for my Easter photo session wouldn't last, I rummaged through my bag of plastic planty bits and dug out a couple of tiny terracotta plant pots I'd bought at a recent craft fair. The soil is just a chunk of blue foam to pad it out, then covered in a liberal dollop of PVA glue and dried coffee and tea grounds.

🌱🌿🍃🌻 . #dollroom #dolldiorama #dollfurniture #miniatures #dollshouseminiatures  #barbiecustom #barbie #barbiecollector #sixthscale #dollphotography #playscale #fashiondollphotography #dollstagram #instadoll

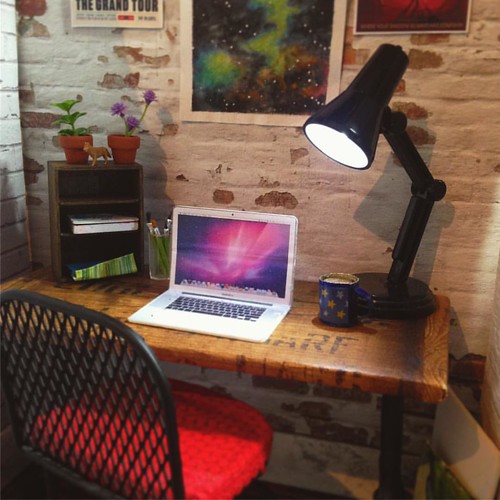
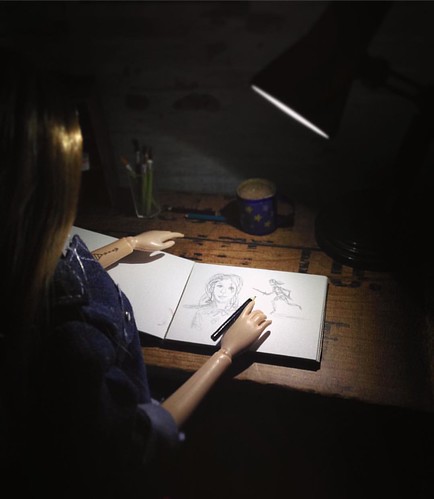
The anglepoise lamp on the desk was a £4 bargain from Flying Tiger Copenhagen, and is completely poseable as well as fully operational, which comes in very handy when Juno feels the urge to draw late at night...

Burning the midnight oil. . .#dollroom #dolldiorama #dollfurniture #barbiecustom #barbie #barbiecollector #sixthscale #dollphotography #playscale #fashiondollphotography #dollstagram #instadoll #maxandjuno #dollsofinstagram #doll #dollswithtattoos #barbie

Sunday, 16 April 2017

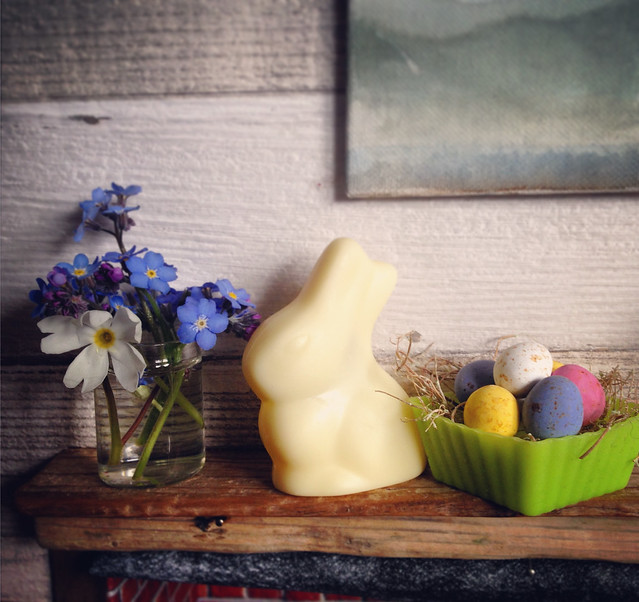
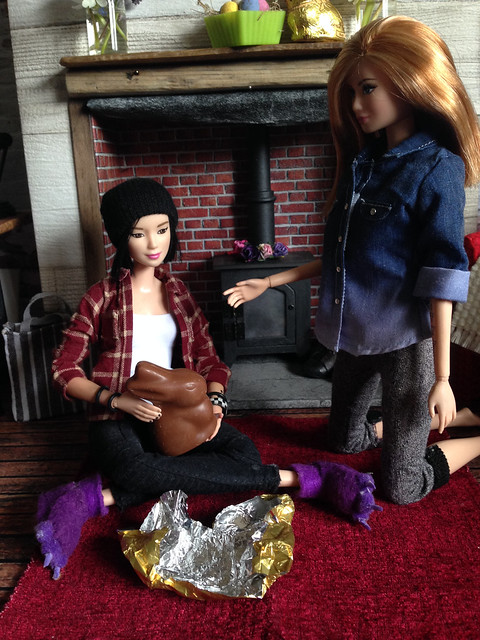
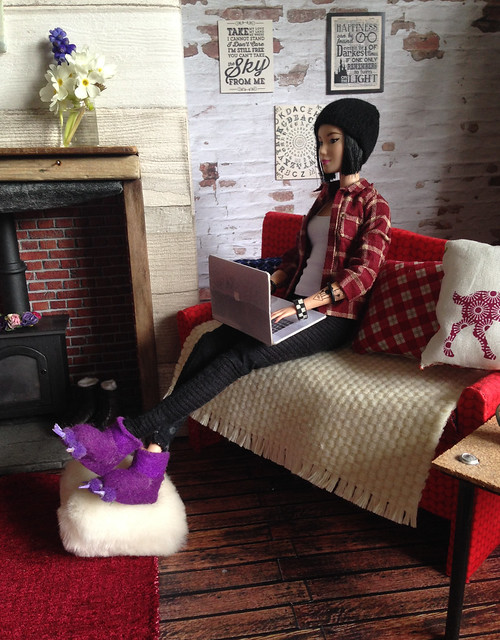
Easter with Max and Juno

Easter

'We've got one each, right?'

Easter

'I hope so, I can't see this one lasting long between the pair of us...'

Chilling on a Sunday afternoon

'...I might order some more up later, you know, for...emergencies'

Easter

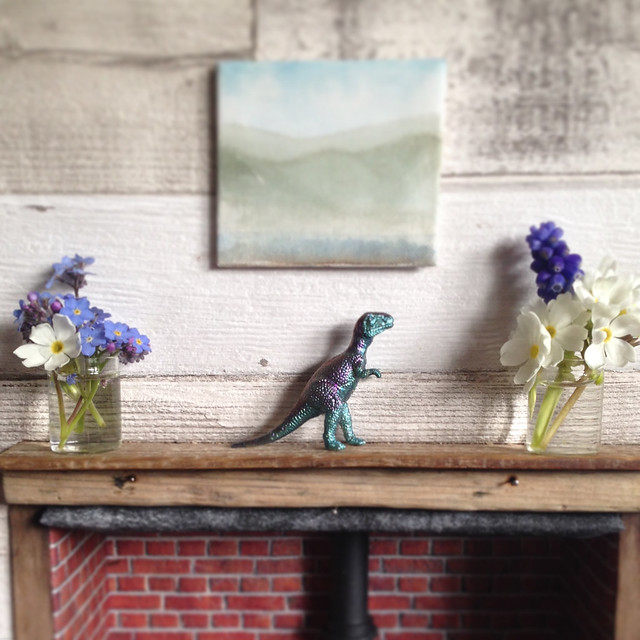
Bonus picture - this is what lives on the mantelpiece outside of holidays. :P


Chilling on a Sunday afternoon

DIY Desks and Tableware!

Whilst binge watching Critical Role again last night, it hit me that I still hadn't got round to making Max and Juno a desk or table for their living room. (I still need to remake the sofa, but it'll do for now.)

I wasn't in the mood for any proper woodworking, so I had a rummage and a quick browse of Pinterest for inspiration and hit on the perfect combo. I've been trying to go for a sort of industrial/shabby chic look with the furnishings, and I really liked the look of old reclaimed metal and wood for furniture.

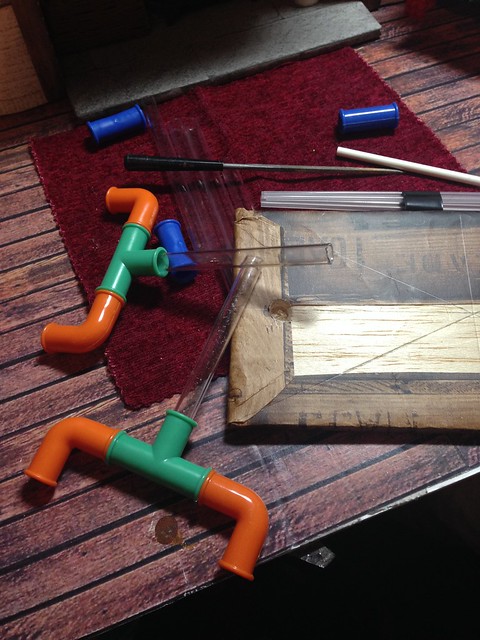
I'd bought this novelty connecting 'pipe' drinking straw set years ago as I thought it had potential, and well, I was right!

Industrial Desk WIP

Friday, 16 December 2016

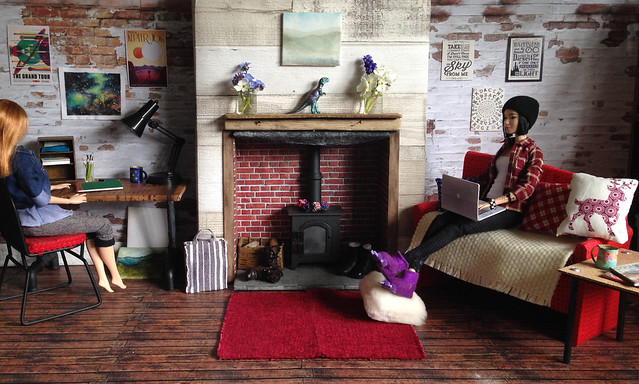
Living Room set

I've been on a real 1/6th scale kick recently and my poor ponies have been abandoned for the time being in favour of my dolls. I'll get back to them soon I promise, but for now the girls have taken over!

As seen in my last post about them, Max and Juno now have a sofa, but it was hardly a living room! After perusing Pinterest for inspiration I decided to make them a fireplace to go with it, and an assortment of walls and flooring options. It would probably have been sensible to make the walls and floor first, then the fireplace but when have I ever gone for the sensible option?

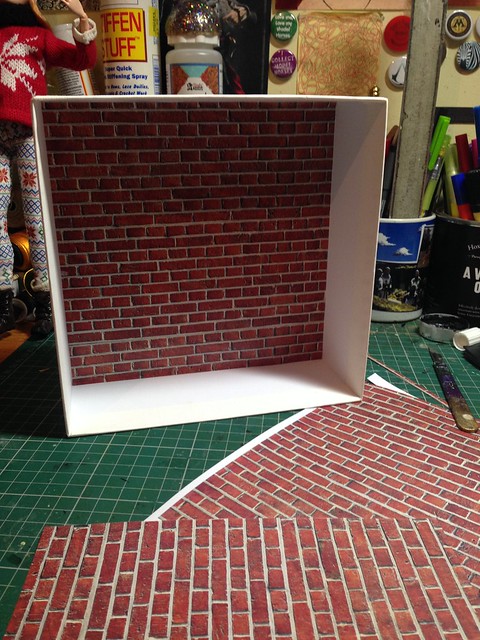
I hunted around for a suitably sized box and eventually found one in the form of packaging for some bath products. It was just the right height and depth, and despite the sides being relatively thin, it was made from very sturdy card. I found some tileable brick patterns online and printed out a few pages for the back and side which were affixed with double-sided tape.

image

Monday, 30 May 2016

Jump to it!

Continuing on from my previous post...

After the success of my G2 TB resculpt, Eclipse...

EA Eclipse

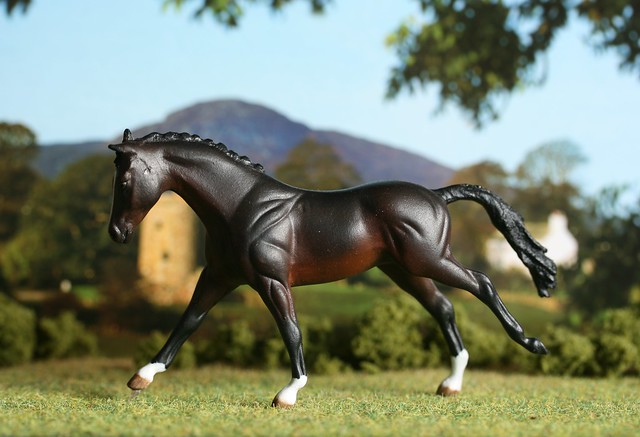
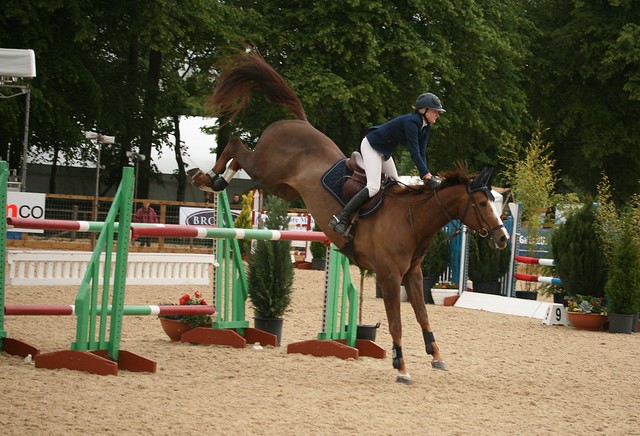
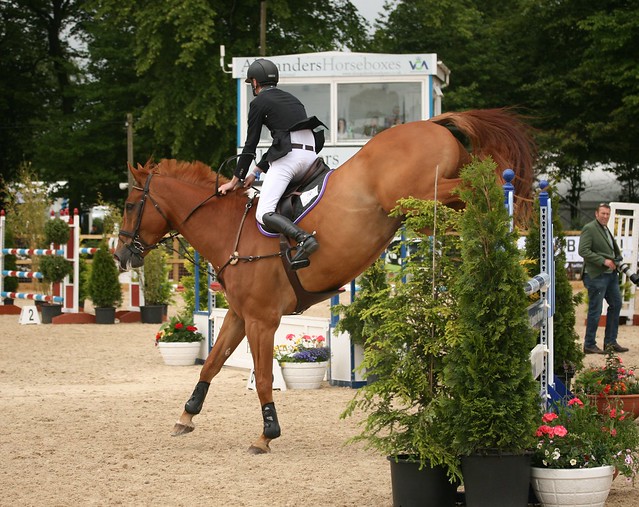
...I really fancied attempting another custom I'd been wanting to do on that mould for years - a landing horse.

Showjumping Talentseekers

I know, right, not the easiest thing in the world to do!

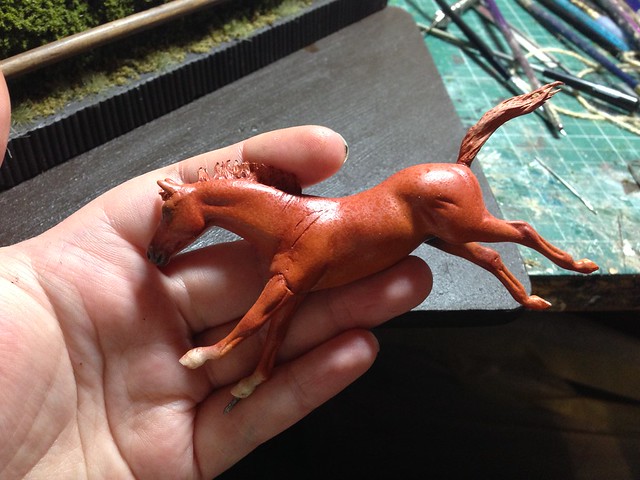
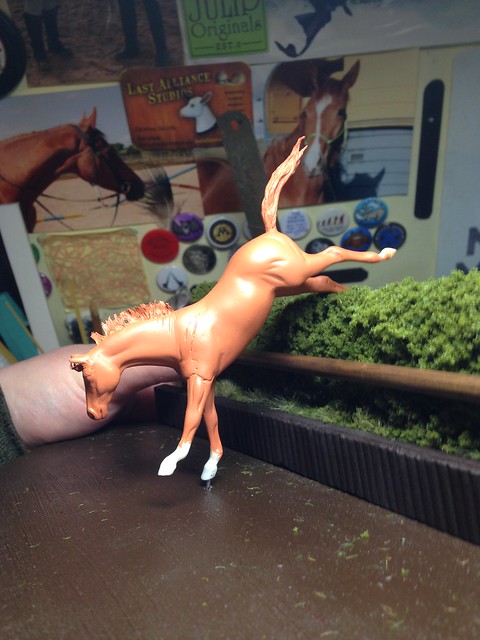
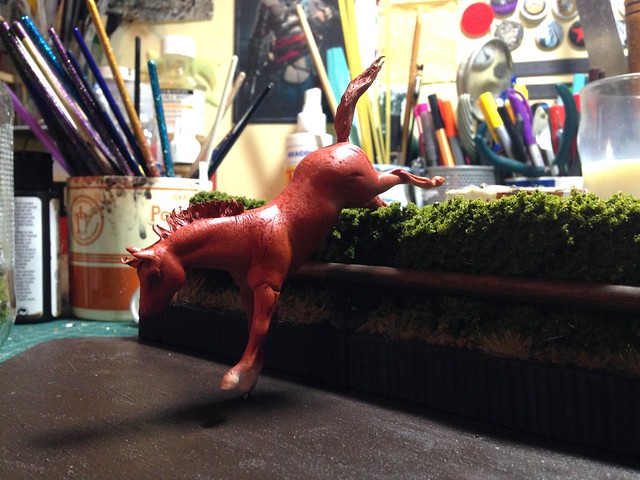
I knew I wanted it to stand on only one leg, through a wire onto a base (and let's be honest here, I really wanted to make multiple dioramas more than anything else!) in this kind of pose, with the other foreleg thrown out ready to touch down.

Showjumping Talentseekers

The sculpt as it was was fairly close to that kind of pose, so it didn't take much to remove one foreleg and reset it. I did all the resculpting with superglue and bicarbonate of soda rather than epoxy - more because I'm incredibly impatient sometimes and wanted to get as much done in one day, and also because I really hate using epoxy. It gets everywhere and just eurgh.

I wanted to tweak the hind legs more but I think I'll leave that for another future custom.
Anyway, I redid her mane and tail with glued thread which is definitely my new favourite way of doing hair as you can get some really nice natural poses I'd really struggle to capture with clay.

She's going to be a nice bright coppery chestnut with a bit of chrome, but at the moment I've hit a bit of a snag - I ran out of dullcote unexpectedly, and really needed to seal some pastels. I had an old can of sealer I thought would be ok but it spluttered a lot and well, you can see the result. I've ordered up some more dullcote which should arrive in the next few days, then I'll hopefully be able to fix it with another few layers, if not I'll need to sand her back and start again.

G2 TB resculpt WIP

Prior to painting her properly, I set to work on what she'll hopefully be doing as a performance prospect - cross country!

Although I've made a teeny tiny micro mini water complex before, I wanted to try my hand at a proper water jump, and when I saw photos of -this one- at the 2010 Rolex Kentucky course, I knew I just had to make my own interpretation.

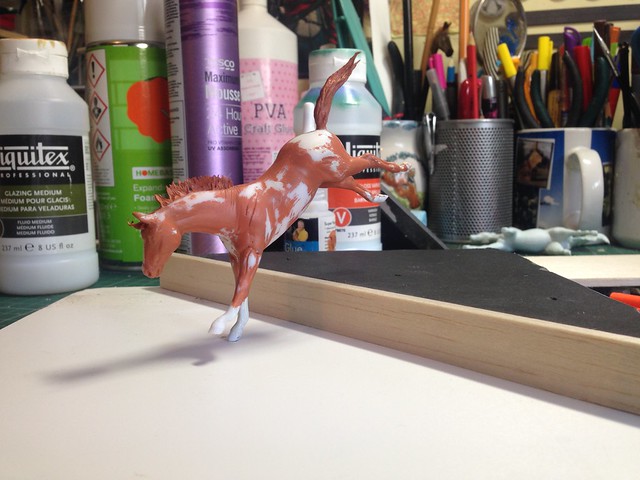
I started off with a cork-based placemat and a thickish piece of foamex for the base, then built up one end for the bank.

Stablemate water jump WIP

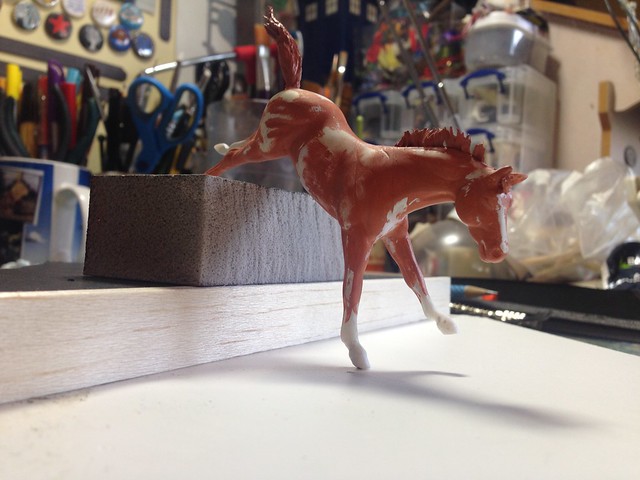
With a sanding block 'hedge'

Stablemate water jump WIP

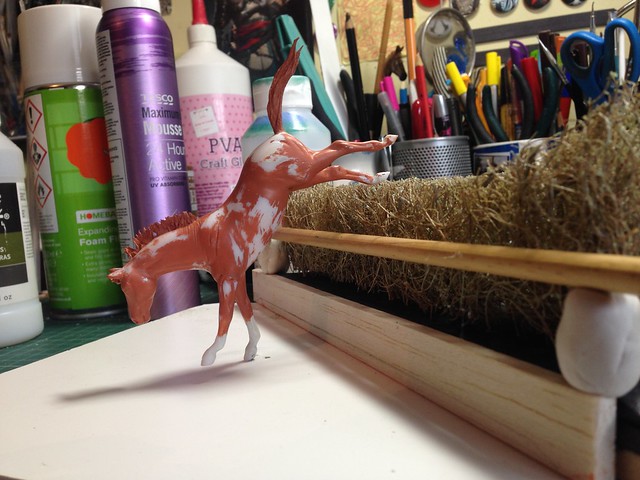
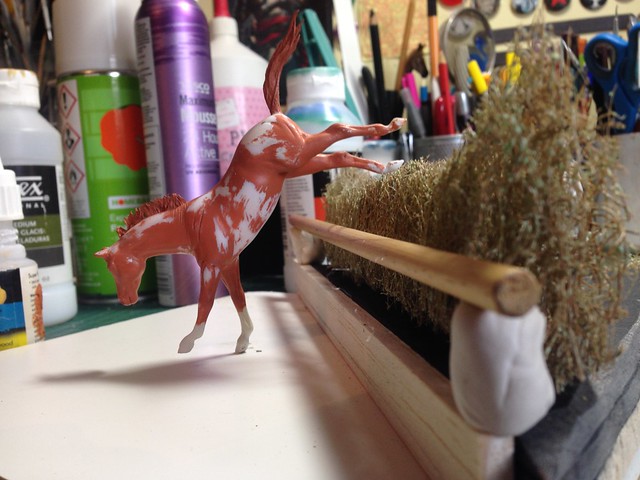
A slightly better mockup with wooden dowelling and a rubberised horsehair hedge.

Stablemate water jump WIP

Stablemate water jump WIP

Stablemate water jump WIP

I roughed up the surface of the bank and 'water' with filler to give a nicer texture...

Stablemate water jump WIP

...then gave everything a first coat of paint.

Stablemate water jump WIP

Whilst I put the hedge together elsewhere, I started to add foliage to  the bank section. I probably should have waited a bit but it looked so empty!

Stablemate water jump WIP

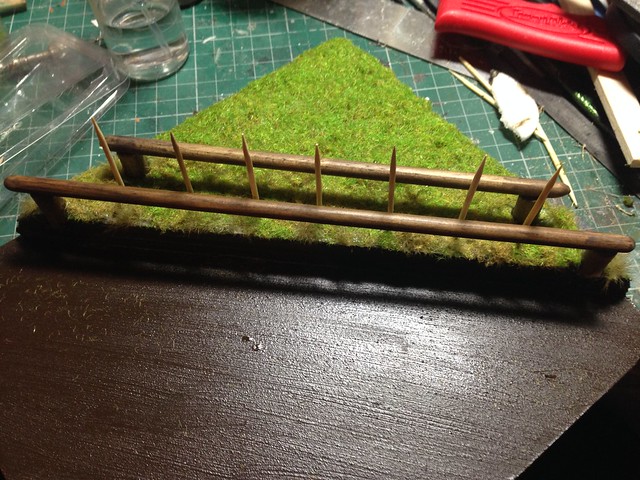
I drilled some holes for the internal supports for the hedge and stuck them into place. I painted them afterwards so they wouldn't be so obvious. The wooden supports were made from pine dowelling and stained and buffed with natural beeswax (which smells amazing by the way, I should have been a carpenter!)

Stablemate water jump WIP

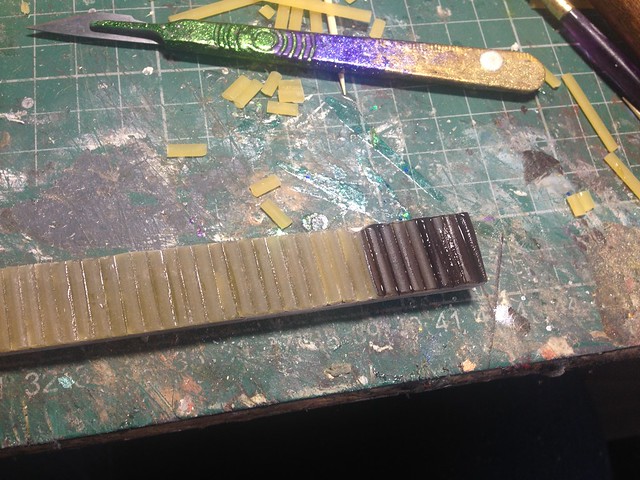
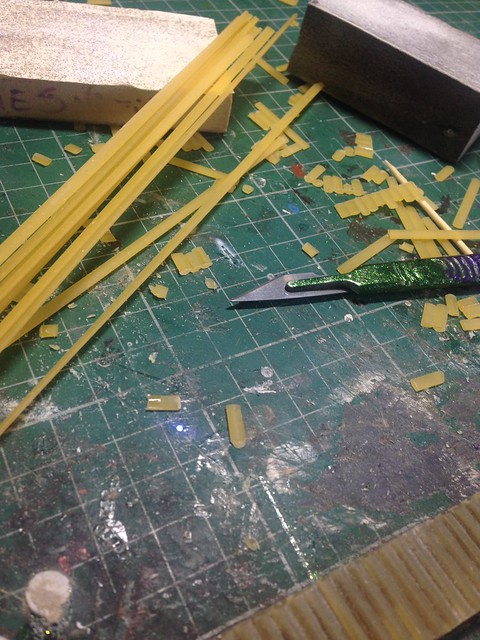
I couldn't find any suitable wooden sticks or thin dowelling in my wood stash for the uprights, but hit upon a cunning solution in the kitchen of all places - pasta!

Stablemate water jump WIP

Well, linguini to be precise.

Stablemate water jump WIP
Who has the shiniest scalpel handles? I doooooo!

Once in situ it really looked the part, as did the hedge once that was in place too.

Stablemate water jump WIP

Stablemate water jump WIP


I'm not quite finished it yet so I'll leave you with a sneak peek of how it looks at the moment...
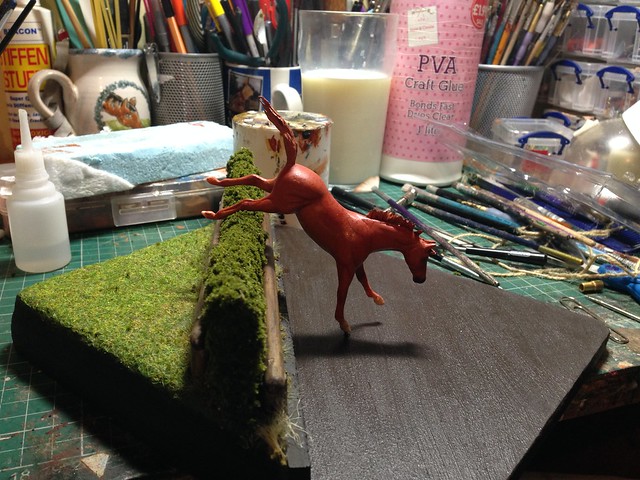
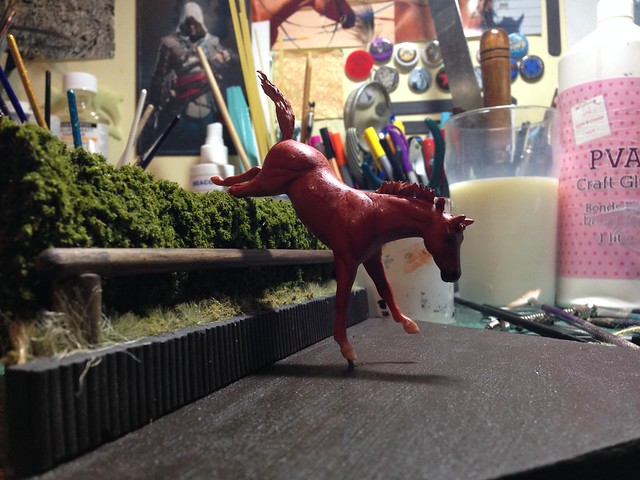
 Stablemate water jump WIP

Stablemate water jump WIP

 
...and I'll hopefully have an update this week once I've finished it off!


Wednesday, 2 March 2016

Copperfox 10 Day Challenge! - Minis, minis everywhere!

Day 5:  Create something for your models or try a new skill
The model horse hobby is full of things to create both for your models or using your models. Today's the day to be brave and have a go at creating that jump for your models or to have a go at painting your horses hooves.
--------------- 
I've been procrastinating again, apologies! I knew I'd never manage to do consecutive posts for this but I did hope I'd manage to get them all done in a reasonable amount of time! (For some reason this post accidentally submitted itself before I'd even finished writing it, so apologies if you clicked on it earlier and wondered why there was nothing there!)
To my credit, I've been struck down with the lurgy this week and spent most of yesterday in bed as my entire body felt choked up, heavy and just bleurghhhhhh in general. I still feel pretty rotten but the show must go on as they say!
---------------------------
I haven't made a lot recently, but I have two commissioned Schleich scale dioramas to start on soon, as well as some miniature flowers for someone else, in addition to a super secret project that has a swiftly looming deadline!

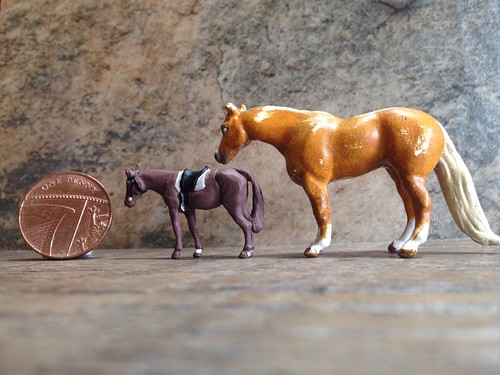
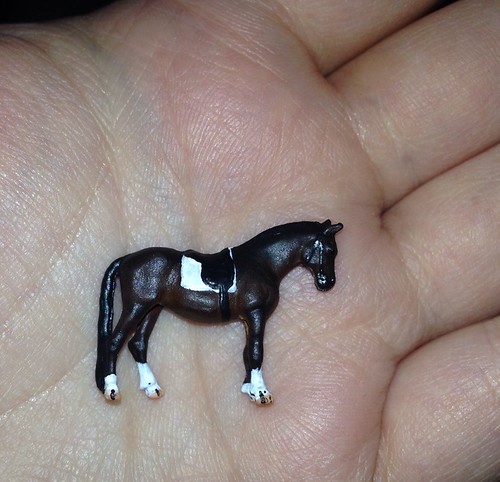
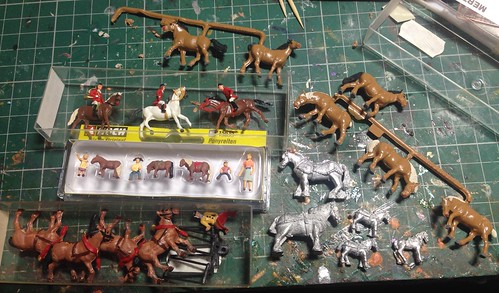
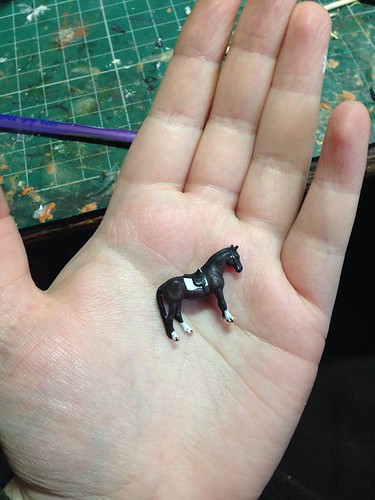
I always find time for minis though, especially as I've been really getting into the super tiny ones, intended for model railways and the like. They're expensive for their size, but incredibly detailed and depending on the manufacturer you can get some in a variety of shapes, sizes and poses which makes for some good performance prospects.

Compared to Breyer Mini Whinnies they're positively minuscule, but just look at the difference in sculpting!

WIP micro mini

Some of them have sculpted on tack which is both a blessing and a curse because there's no way I'd be able to make anything that small, but at the same time, sometimes I'd have preferred them without any.

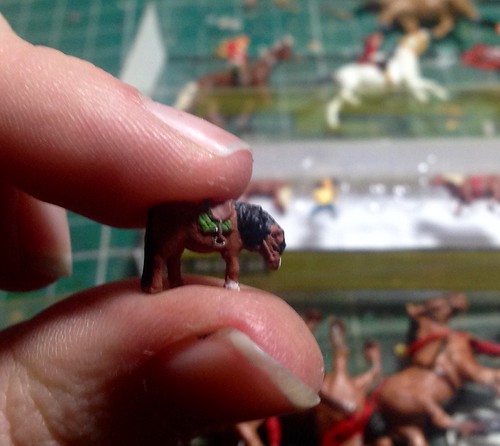
Most people don't like painting micros because of their size but I love the challenge, especially as a good camera will pick up EVERY detail.

WIP micro mini

This one was done with acrylics and pastels.

WIP micro mini

 I went to a model railway show the other day (which my next post will be about, hopefully) and came away with a selection of new minis.

image

The shetlands were about a tenner, which, being the cheapskate that I am, I was loathe to pay, but come on, how often do you see micro mini ponies?!

image

They'll all be customised,and I'm hoping to show some at the Copperfox tour live show in a couple of months. In light of this, I've been working on a few dioramas...

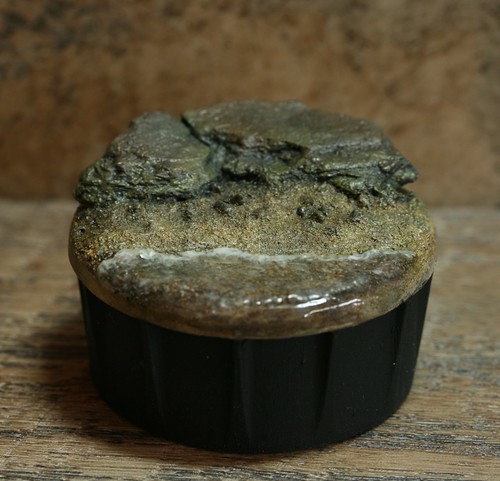
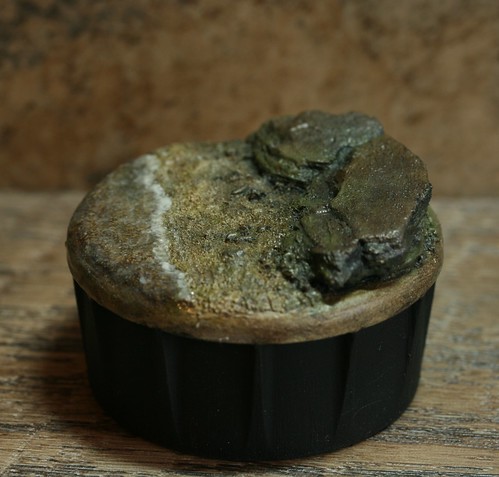
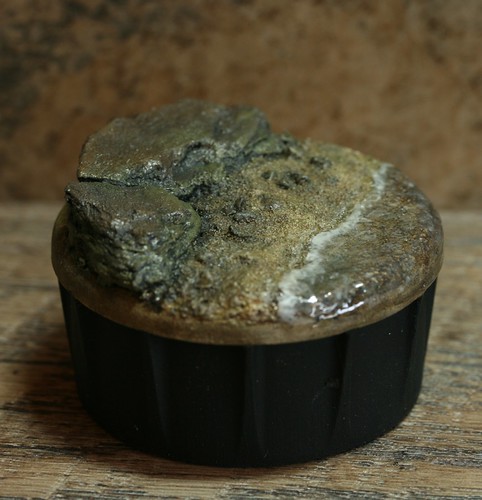
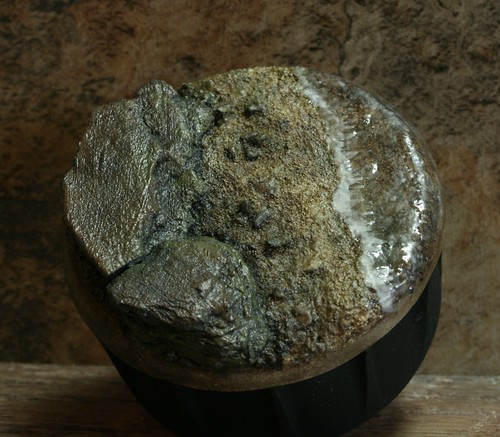
I found a really nicely shaped bottle lid the other day and knew it had the potential to be something more interesting, so I turned it into a beach one afternoon.

Micro mini diorama
Micro mini diorama

Micro mini diorama

Micro mini diorama

I'm actually customising this horse and rider combo at the moment, but this is how they looked in their original finish. The riders are removable, which is SO handy.
Micro mini diorama

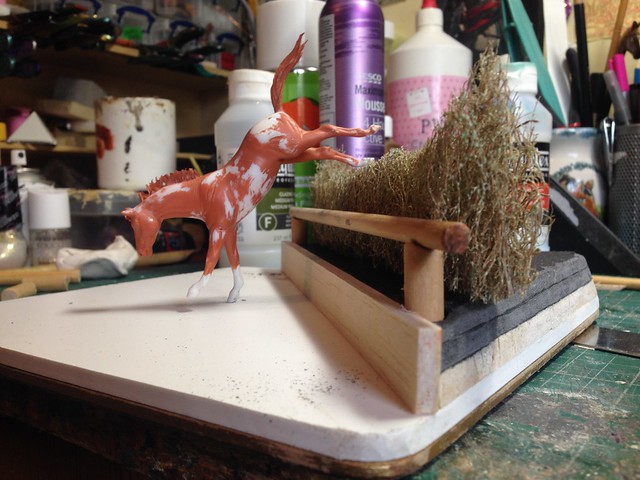
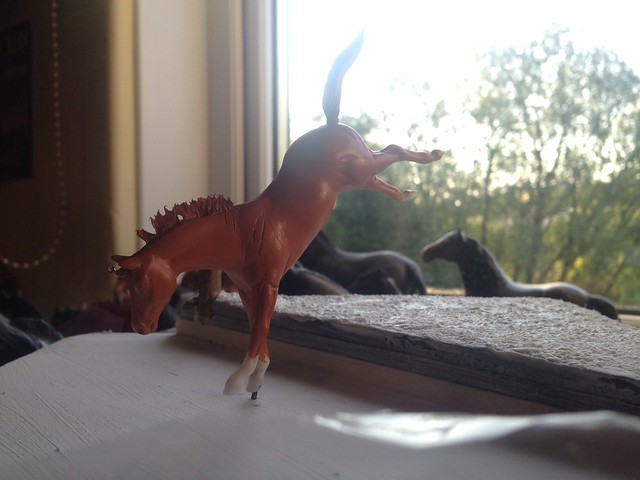
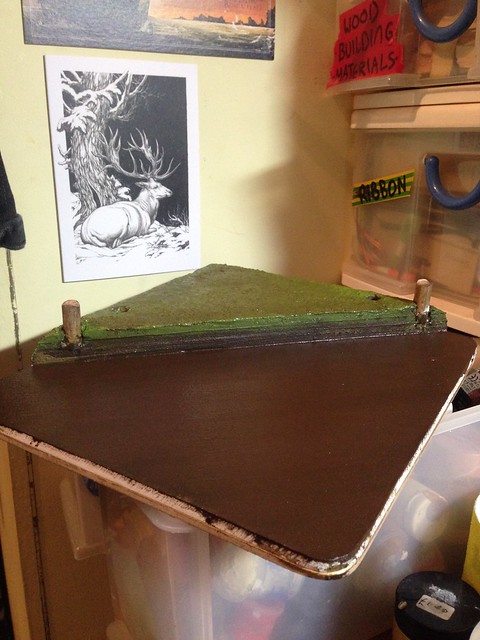
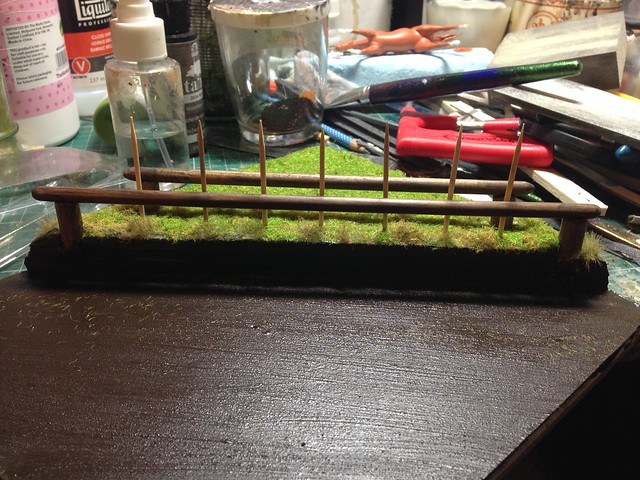
I've also been working on a cross country water jump. Alas, I accidentally mucked up the water after these photos were taken (I put on another layer and smudged it before it was fully dry! D:) so I've had to take the water off it and start again which is a pain.

Micro mini XC jump WIP

Micro mini XC jump WIP

Hopefully I'll get it looking more respectable soon, I'm really pleased with it otherwise!