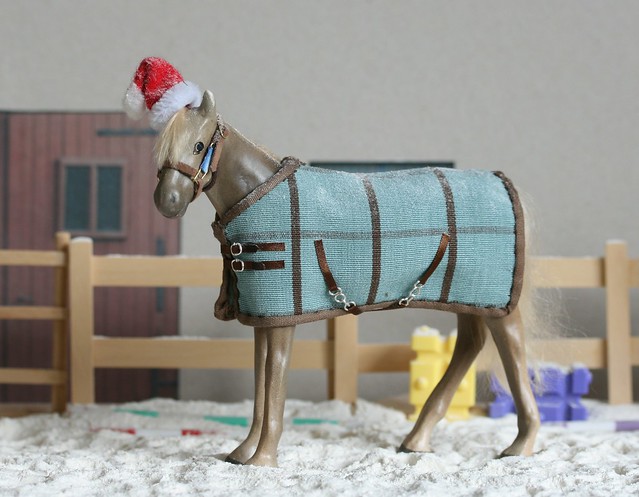
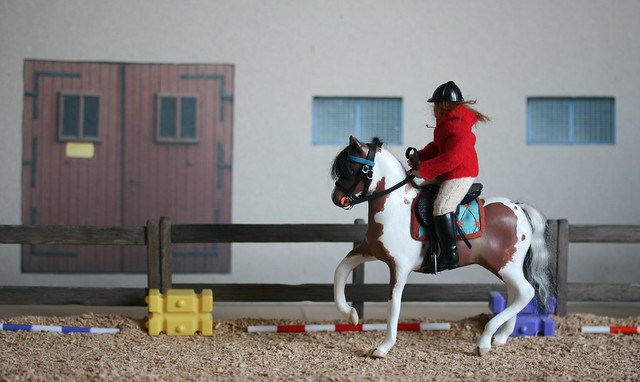
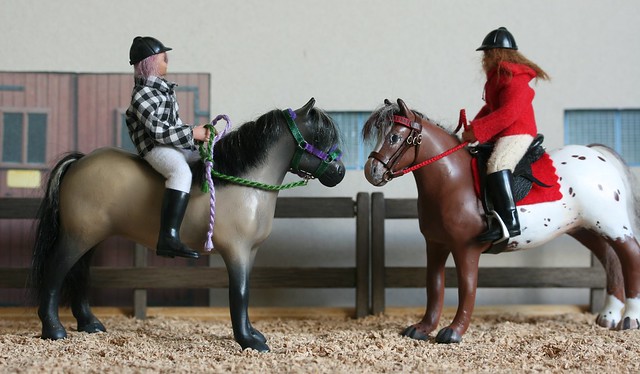
The fencing now looks distinctly...
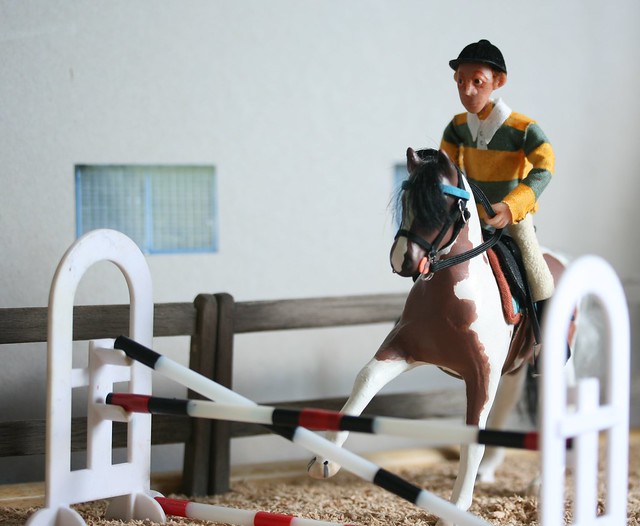
...aged.
Although the plain balsa wood was fine, it looked too new and shiny which, from experience, absolutely no riding school fencing is! XD
I bought some more balsa to make a new set of fencing as the original wasn't long enough for the background and looked a little amateurish. Instead of flat vertical pieces, I got some square dowelling which did a much better job of supporting the whole structure than before. I made three separate pieces but you only ever really see two in photographs.
Each section is held together by pins and glue and (so far) nothing's broken!
The biggest difference however was in the stain. As I'm perpetually skint and I don't like spending money when I don't need to, I had a google to see if there was anything I could make that would stain the wood and make it look a bit aged. The process I found I'd heard of before but never had the opportunity to try out. All you need is vinegar, steel wool and cold tea! No, not a really hardcore salad dressing but a ridiculously simple woodstain with incredible results!
http://thefriendlyhome.blogspot.co.uk/2012/07/how-to-oxidize-wood.html
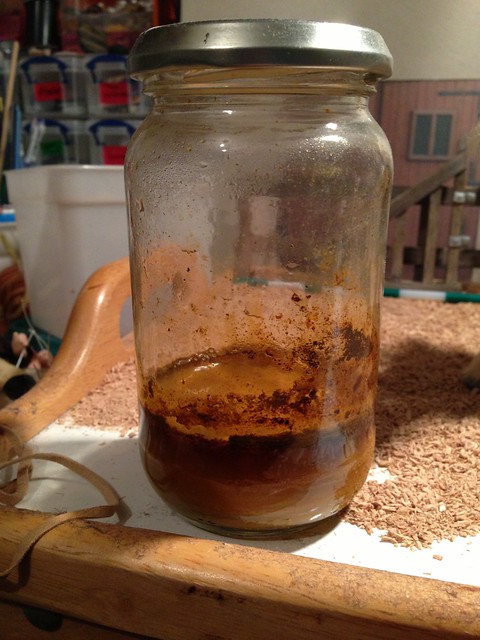
I thought I'd taken photographs of the process but I seem to have lost them so apologies for that! The following is a shot of what's left of the solution - it's now mostly rust but I'm looking forward to seeing what another batch will produce now that it's been sitting in there for a couple of months.
I also have a photo of what the wood looked like before I sanded and stained it atop the final results...
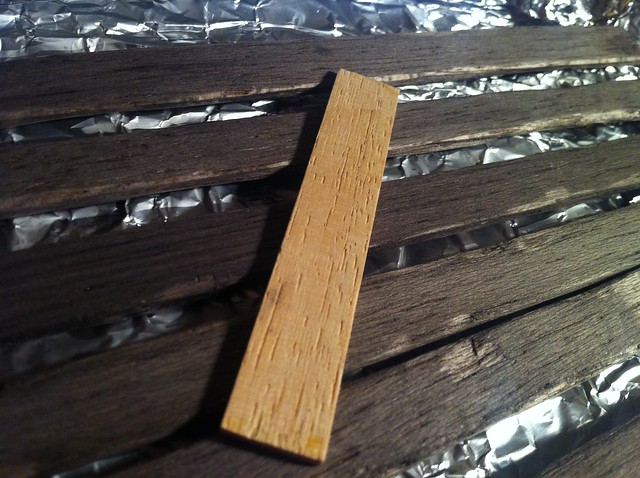
Pretty dramatic, eh?
I sanded each piece well before adding the stain and roughed up the edges to suggest that they'd been in use a long time. I used a scalpel to nibble away a few chewed up areas where loose horses must had gone for a munch as I remember seeing a few fences like that at my old riding school.
I'd made up a set of basic wooden jump wings a few months before that had the same 'brand new wood' problem so I thought to myself, why not give them the same treatment? After all, they'd probably be left outside most of the time so they were bound to get a bit grotty!
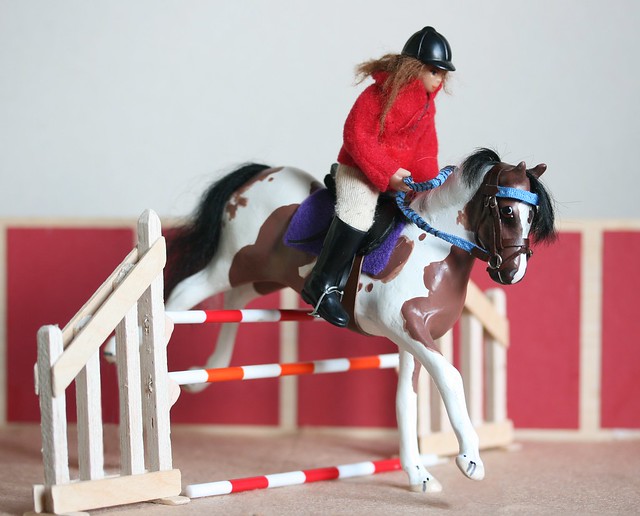
One or two treatments later...
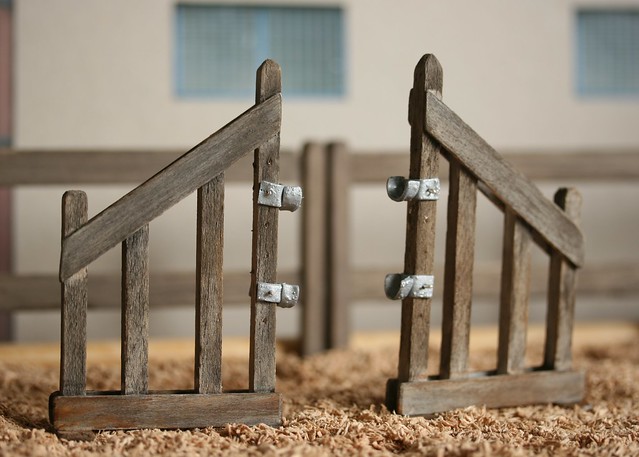
I made the jump-cups this afternoon out of silver Fimo and wire as the old ones were terrible.

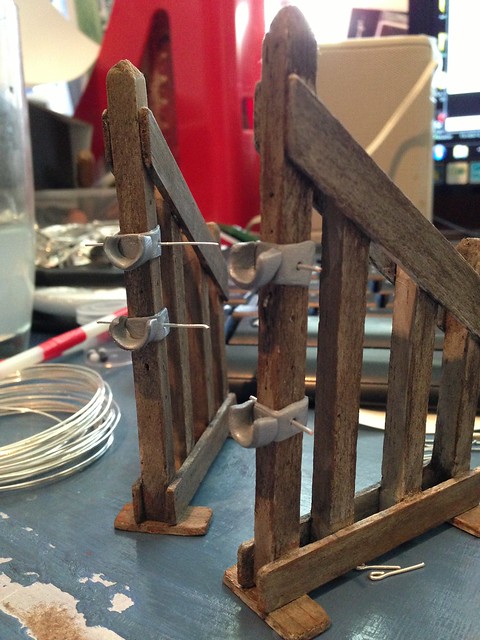
I had to glue a couple of the actual cup parts back on after I baked them as they'd come loose but they're pretty solid now.
The wings have holes in them so they can be adjusted to different heights. I was beginning to loose the light when I photographed them so I don't have any evidence as yet to prove that but I assure you that they can be changed! XD
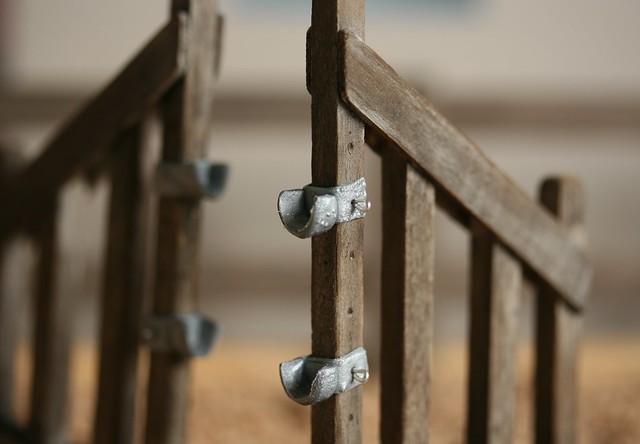
I put the heatgun a bit too close to them so they've bubbled up a bit but I don't mind, in fact I think I quite like the effect!
I've been using 'My Beautiful Horses' jump poles for years but they're really a bit too small to fit in with my Julips properly. Luckily there was some spare plastic tubing going spare at college the other week that was due to be chucked out so I managed to snaffle a couple of feet of it before it all went. I cut them to size with a hacksaw, sanded the ends and then used coloured electrical tape to give them a bit of colour. It's not the neatest thing in the world but I like the kind of 'rough and ready' look it has, like they've been made by the yard staff rather than bought.
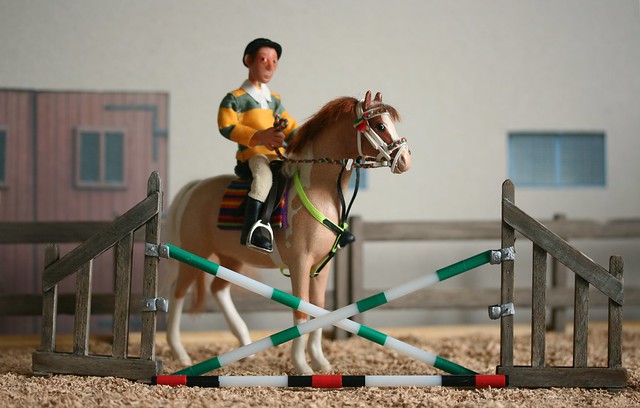
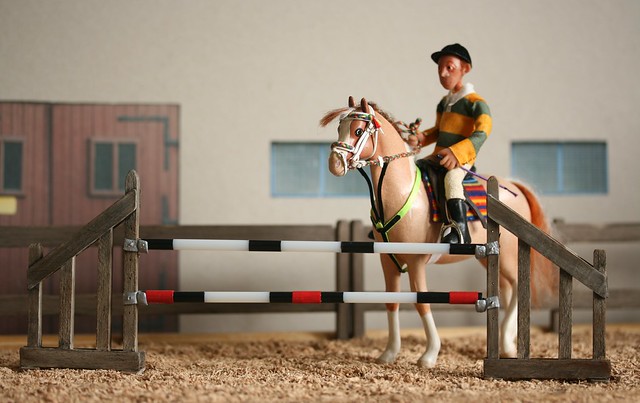
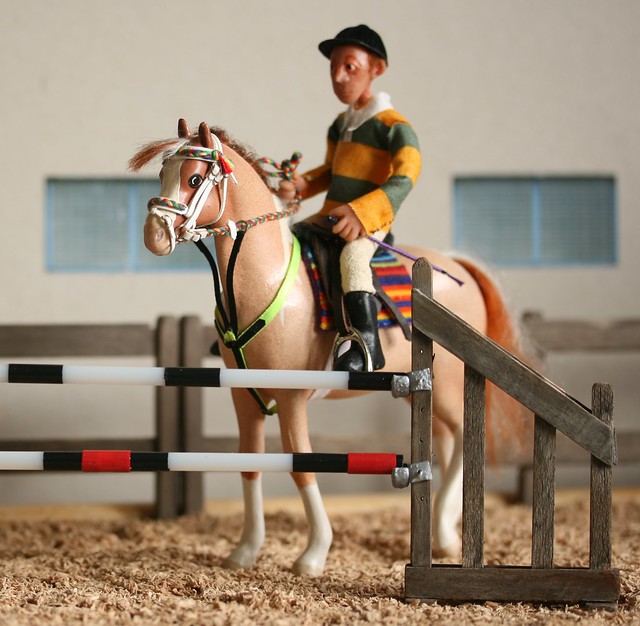
So yeah, if you want to make your yard look a little more 'lived in' I can really recommend this as a technique!

Love it EG! Thats exactly what a riding school looks like :) Cassandra of NeverWhere stables
ReplyDelete:D Cheers! That's just what I like to hear!
Deletelove it!
ReplyDeleteThanks! :D I think this is the kind of thing I love doing most with my yard. XD
DeleteLove this blog <3
ReplyDelete