
Technically this is for a Halloween movie night my friend is holding but no one can make it for Halloween itself so it's been put on hold until some time next months when everyone is free. Regardless, I've longed for an excuse to make this for ages so now seems as good a time as any!
To start with I must stress that I more or less made this up as I went along, with the occasional glance at google on my phone to reference from. XD
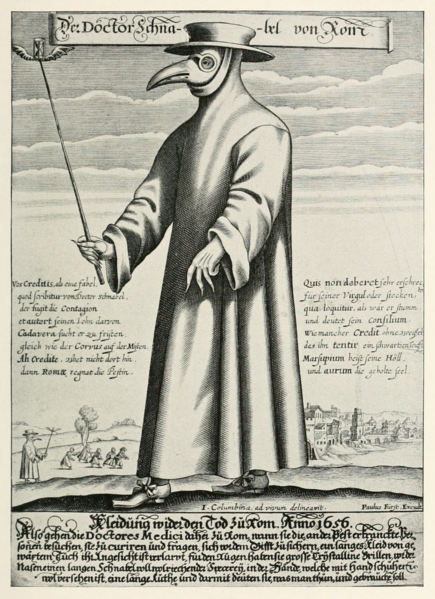
Oh and this is a guide to the mask and hat only - everything else in the above photo was cobbled together from what black items of clothing I could find at the time - I still need to procure some kind of robey cloaky thing.
The beak was the first thing that I reckoned I'd need to make and I'd already found the perfect donor - a good old fashioned coat hanger!
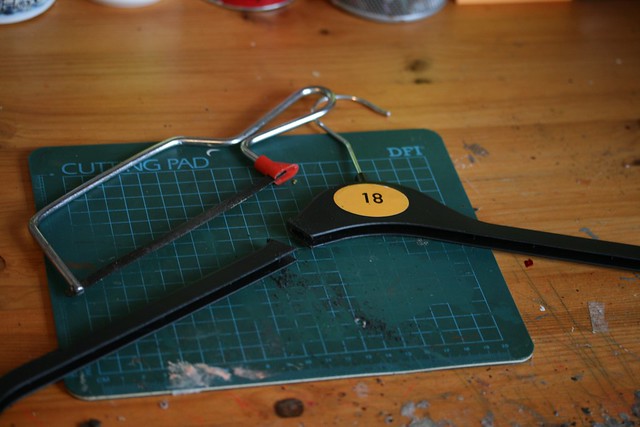
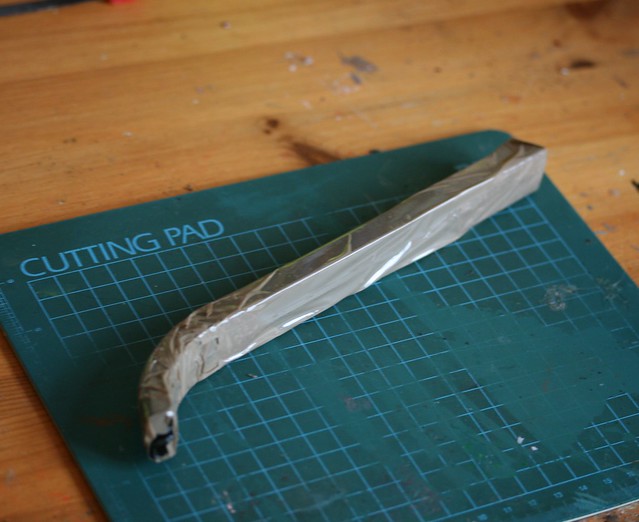
A few strokes of the hacksaw later and I had two parts which I taped together to form the basic shape.
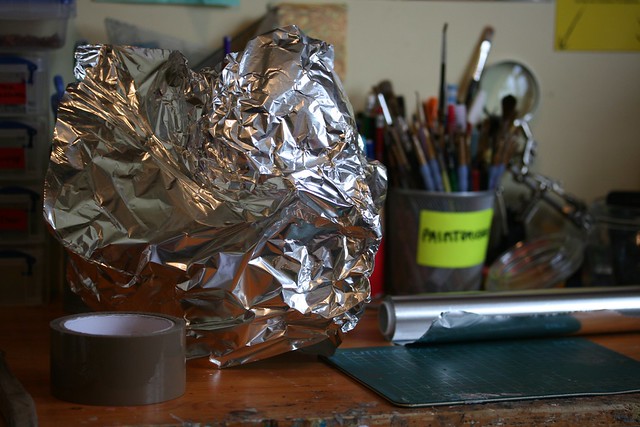
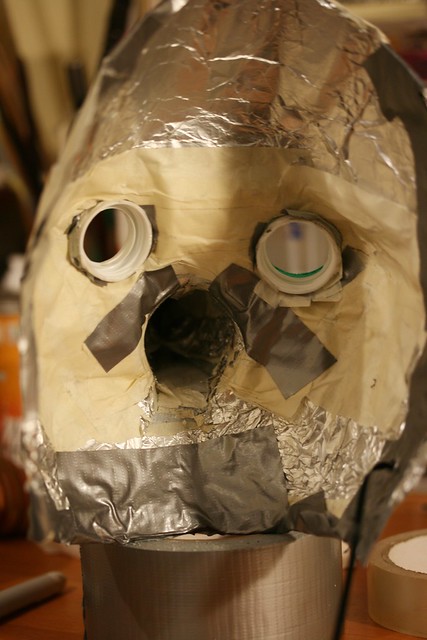
Leaving that to one side for the moment, I moved onto the main part of the mask. Because I wear glasses I knew I'd have to shape it to my face fairly accurately so I wouldn't have them digging into my face all the time. For this purpose I used tinfoil and wrapped it as tightly around my head as I could (which must have looked like the strangest thing ever, had anyone walked in on me at the time, lol)
Seeing as I didn't have a helpful assistant to give me a hand I had to apply several layers of masking tape myself using much trial and error as it was rather difficult to see where I'd put the tape with a big piece of foil over my face! I needed to build up a solid structure and tape was the way to go.
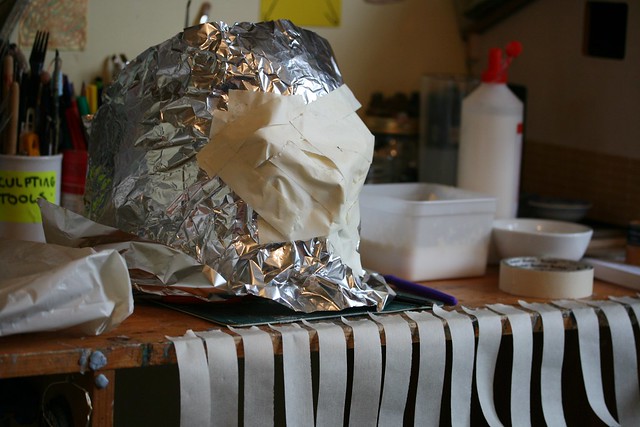
As awkward and slightly terrifying as it looked, structurally it was sound and I had plenty of room for my glasses.
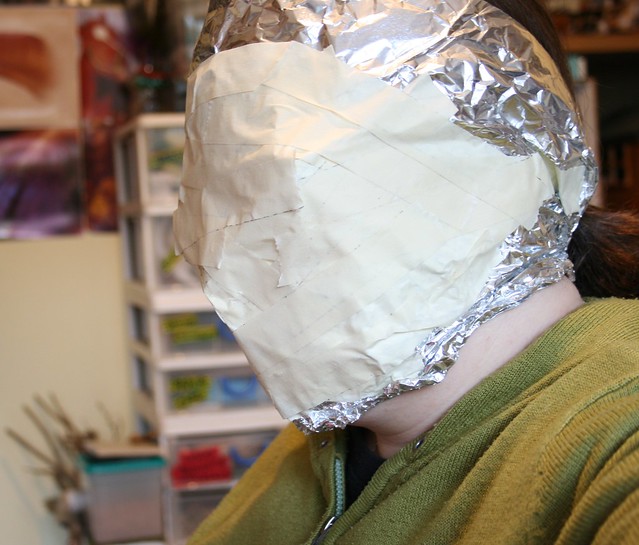
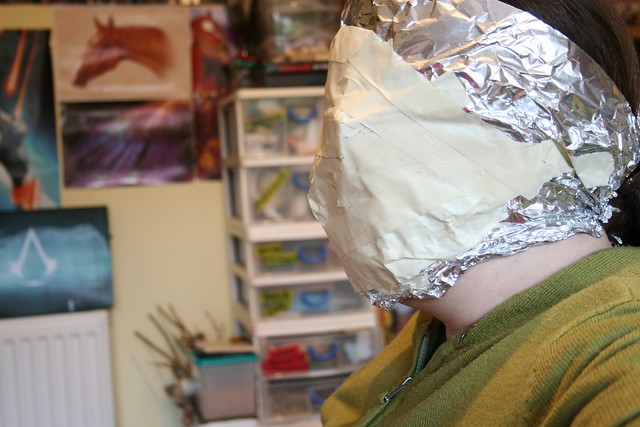
I was getting a bit tired of not being able to see what I was doing so, using all my cunning, I marked out some eye holes by blindly stabbing at the mask with a sharpie while it was still on my face. (then tidying it up again afterwards - I'm not that neat!)
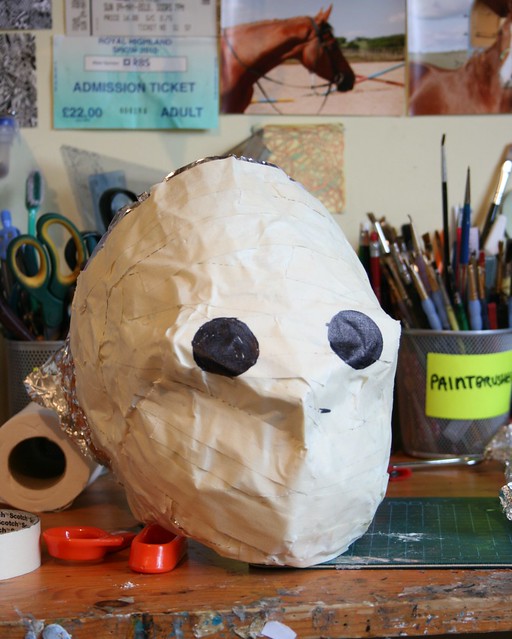
Next up was the beak and god, did it look terrible when I first taped it on!
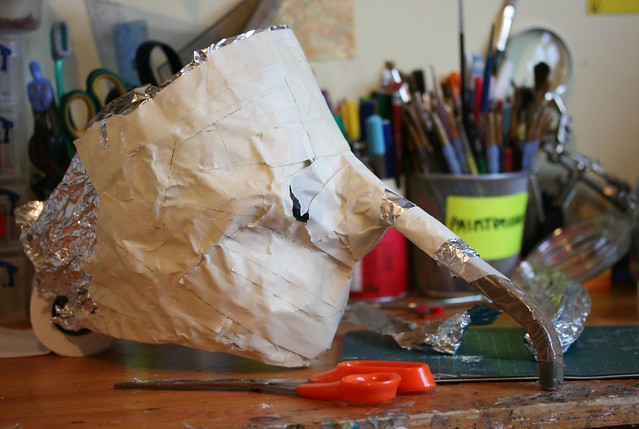
I padded it out with some more tape and tinfoil and gradually it started to improve...
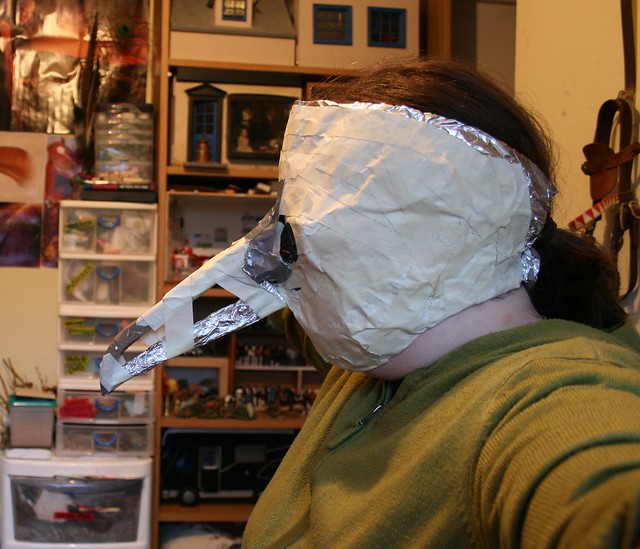
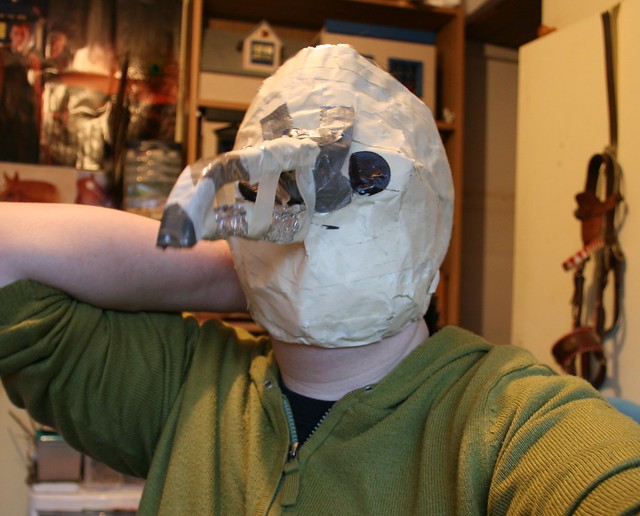
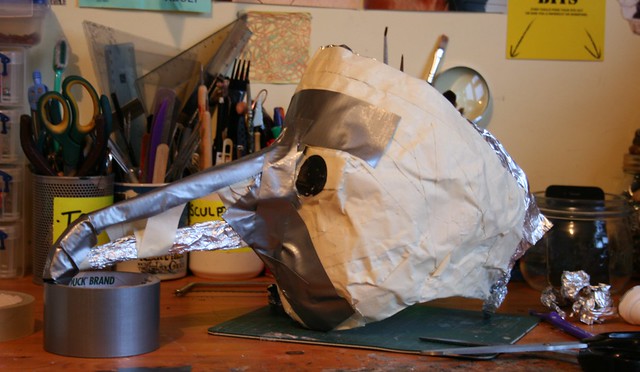
It was about this time that I discovered the wonders of duct tape...
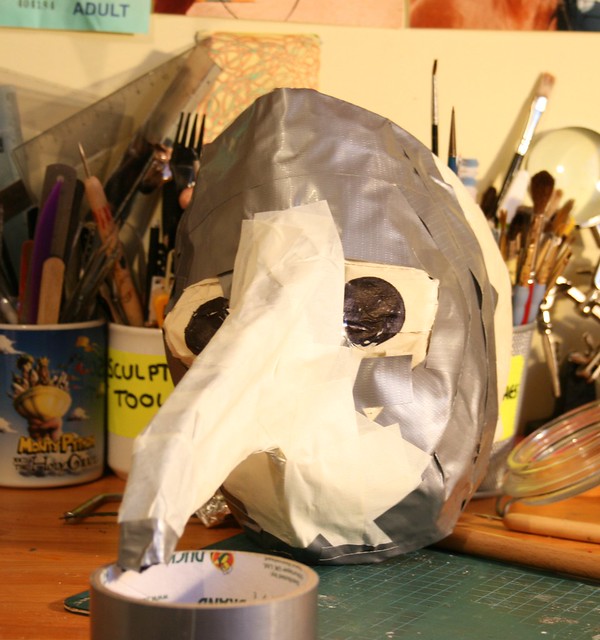
Peculiar camera angles aside, you can see here that I've started to cut the eyeholes and inserted some bottle caps (with holes cut out of them too) for the goggle/lenses.
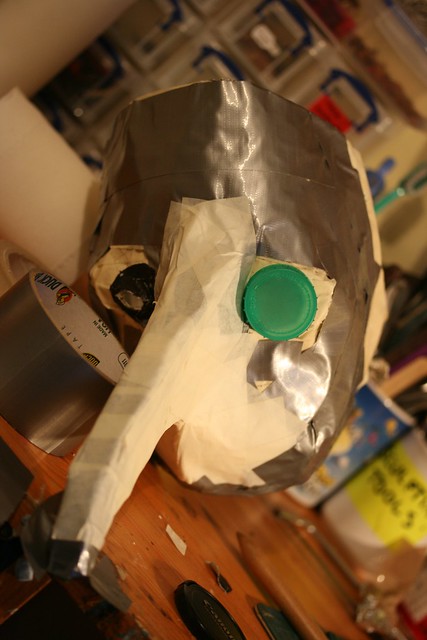
I used two different types of cap - the white ones are from water bottles but cut down and the green ones are from big bottles of milk. I really liked the moulded edges of them.
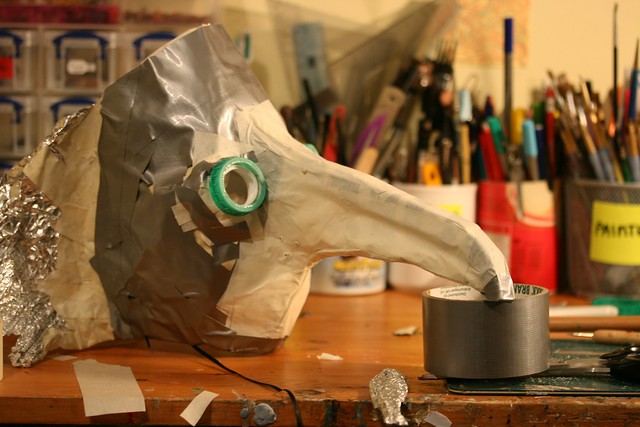
More tape...
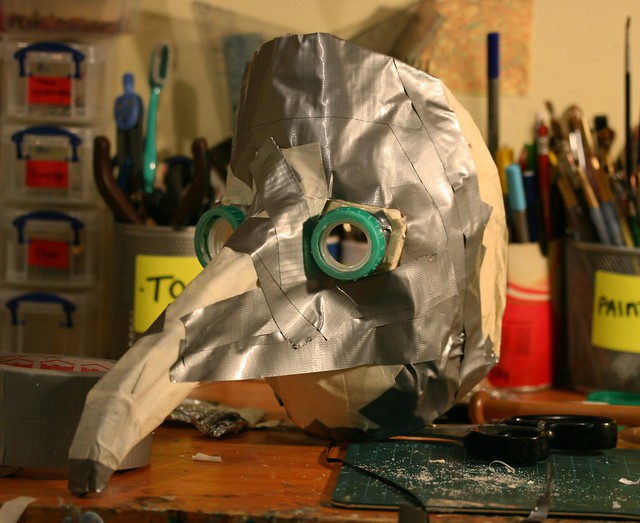
Inside view. By the time I'd got to this stage the overall mask was solid enough that I could effectively 'hollow out' the beak part so I had more space to breathe. I don't have any photos but what I ended up doing was cutting a section out of the underside and attaching some fine mesh material so I could breathe more effectively.
MOAR TAPE!
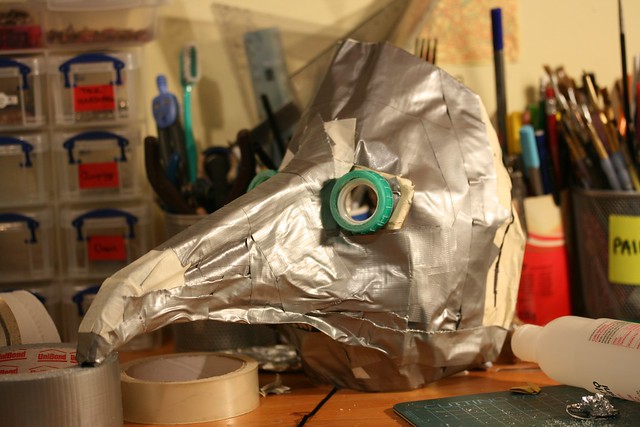
Yet more tape and bonus painted inner lenses!
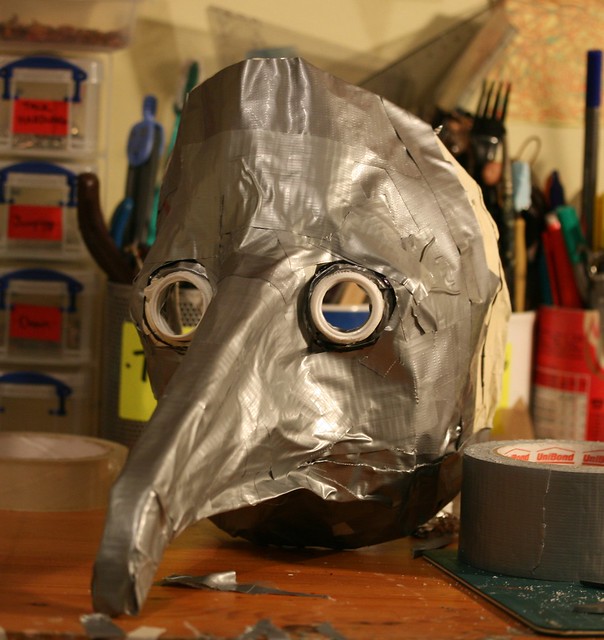
I wanted the actual eyepieces to be metallic, preferably with a bit of weathering as per my taste so I broke out the Games Workshop paints and after giving them a quick sand, started painting. The paint didn't take to the plastic in a couple of places and it took a few layers but once finished they looked pretty good. I had planned to make some actual lenses out of acrylic but given how stuffy it is in there without and how much my glasses steam up it isn't really worth the hassle. Maybe something to think about for a future attempt though...

When it came to making the leather covering I really did just make it up as I went along. I had some really lovely faux leather fabric that had come off some cushions my grandpa had which was nice and malleable but making a pattern was going to be tricky...
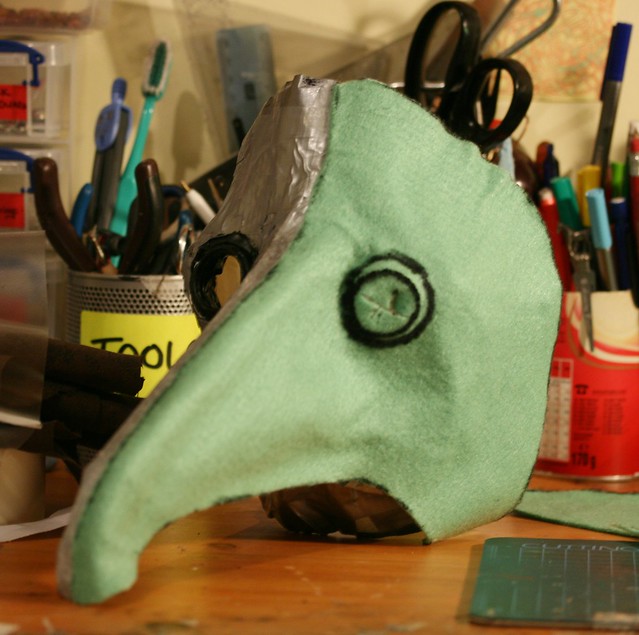
Or not! Apparently copious quantities of doublesided tape and felt are perfect for making patterns!
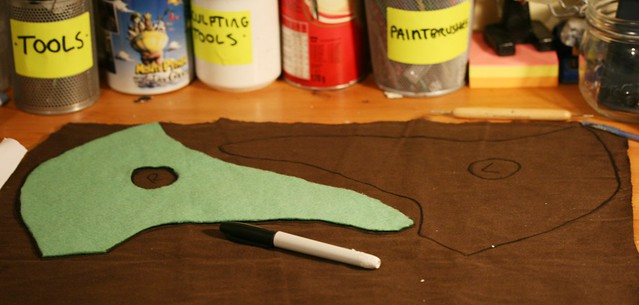
The felt was a dream to apply and I'd really love to make another mask of some kind with felt as the final covering as it felt amazing and moulded to every contour.
As it was, I think the pleather worked much better in this case. ;)

Both sides didn't quite match up so I had to make a little strip to run down the nose which I'm really pleased with. Originally I was going to do some big stitches with some fine leather thonging but I think I prefer it like this. I used a combination of doublesided tape and bostik all purpose glue.
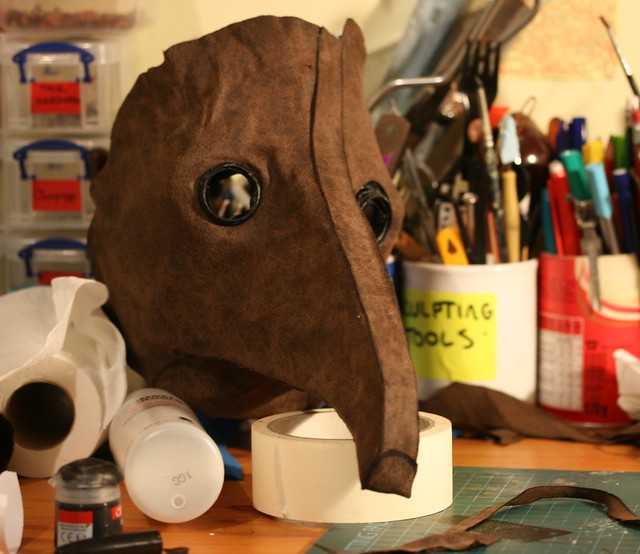
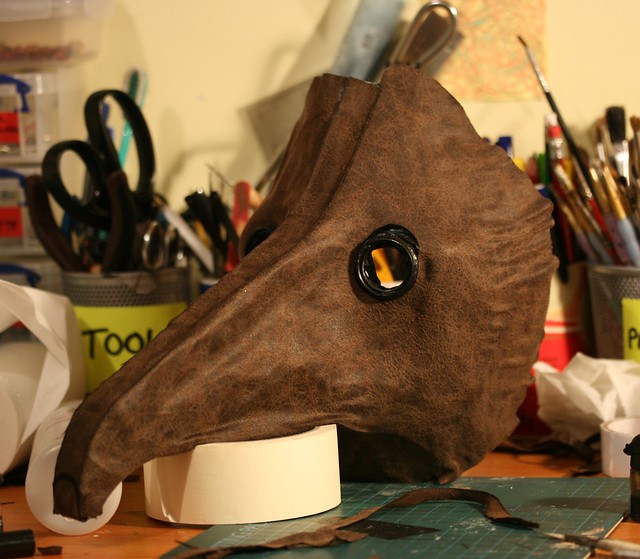
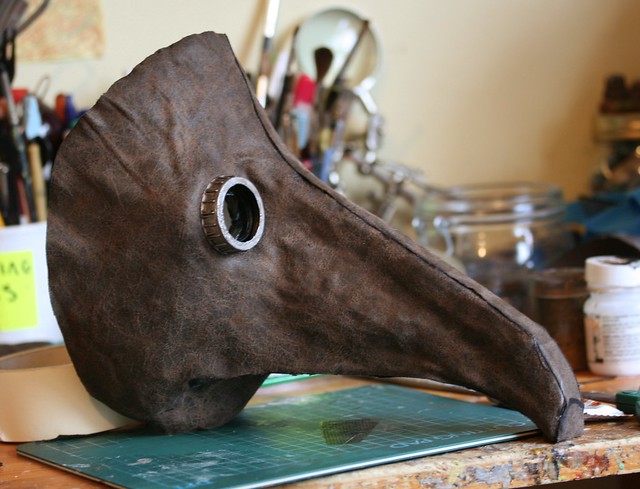
A quick costume rehearsal confirmed that I was in desperate need of a new hat.
The fur just wasn't cutting it. (also, my scarf made it look like I had dreads, lol)
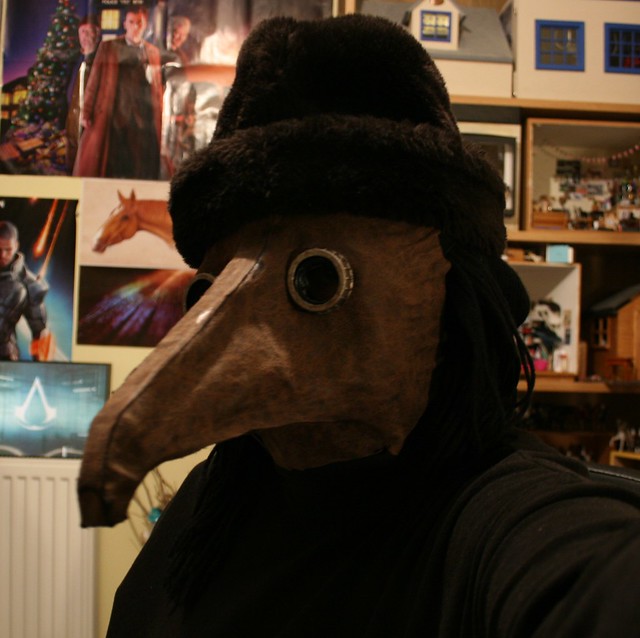
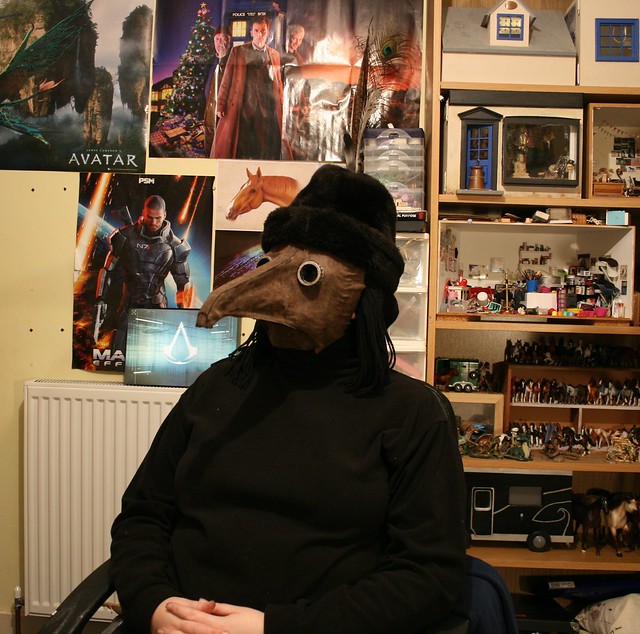
I ended up leaving the hat til the following day where I could spend the whole afternoon on it.
Sadly, I became so engrossed in making it that I didn't take nearly as many photos of it's in progress state as I would have liked so apologies for that!
To begin with I drew around a large plate and, using a compass, marked out a smaller circle in the middle for my head to fit into.
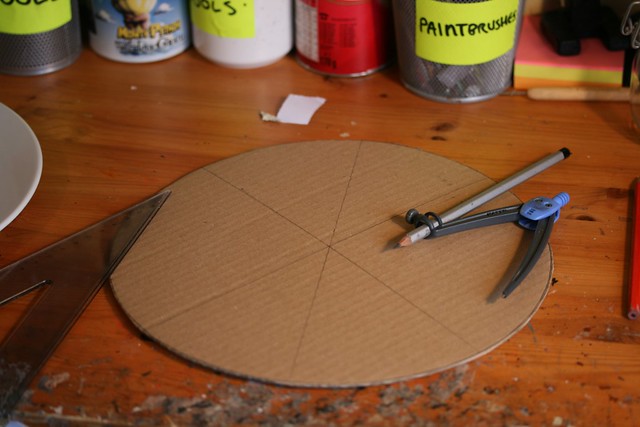
Unfortunately, because Christine can be a massive eejit, she forgot to check the fit against her actual head and had to make it all over again with a much bigger plate because her head is a lot bigger than she assumed it was.
One cardboard box later...

The next stage involved a lot of guesswork as to how best to attach the fabric and I must admit, in hindsight I made a right pig's ear of a lot of it and would certainly do things differently if I had the chance!
Still, it looks pretty good though I reckon.
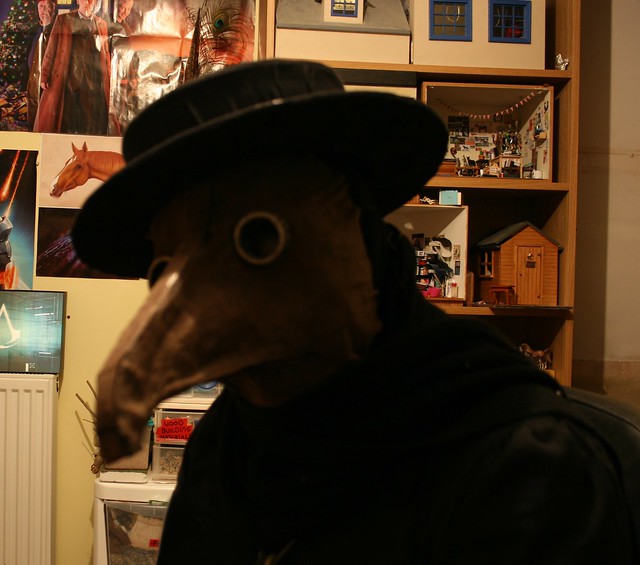
Ooops, out of focus!
This is the problem with trying to do self portraits - I'm useless at getting the damn thing to focus on the right place! I used to have a cable release but it broke within a week and I've lost half of it now anyway so these days I have to improvise with placeholders...
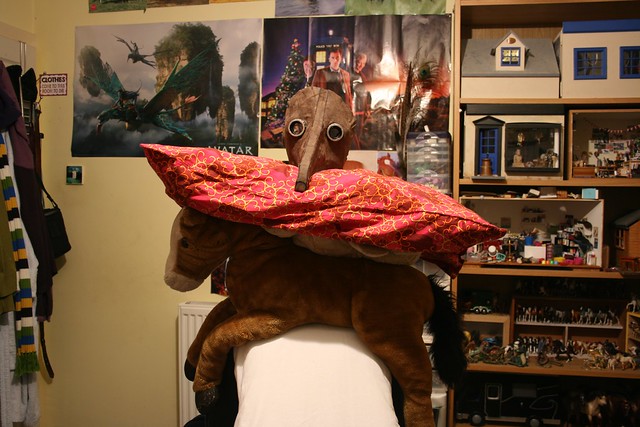
Ah yes, a perfect representation of myself.


The clothes are just temporary - I'll get some robes sorted at some point hopefully - maybe my far more talented cousin can make me some... *hint hint, kathryn, I know you're reading this!*
The stick came from my great-uncle I think - it's a bit short for me if I were using it as an actual walking stick but as the doctors at the time used them to move patients and prod them and things I think I'm alright. ;)

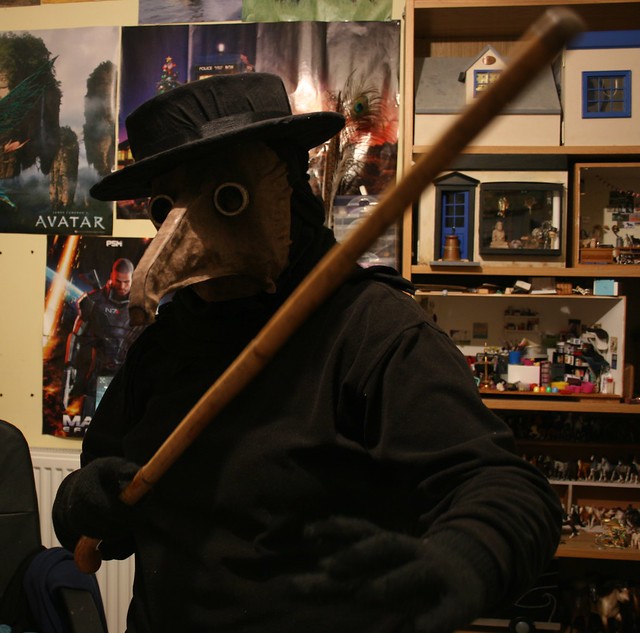
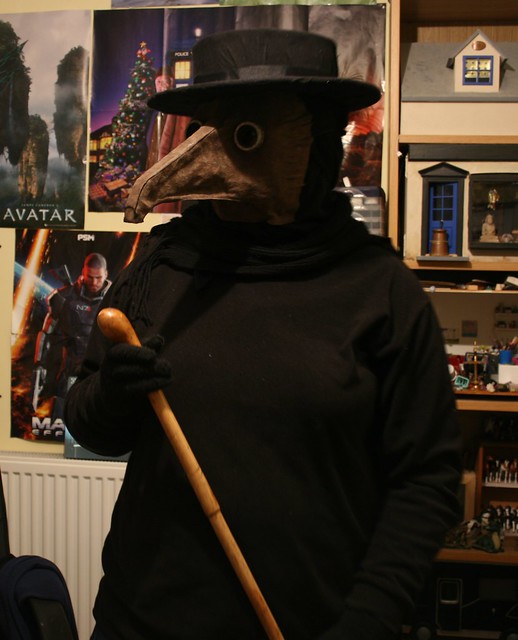
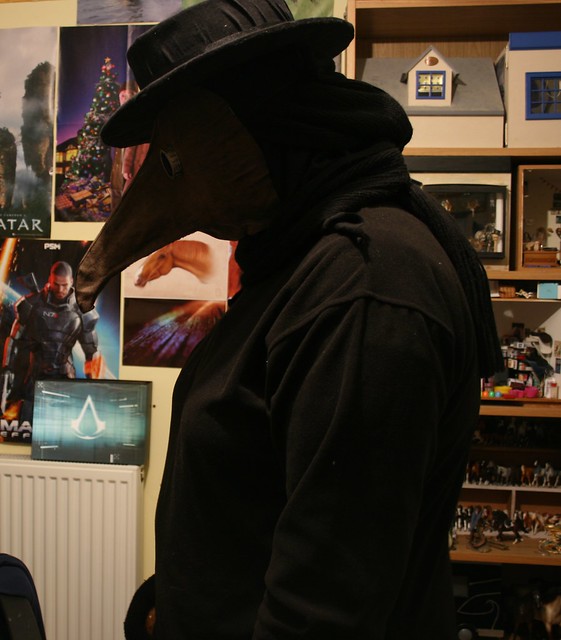
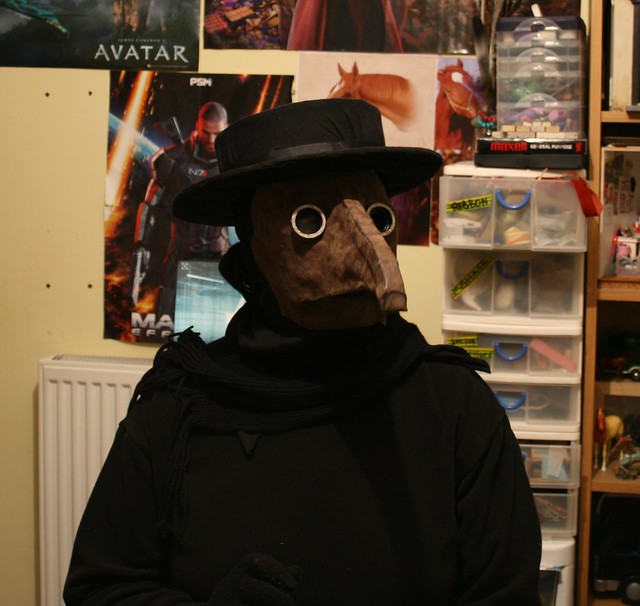
So yeah, not bad for two day's work I thought! :D
Now, college beckons me tomorrow - I missed all of last week because I had
EG out!

Awesome! And from scratch too!
ReplyDeleteGreat job!
Abbey
Thank you! :D
DeleteI'm such a cheapskate - I can't be seen to be spending money on something I know full well I could make myself!
This comment has been removed by the author.
ReplyDeleteWow! And I was looking at your Julip photostories and I was wondering where(what brand? Maybe) you got the blocks that you put the jumping poles on.
ReplyDeleteThanks.
They were made as part of the 'My Beautiful Horses' brand back in the late nineties. They were also sold under the 'Animal Hospital' and 'I Love Ponies' monikers in later years and they crop up quite often on ebay. :) I never had many as a kid but I've more than made up for it now! lol
DeleteExtremely awesome! And the "how-to" was both entertaining and very interesting.
ReplyDeleteI aim to please. :P
DeleteWOW. So creepy, so clever, so crafty!
ReplyDelete