It's tutorial time!
I actually had a whole 'this tutorial is stolen!' gag to title this post before I remembered it wasn't a Stollen, but a Panettone, so that was a bit of a fail. XD (although they look similar enough in texture so you totally could make one using this technique)
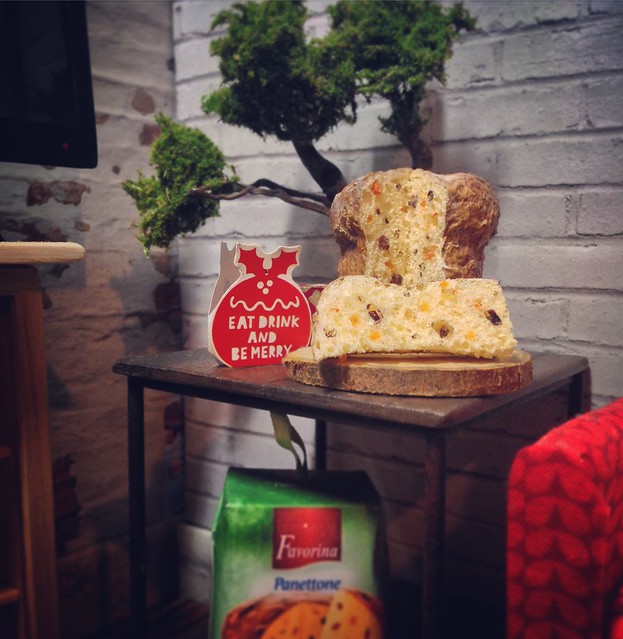
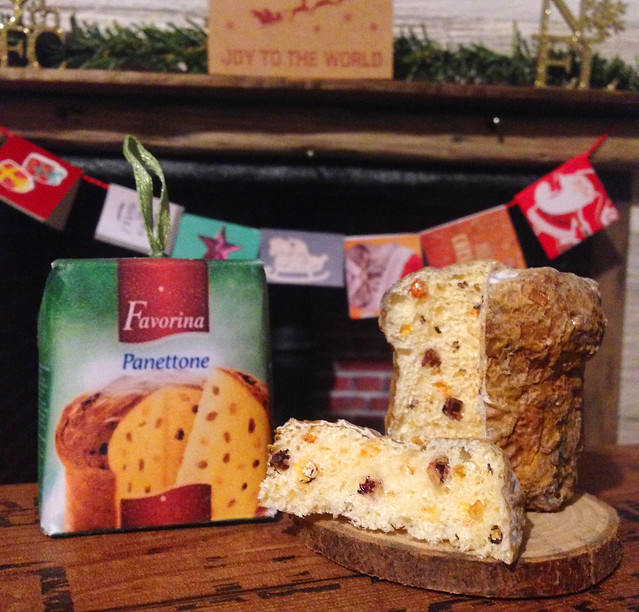
Anyway, here's how I made this 1/6th Panettone for Christmas - late to the party as ever!
Despite my general dislike of candied fruits/raisins etc, I always look forward to the selection of Panettone we always end up with during the festive season. My parents love them, so it's always a go-to gift if all else fails. The smell is absolutely divine and they make the best (and I mean the best) bread and butter puddings! I've been meaning to make one of these in miniature for ever, but well, you know the drill, this is the procrastination station after all.
Anyway, I was sorting out some of my printable pins on Pinterest the other day and rediscovered -this- printable Panettone packaging - it's technically for 1/12th scale so it's a little blurry when printed out larger at 1/6 but it's still pretty high resolution. The site is obviously in french but the visual instructions are pretty easy to understand with regards to fold and cut lines.
I added a tiny ribbon handle at the top and stuffed it with scrunched up tissue paper before I finished gluing it so it would hold its shape, then gave it a couple of thorough sprays of gloss varnish which didn't end up quite as shiny as I initially hoped for, though I think this worked out better actually.
Onto the Panettone itself!
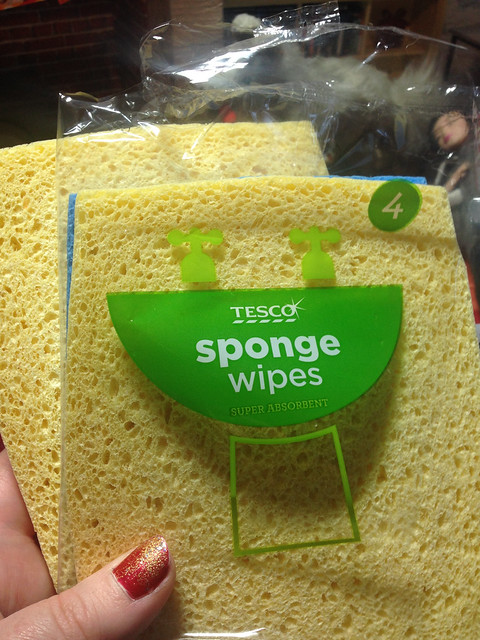
You'll need some sponges with big natural looking texture like this.
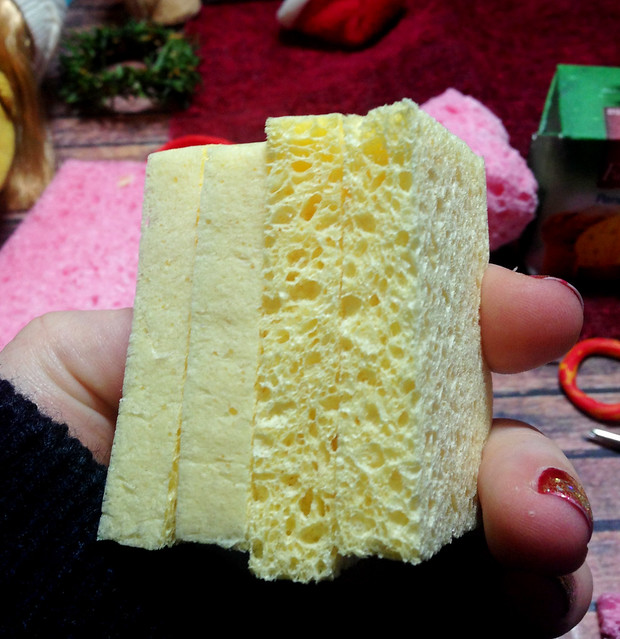
Cut them up into sections and glue them together (I used a clear, quick drying glue like Bostik for speed) as thick as you want the widest part - the top of the Panettone to be - I used the newly constructed box as a guide so it would conceivably fit inside if it were real.
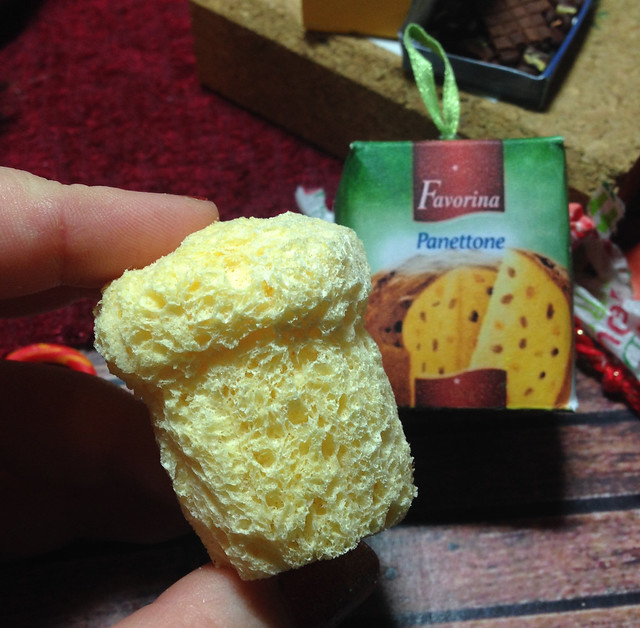
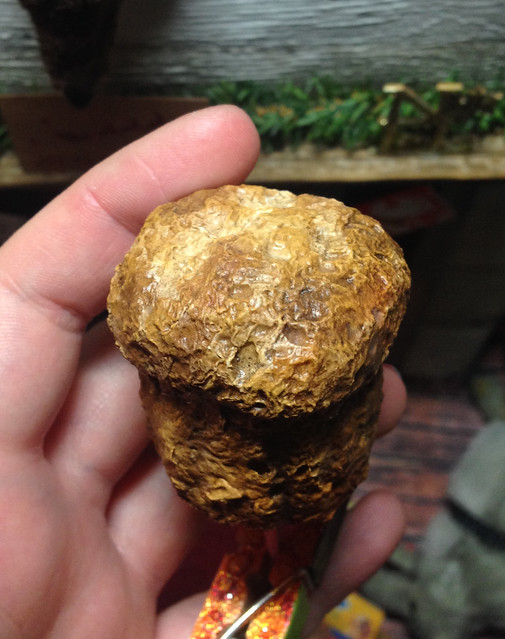
Using some tiny sewing scissors, snip away until you get a nice mushroomy shape. It doesn't matter if there's big areas of texture everywhere, you'll deal with that in the next stage.
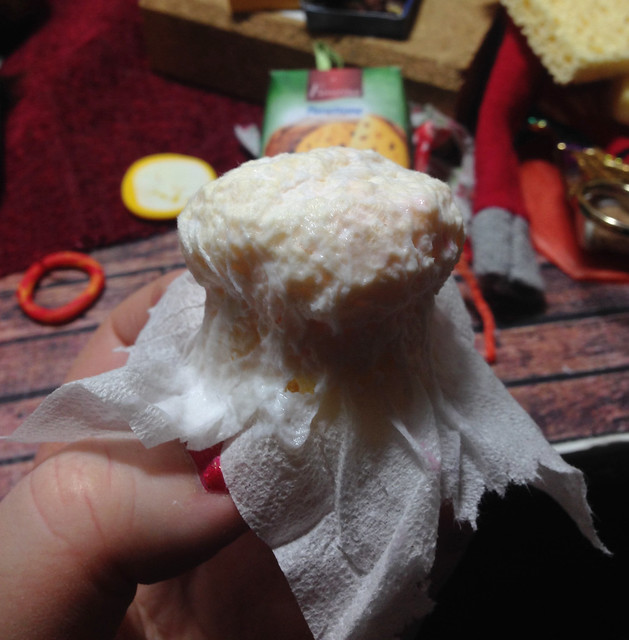
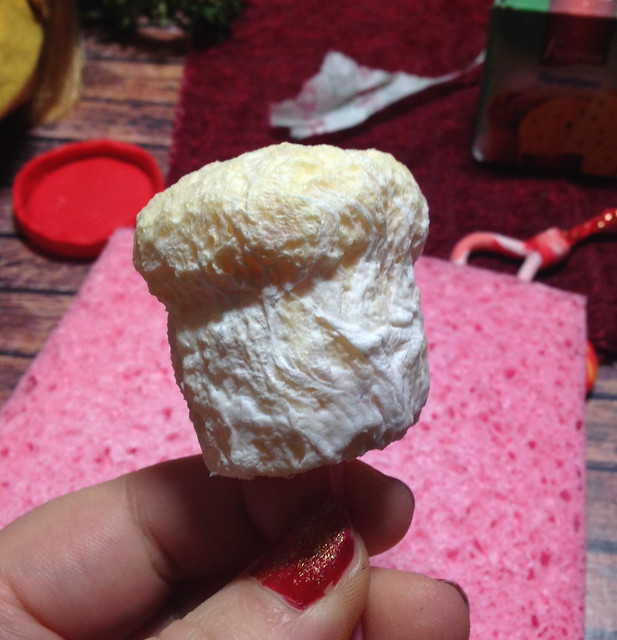
Once the glue has all dried and you're satisfied with the shape, get yourself some toilet paper, and either a slightly watered down white glue like PVA or, as I had to hand, some matte Mod Podge. Liberally coat the surface with glue, then gently drape the paper over the top, using the brush to even out all the creases and/or create more texture by stippling. Don't worry if it ends up a bit wrinkled, that actually helps sell the realism!
Ideally you want the straight sides to be nice and smooth as the cakes are baked in a paper wrapper but I totally forgot about that whilst I was making this because despite referring to photos of the damn things constantly to get the shape right, apparently the rest of my brain had switched off and I didn't notice until days afterwards. XD
Leave it to dry, and add another layer or two if there are still some uncovered areas.
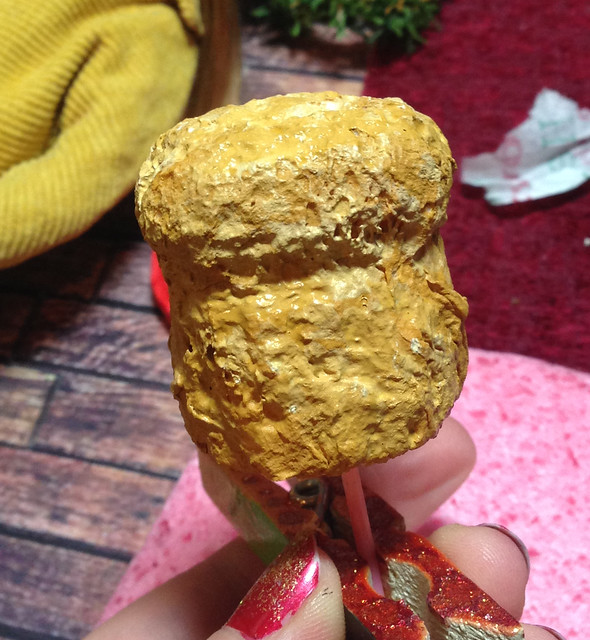
Once fully dry, paint a medium yellowish white, about the same colour as the sponge itself, though no lighter.
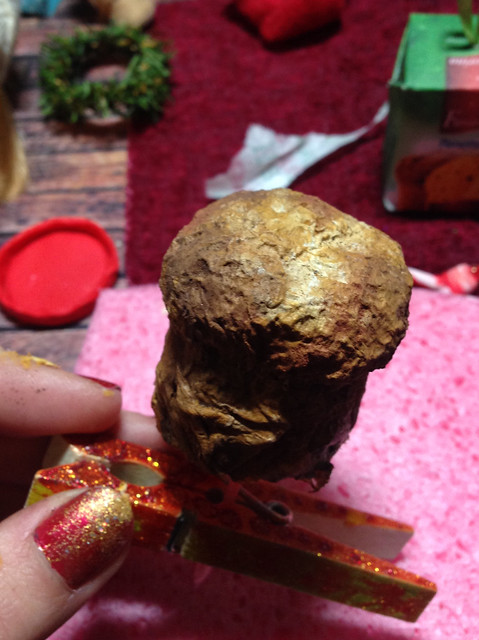
I used pastels afterwards to add some shading and to give it a nice 'baked' look, paying attention to all the creases and folds in the crust, sealing it all with some sponged on Mod Podge afterwards.
As you can see I made a simple stand to hold it in place while I painted, with a cocktail stick and clothes peg!
Now it's on to the fun part - adding the fruit!
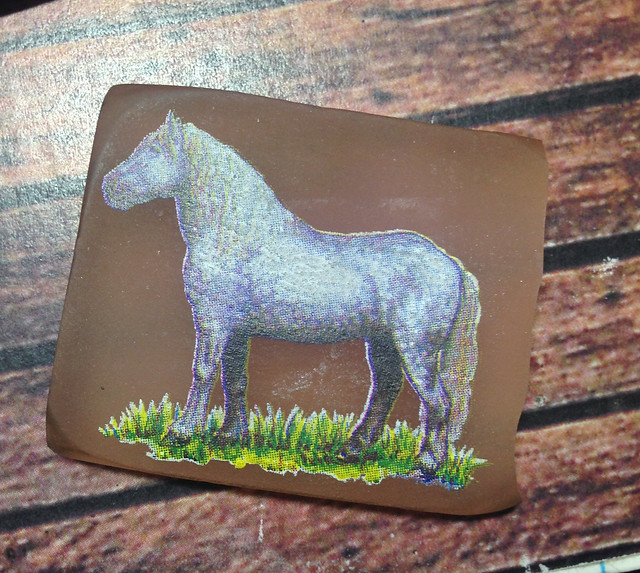
I wanted something that retained the translucent effect of real candied fruit, and toyed with scrap plastic but eventually settled on this old eraser I've had knocking around for the last decade or so. It's a pretty useless rubber, but there was just something about the clear material that made me keep it and I'm so glad I did now!
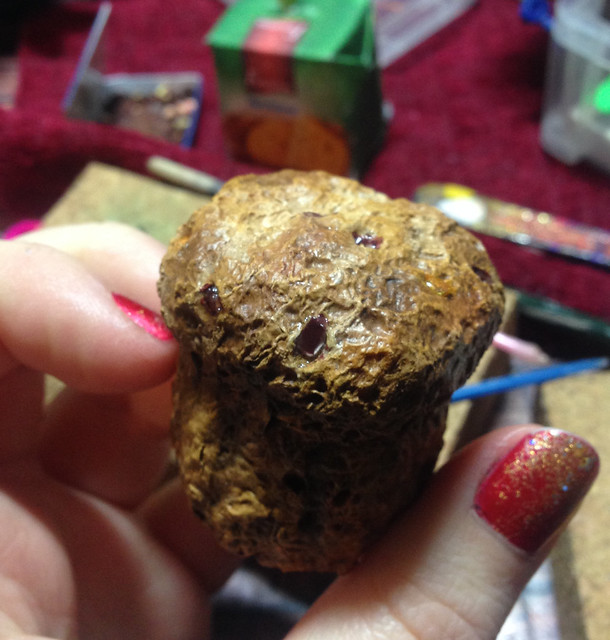
Using a scalpel or sharp scissors, carve off small sections and cut into tiny chunks. There's really no need to be precious about their shape, just as long as they're fairly blunt edged.
Using the same clear drying glue as before, I glued them at random around the exterior; stabbing into the surface with the end of a paintbrush to make holes where necessary. I added a dab of sheer nail polish on a few to make some look more like specific fruit, like orange.
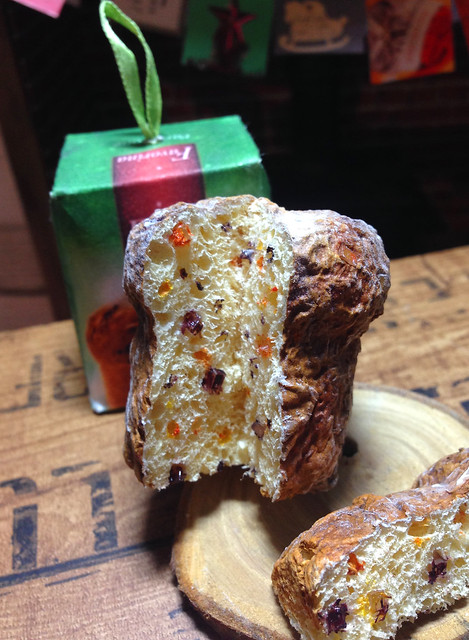
At this point you could either leave it plain like this or do what I did and cut it open...which was incredibly satisfying! I used a scalpel as usual and repeated the steps with the fruit as before.
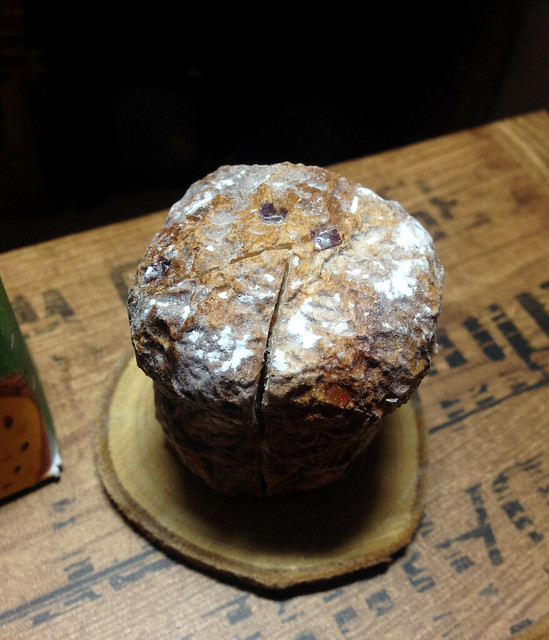
For a final touch, I dabbed on a little talc for that powdered sugar/flour look and I think it finishes it off nicely. Real Panettone come in paper wrapping which I did make out of some thick brown wrapping paper, but it kept pinging off as I only attached it with tape at the back for photographs!
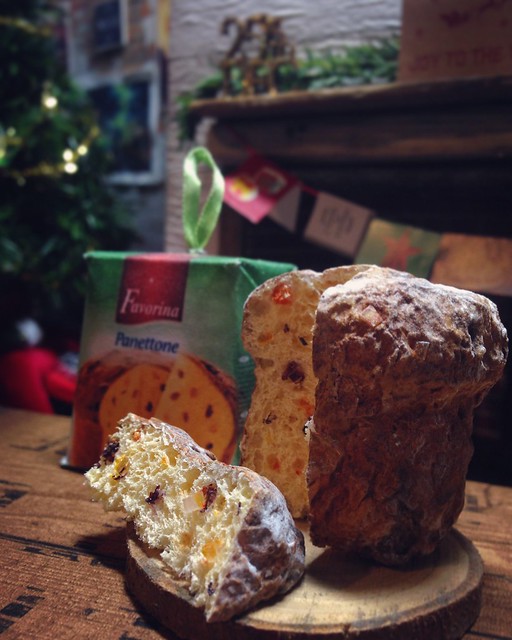
The weather has been so dark and miserable recently I've really struggled to photograph this properly and get the colours looking accurate as it looks far too yellow in most of these!
The above two photos are probably closest to its actual colour.
Quick question for those still reading this - what kind of things would you like to see from my blog this year? More doll stuff, more model horses, more tutorials? I really want to be more proactive this year and try to get posts up every couple of weeks rather than the usual irregular uploads.


Re: Quick Question
ReplyDeleteAll of the above :D
Especially love the tutorials though as they occasionally kick my bum into gear to get making.
To answer your question: I'm with Heather, all of the above :-).
ReplyDeleteGreat tutorial, it looks delicious!
Your Panettone tutorial is Super Christine! Very realistic and I love the idea of using the sponge and the toilet paper- so clever!
ReplyDeleteI love this bread in Real life and had to refrain from buying one during the holidays because I'd end up eating it all but do believe that making in one in miniature would be just as satisfying. :D
elizabeth
To answer your question: I third the above, any post you feel like writing is of interest! :)
ReplyDelete