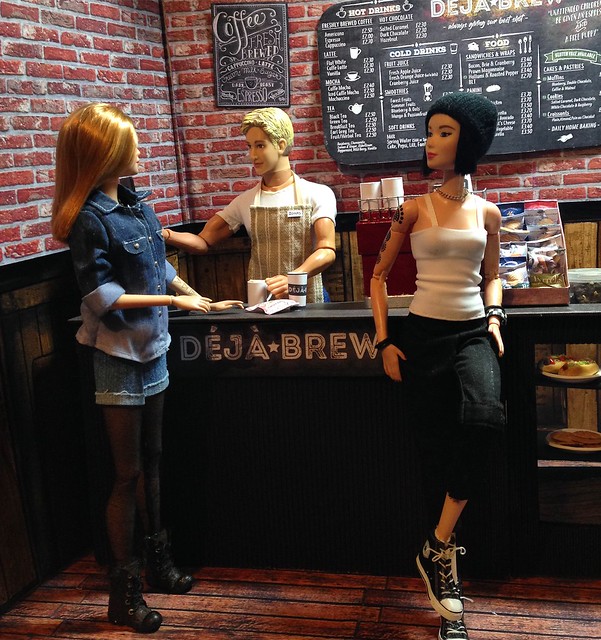
One of the 1/6th scale projects I've been working on for months is a coffee shop. While Max and Juno's kitchen and bedroom are priorities, I felt I needed somewhere they could socialise with the rest of the cast. A coffee shop seemed like the logical solution, though perhaps not, as I don't drink tea or coffee so I'm very unfamiliar with what's actually available! 😂
I couldn't resist a good pun for the name though. :P
It's still very much a WIP at the moment but I thought I'd share what I have so far anyway!
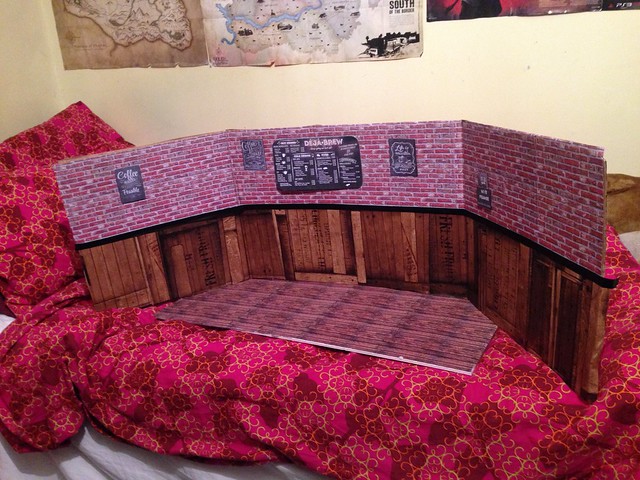
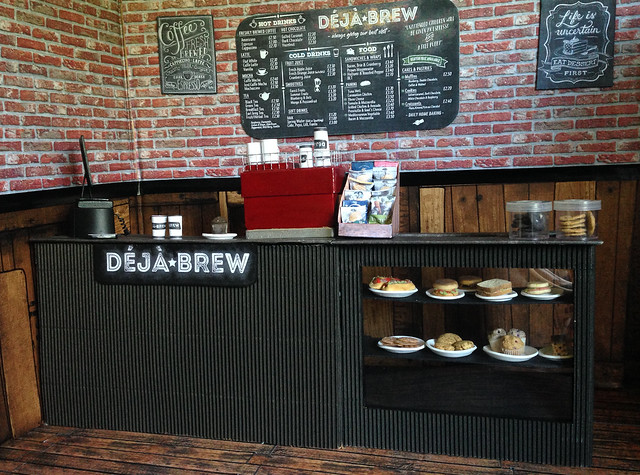
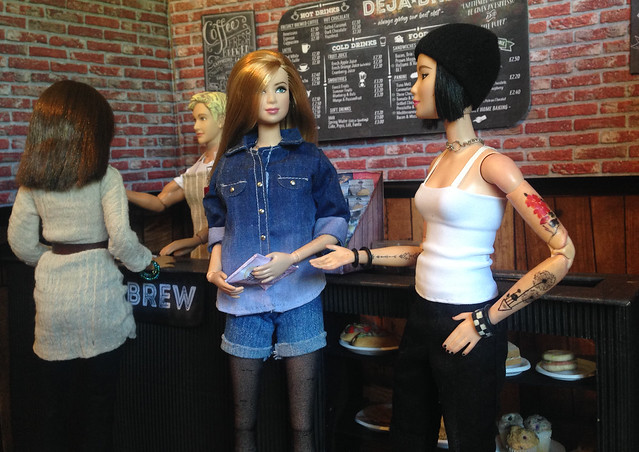
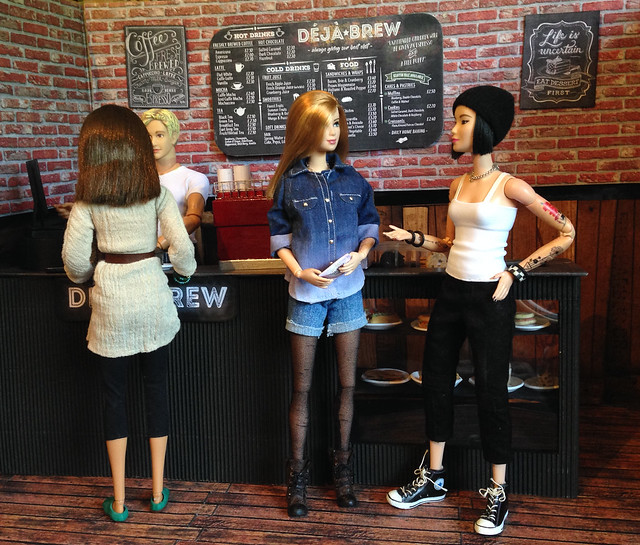
I started off with a big trifold cardboard thing from Homebase which I trimmed down and stuck on some printed out brick texture, along with sections of wood effect wallpaper. I may replace that part though as it isn't very consistent
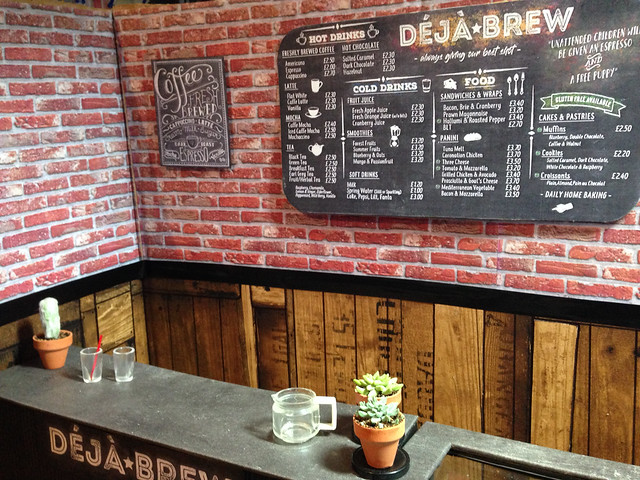
I made the menu from scratch in Photoshop, using lots of free chalkboard fonts I found online. Hopefully I'll be able to reproduce the selection of foods available in miniature! The other posters I found online.
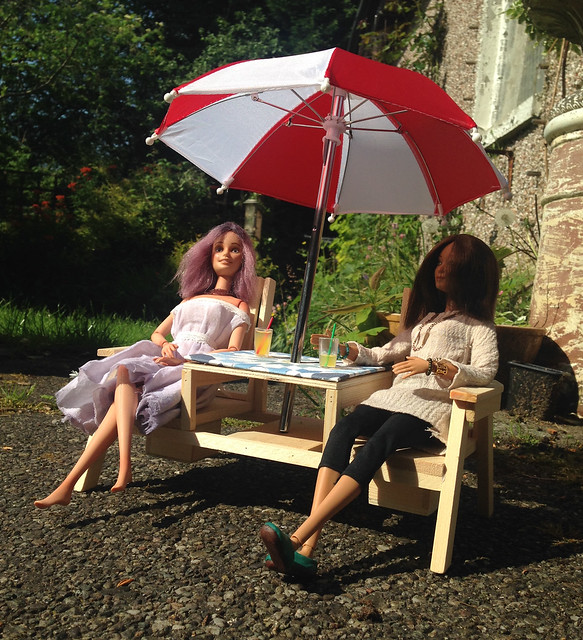
The counter was made from the packaging of a novelty condiment holder I bought on holiday earlier in the year. I can't remember if I ever posted about it on here but it's a brilliant little set with a working parasol! I still need to make some seat cushions and make a better tabletop as this one was just temporary for photos.
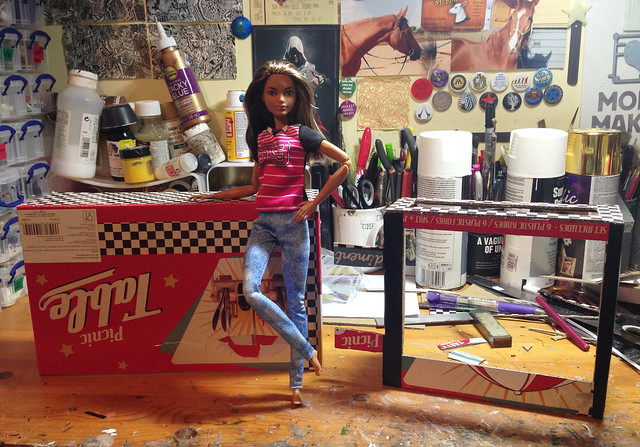
Anyway, the box it came in was made of really nice sturdy cardboard and was almost exactly the dimensions I needed with some trimming. Carmen here wanted to be our scale model apparently.
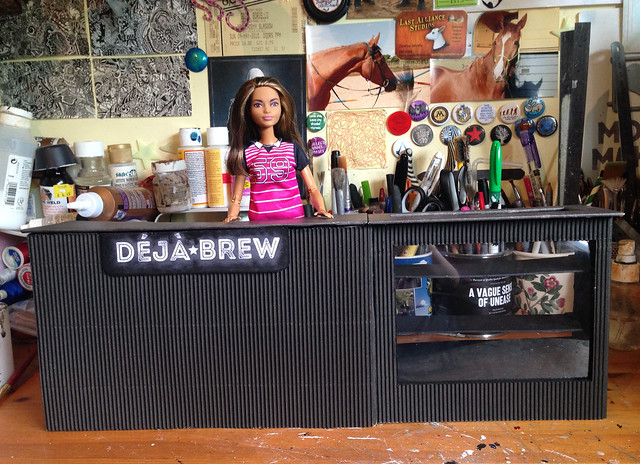
I left some tabs on the display unit which slot into the main counter, both to keep the set together when on display, and to enable me to take them apart for easier storage than having one massive counter.
(Weirdly I can remember making it whilst bingewatching/listening to a documentary on Netflix about a murdered nun(!) 😂 I find murder/cult/crime documentaries really relaxing to listen to whilst I'm working. I'm not entirely sure what that says about me, ahaha!)
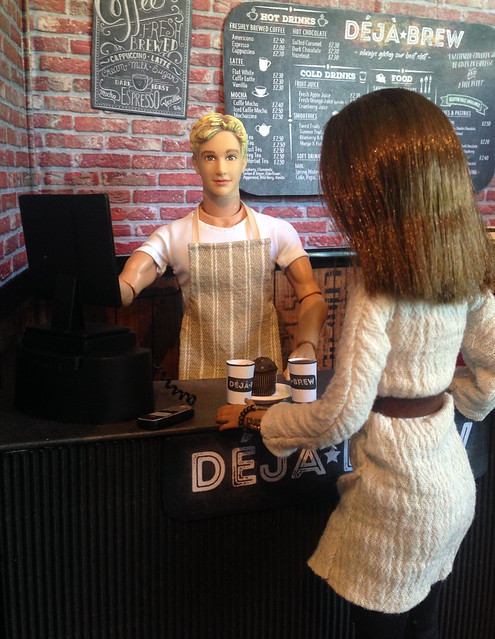
I covered the sides with some lovely charcoal coloured corrugated card (tongue twister of the day) I'd got in one of the Blab swaps last year, and as you can see it came in super handy! The countertop is just card covered in some slightly textured wallpaper and the 'glass' for the display's top and sides is clear plastic from doll packaging. I printed out the logo on thin card, then glued that to the flat side of some of the scrap corrugated card. This meant that I could effectively slide it into position snugly so it wasn't 'floating' on top of the texture.
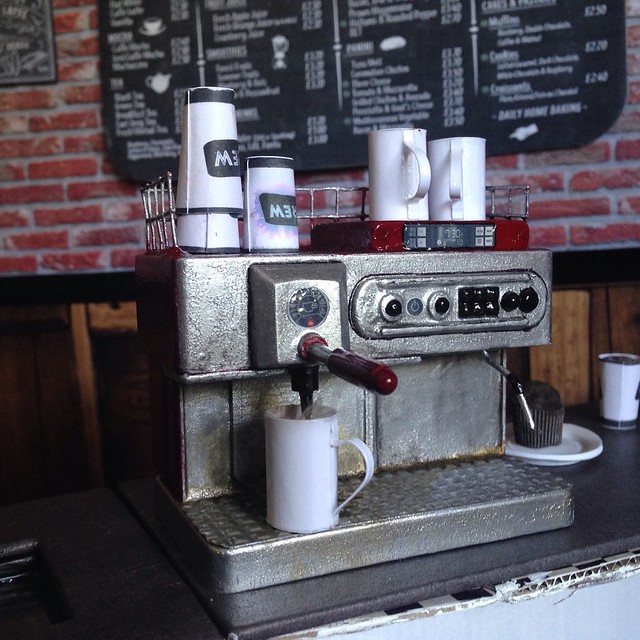
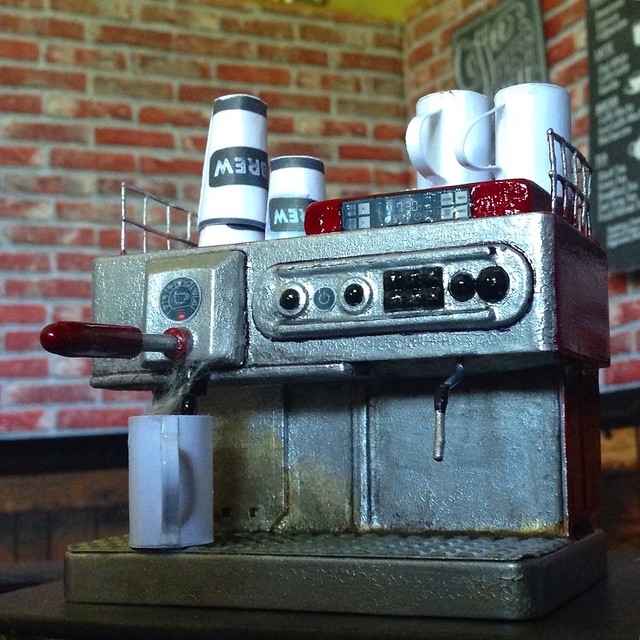
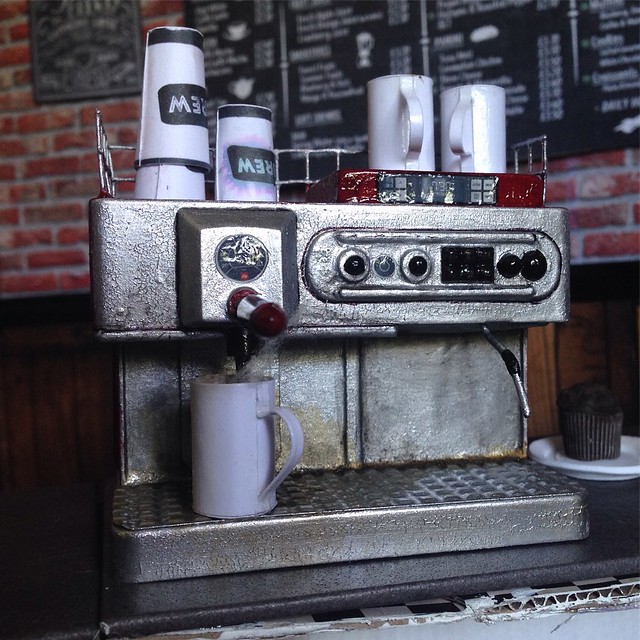
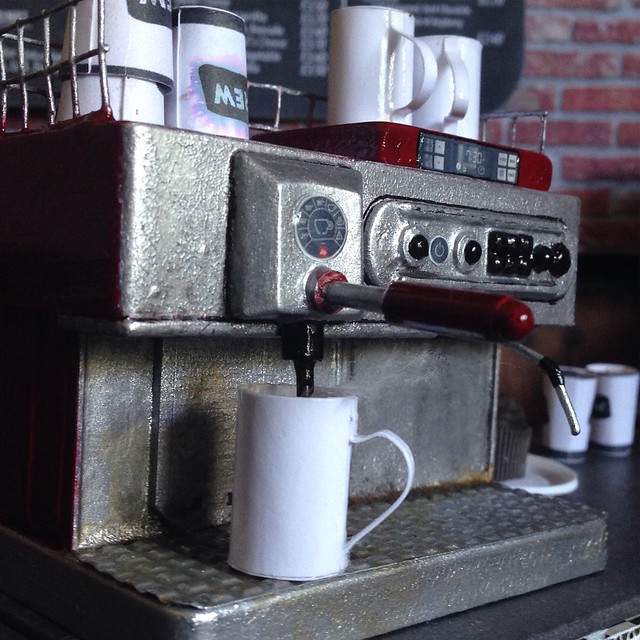
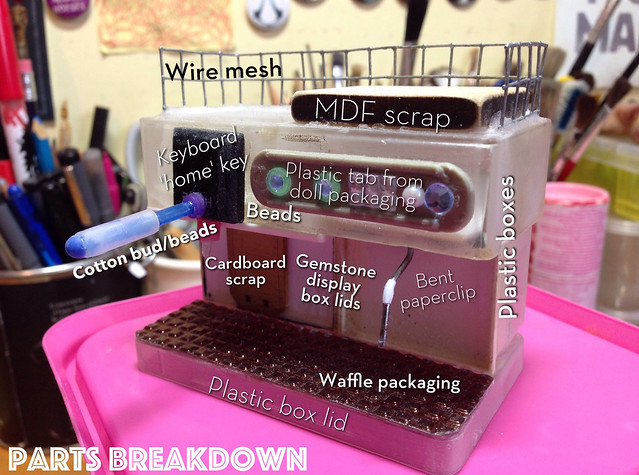
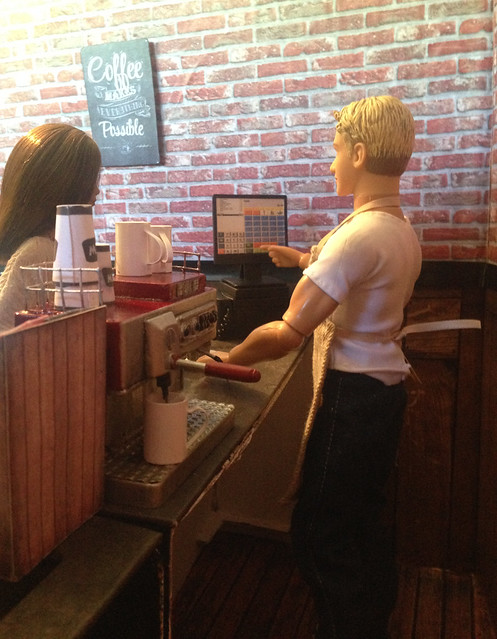
You can't have a cafe without coffee and probably my best make so far is the coffee machine to make just that. I did a lot of googling, and while this isn't meant to be an exact copy of any existing brand, I was inspired by quite a lot of them.
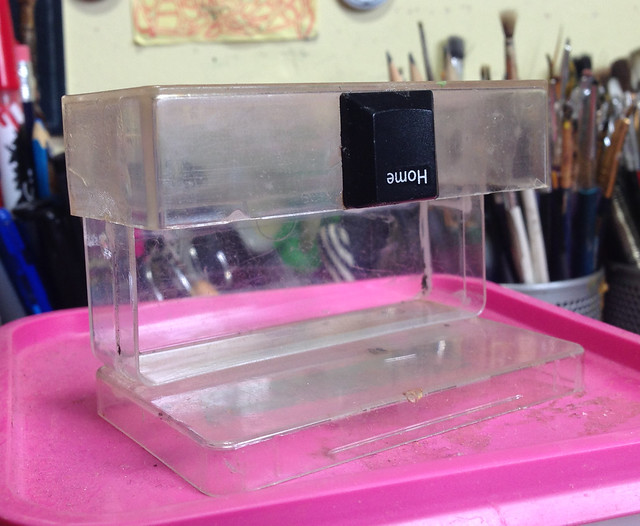
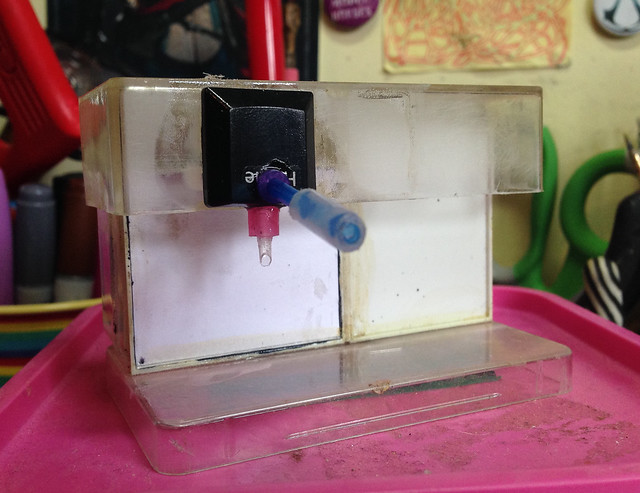
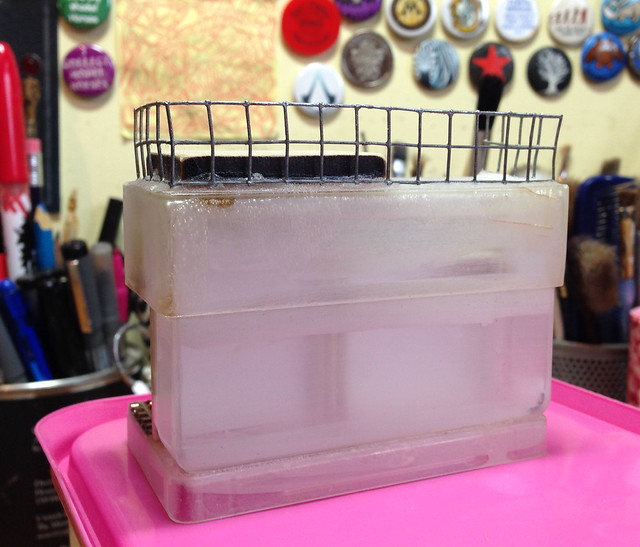
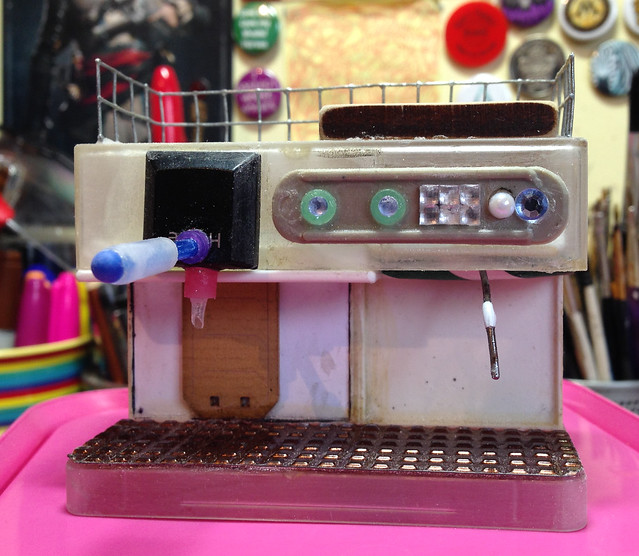
It looks far more complicated than it actually is! It began life as a couple of plastic boxes and lids...
...a keyboard button and some beads...
...some wire mesh...
...more beads and bits and pieces...
Painting it proved awkward, as I had my heart set on red and chrome. I primed it as usual, went to dig out my red paint and discovered that I didn't actually have any! I thought I'd go for the backup of red nail polish as I'd just bought some and I wanted a nice glossy enamelled look anyway. Alas, the vivid red turned out to be PINK as soon as it was applied, so I had to go for plan B (C? D?) and rummage through the multitude of other paints I had until I finally managed to find a tiny pot of red in my mum's paint stash. Because of the earlier layer of nail polish I think it reacted with the paint, as there's now some crackling throughout the finish. I'm not hugely annoyed by it though, as it just makes it look a little more vintage than I was intending!
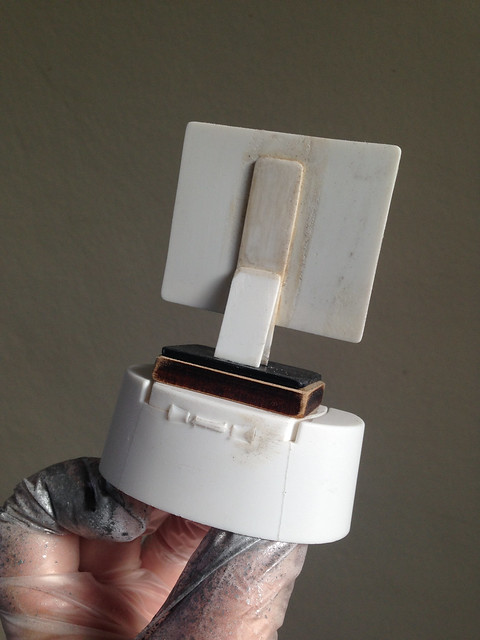
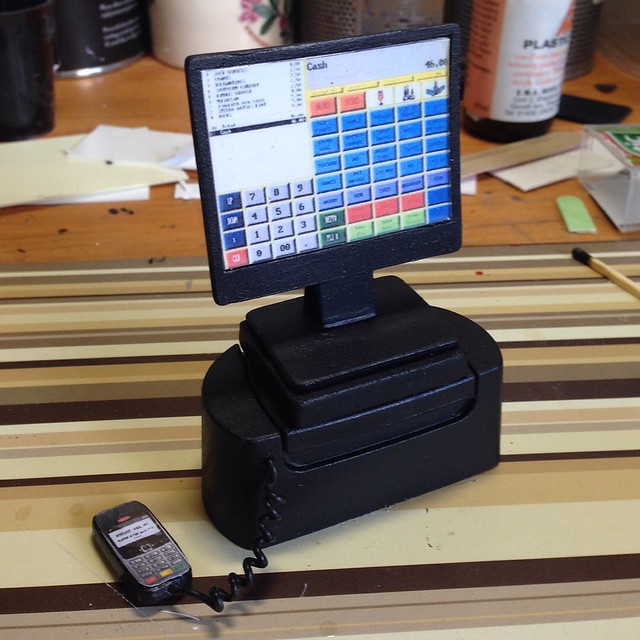
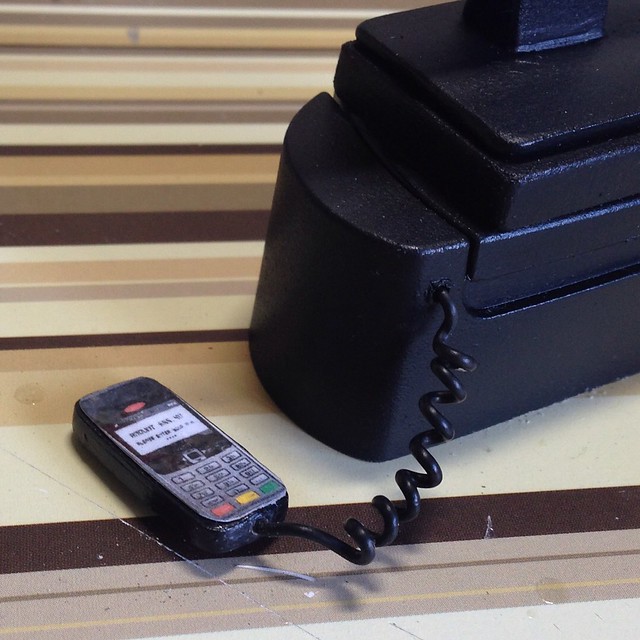
I needed a cash register too, and thought I'd make a card reader too while I was at it.
The image for the screen I found online, printed out and laminated with clear tape.
The card reader is just a couple of layers of styrene with a printed out image from the internet and a section of bendy wire from packaging for the cord.
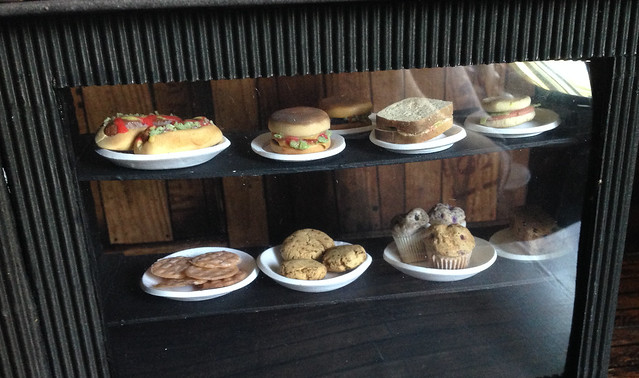
People need food as well as coffee, so I cobbled together a few edible items for the display shelves. Some of it is stuff I'd already made in the past and isn't technically on the menu but it'll do for now. One thing I really need is more plates. I've tried making some out of polymer clay and paper but I can't keep them consistent.
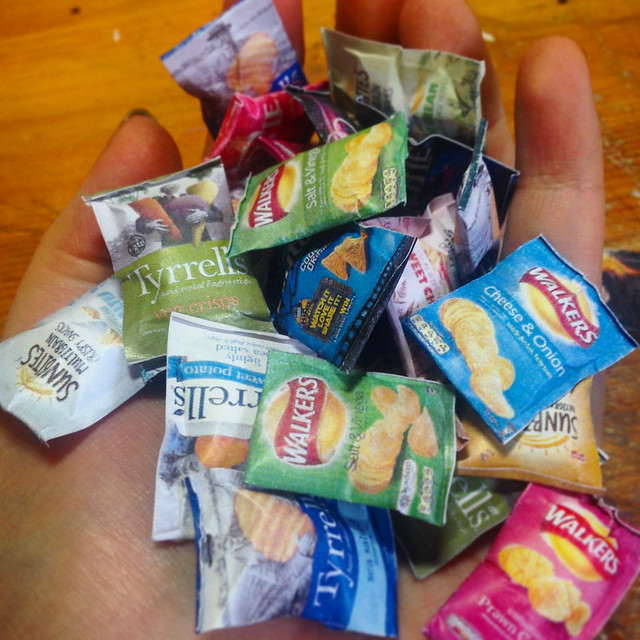
I collected some crisp packet images from the internet and made up some mini crisps too. They're really addictive! I made a little stand for them but they kept falling out so I had to resort to gluing them in which I really regret now as you can't really make out the details of many of them.
I've made a counter for the back since taking these pictures, so I can add more appliances, and I think I'll put the coffee machine there too as you really don't see much of it from this side!
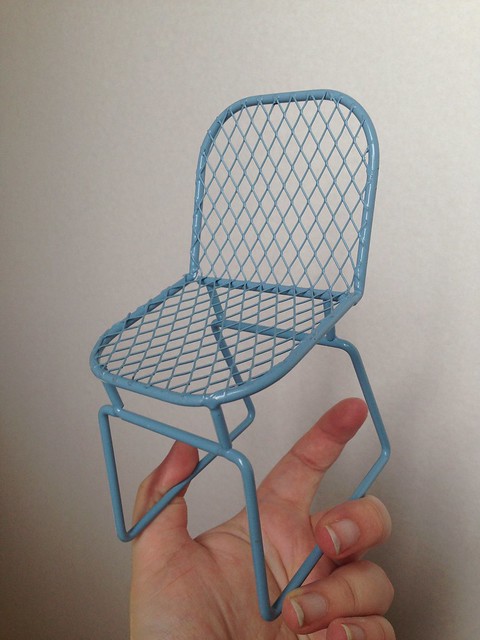
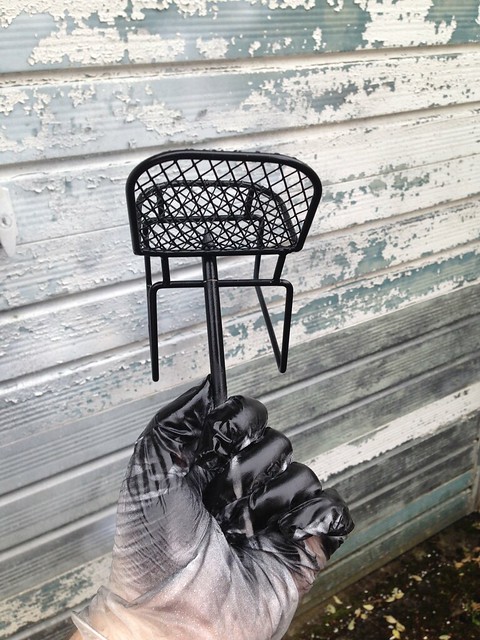
I haven't photographed them yet but I have a couple of tables made, and I bought a handful of metal chairs from Flying Tiger Copenhagen the other day to go with them. I had to repaint them but they'll match really well I think.
So that's it for now!
I'm definitely going to revisit the wooden parts of the walls and I've got some new flooring to put in as well. All going well I might be able to do the other side of the trifold in the same pattern so when flipped round I can effectively have two sets - either side of the shop!
Now is also the time to introduce another member of the gang - Jonas the barista.
He's an Aaron Carter doll from about 2001 and I bought him still NIB on eBay recently. Although his musculature limits his posing at times, I just adored his facesculpt and the fact that he had such great articulation. It doesn't really show in these photos but he has a hard plastic neck and a soft vinyl head of two slightly different colours, and the join between them is really starkly obvious in person. I've since touched it up a bit so it doesn't look like he has a decapitation scar... 😂
I really can't wait to get this set finished but it's been ridiculous fun to work on so far!



Amazing! I love the creativity you put into creating the various miniatures. I can't wait to see this set done! :)
ReplyDeleteThanks, me either, lol
DeleteYour coffee shop is really great! I love how you made the coffee machine and the cash register. You are very creative!
ReplyDeleteThank you! :D I find half the fun in setting up these scenes is making as much of it as I can from scratch!
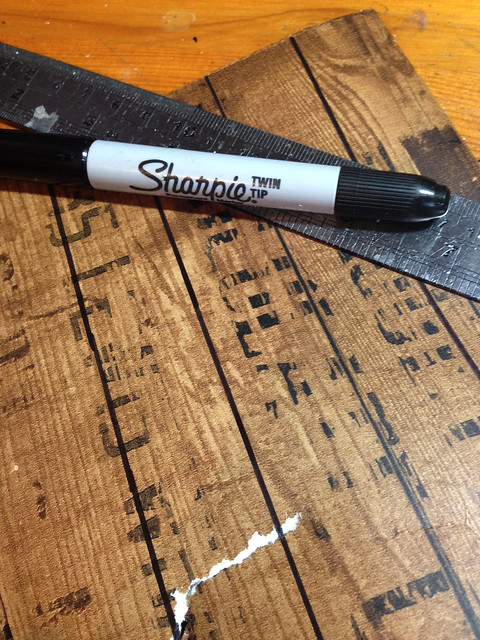
DeleteI love it, did you make the lines on the floor with a sharpie? I got some drawn out, but haven't made a place to put it. Thanks for sharing and the tutorial(s).
ReplyDeleteKind of - I had to print out multiple sheets of panelling for the floor, then cut a few down so I could make the pattern repeat. Some of them had really obvious join lines so I ended up going over them with a fine tipped sharpie to blend them in a bit more. The photo with the sharpie in it here was actually for the wall panelling, though I'm really not happy with how they turned out in the end.
DeleteAmazing, Spectacular, Genius!!! *clap clap*
ReplyDeleteI love love LOVE seeing the before pictures showing all the bits and bobs you use to make something like the coffee machine. So freakin' cool and inspiring too! You have a great talent for seeing the finishing product in a pile of what many would call trash.
ReplyDeleteFor plates, you could try doing a one-part mold (like I did for cones https://shoestringstable.wordpress.com/2013/12/11/casting-cones/) and thus be able to re-create the same shape. That said, casting materials aren't cheap and it can be time consuming. Perhaps this is just one of those coffee shops where all the plates are mis-matched from thrift stores and it's all part of the vibe :)
I love this so much. <3
ReplyDeleteSome nice scratchbuilding going on here - that coffee machine for example is pure genius.
ReplyDeleteYou won first place in my International Birthday Giveaway! Go to my blog to check it out and see how to claim your winnings!
ReplyDelete