------
Our main project required us to make an upscaled prototype model of a manufactured object with a couple of constraints - it had to be a manufactured object (so no pieces of fruit or natural items etc) and had to involve vacformed, turned and lasercut parts as well as showing a sectional view where part of the model was sliced open so you could see it's interior parts.
I chose a computer mouse because I thought it would be relatively straightforward (hahahahaha, no) and well, this is what happened. :P
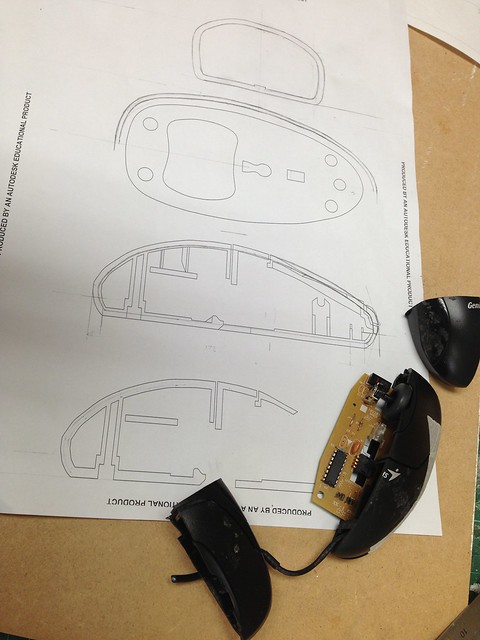
First of all I had to make a lot of sketches of the original mouse. (bonus points if you can spot the obvious mistake)
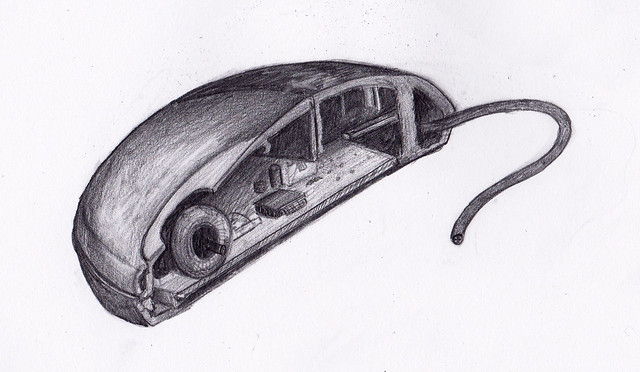
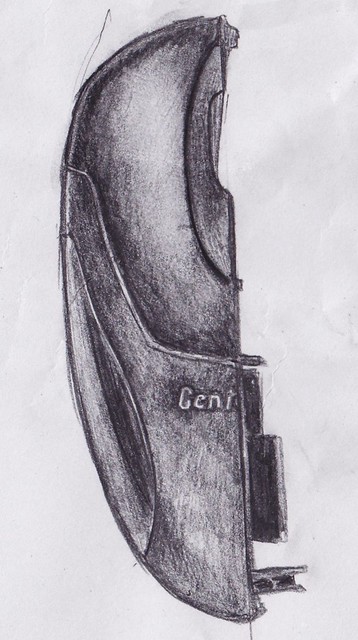
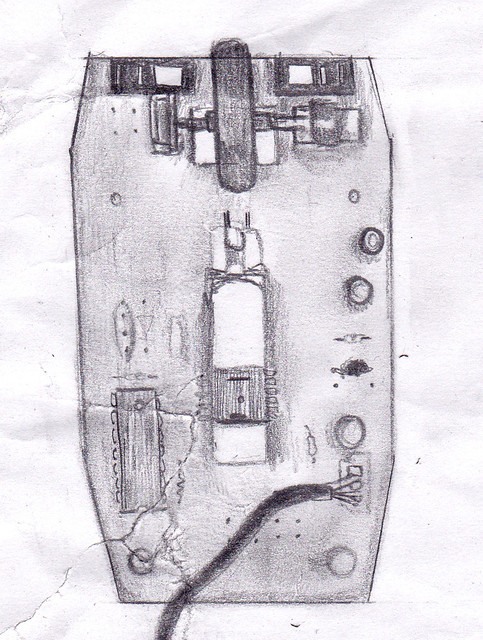
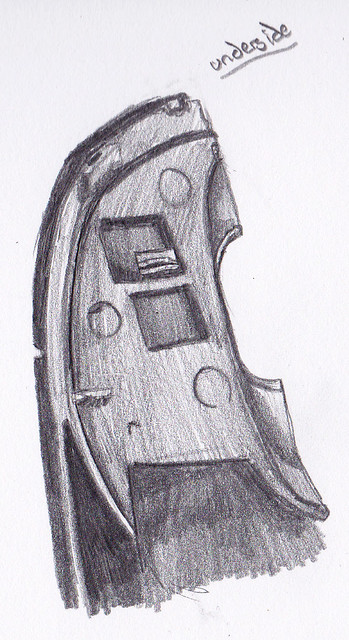
Next, the mouse was cut straight down the middle on the bandsaw and the sectional view scanned. This was so that I could draw over it in AutoCAD with more accuracy than trying to measure every last detail.
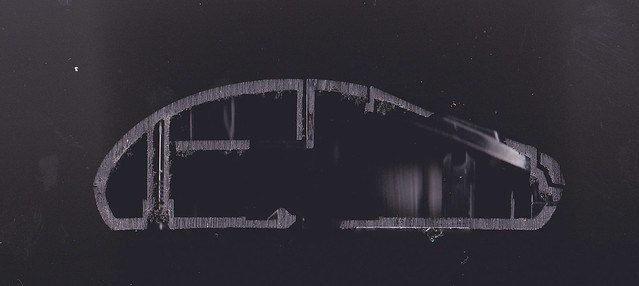
The finished CAD drawings were printed out at one and a half times larger than the original and then stuck onto a piece of tooling block that I was going to use as my vacforming master.
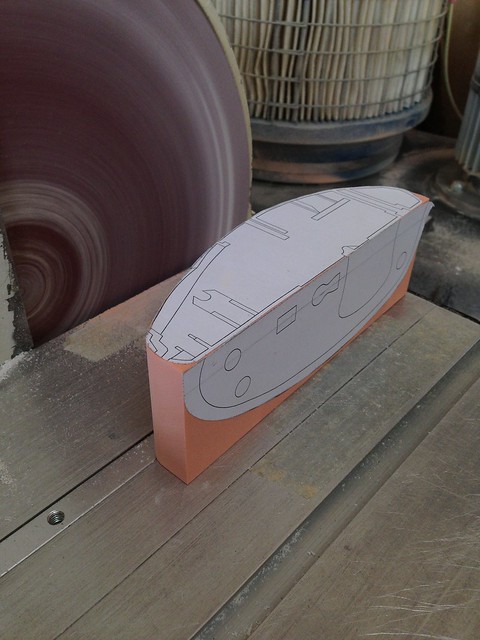
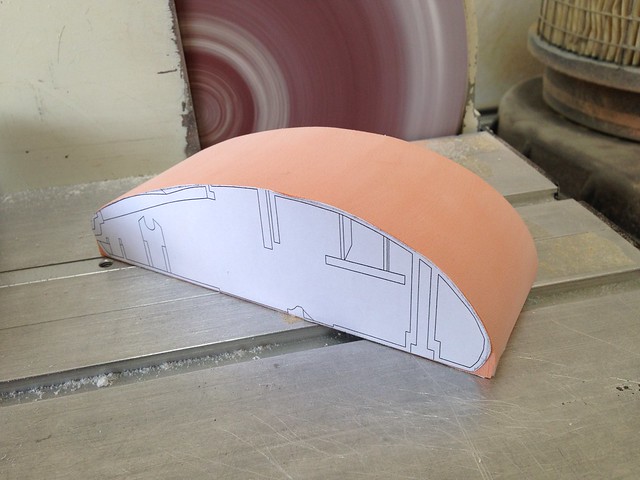
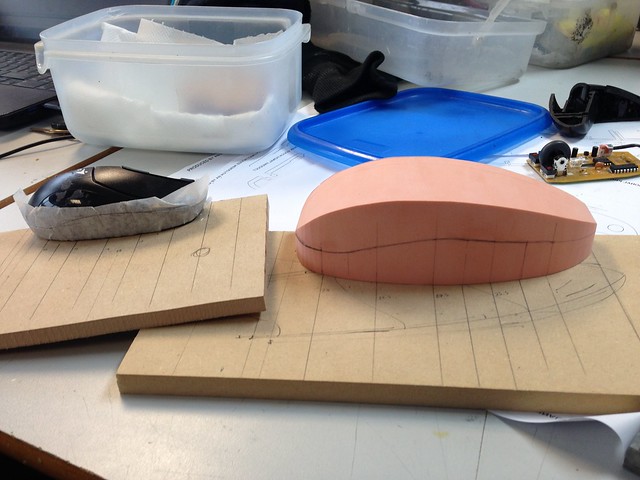
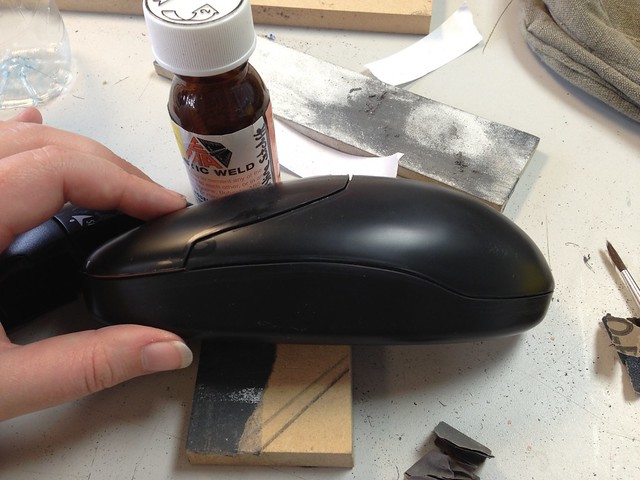
There is a very obvious change in angle between the upper and lower sections of the mouse, so the master had to reflect this. Using a system of grids and lines and heights (and lots of maths!) I was able to transfer the lines across to the upscaled version which was then roughly sanded into shape.
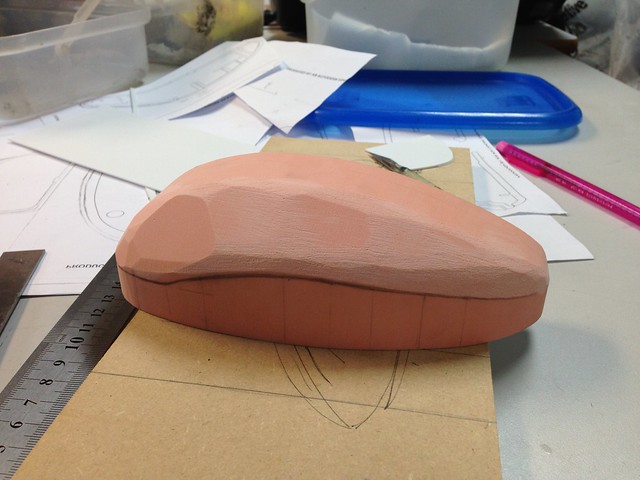
Alas, after all that work I realised I'd done it back to front and had to begin the whole process again.
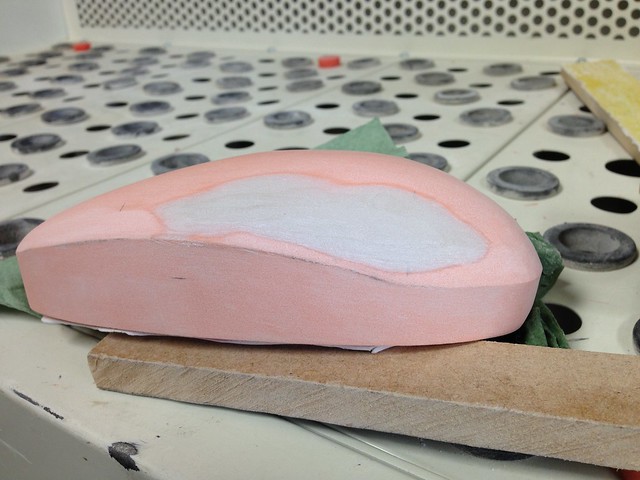
Next came the vacforming. Normally it's a very easy process but clearly the planets weren't in alignment and the styrene gods were against me when I did it this time because it took 14 attempts to get it to turn out right.
If the plastic hadn't overheated and melted all over the place or air had got in and the shape not formed properly, the resulting shape had really obvious 'webbing' at the edges between the master and the flat plastic of the scrap material which made it completely useless for this project.
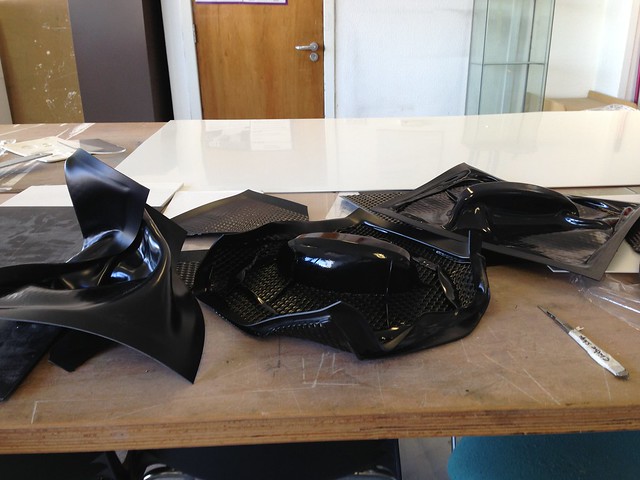
I finally managed to get a couple of decent ones but I don't think I've ever been quite so stressed over a piece of machinery.
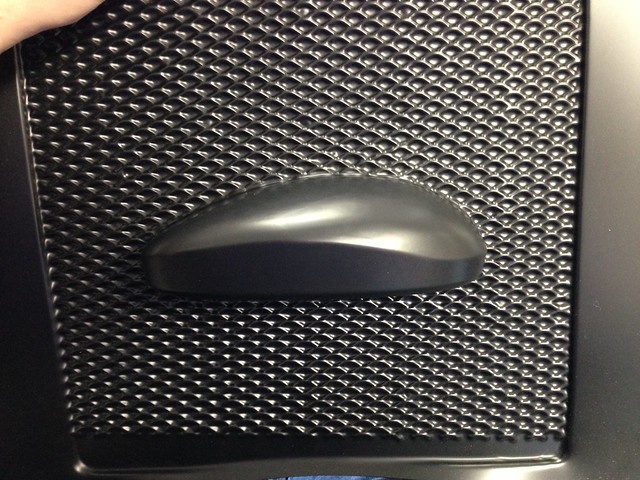
I cut it from the scrap by hand with a scalpel but to get the finished edge perfect I used the hilariously named 'Gerbil Cutter' (a rotary disc cutter used for trimming vacformed plastic) to get a nice clean cut. This also helped free the form from the master.

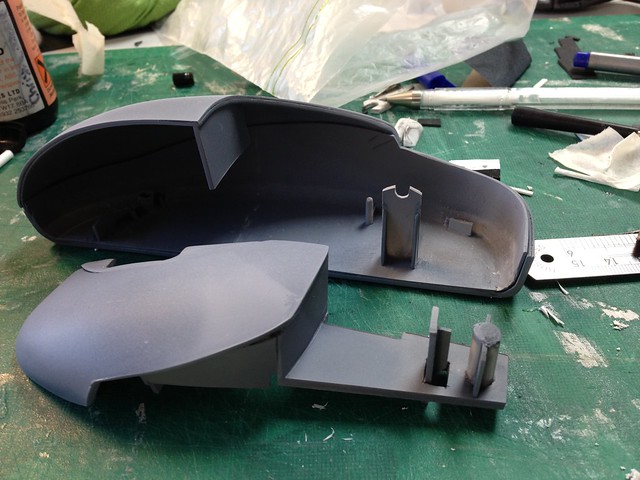
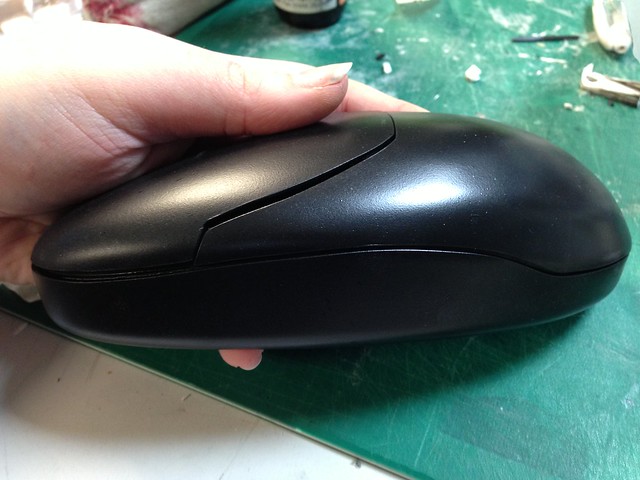
Because of the 'seam lines' for want of a better word on the original mouse where the button and upper/lower sections were, I had to split the vacformed part into three parts. Very carefully, once I'd marked out where to cut, I gently ran the scalpel blade along the lines until it had cut through to the base.
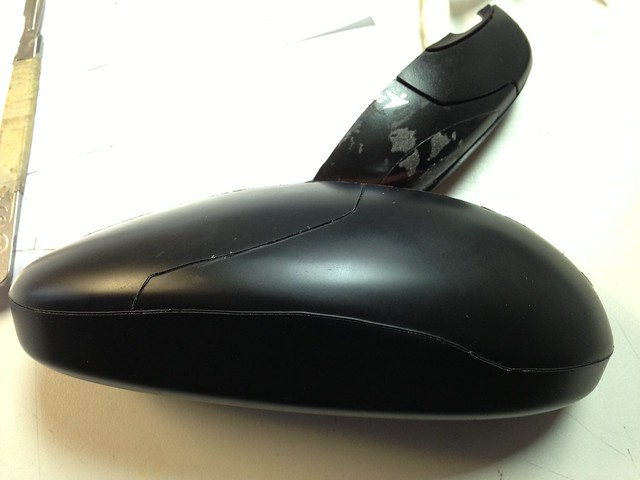
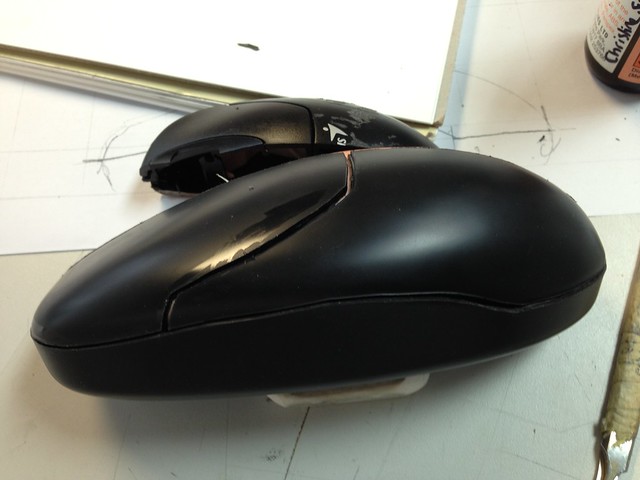

By this point the left part of the original mouse had gone missing so I was having to try to mirror everything in my head while I worked which was exceptionally awkward at times.
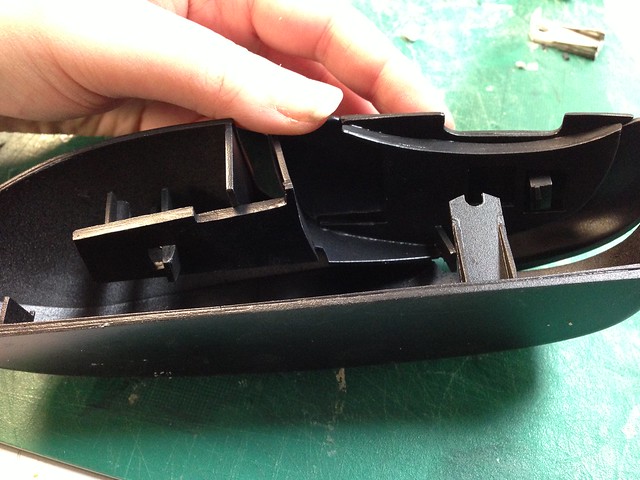
Because the vacforms were so thin, I was able to use two to bulk up the walls. This also meant that it gave something for the upper parts to rest on, as in the original.
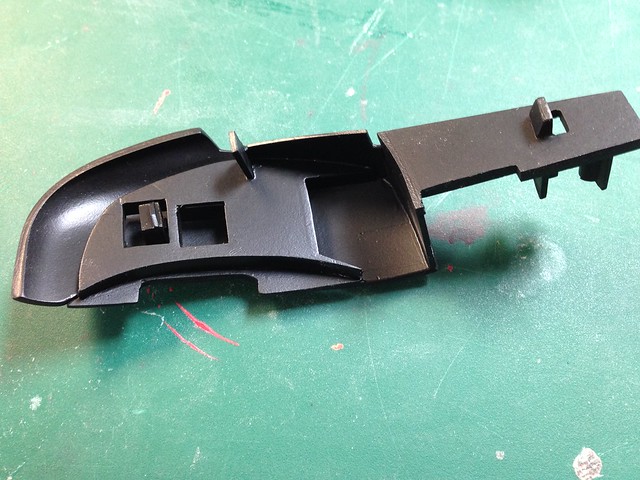
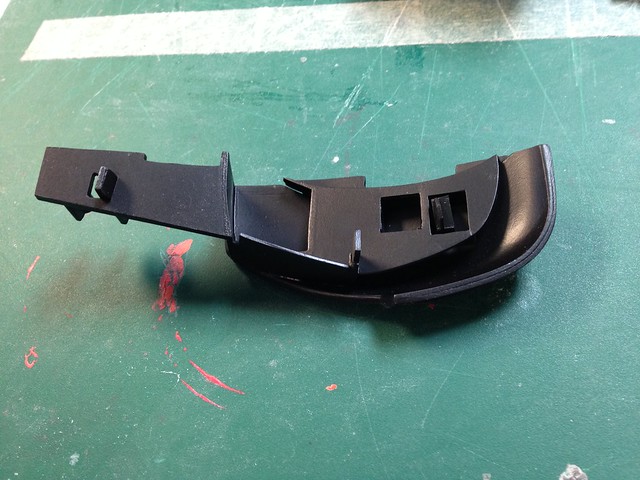
The fun part came next - making all the internal detail.
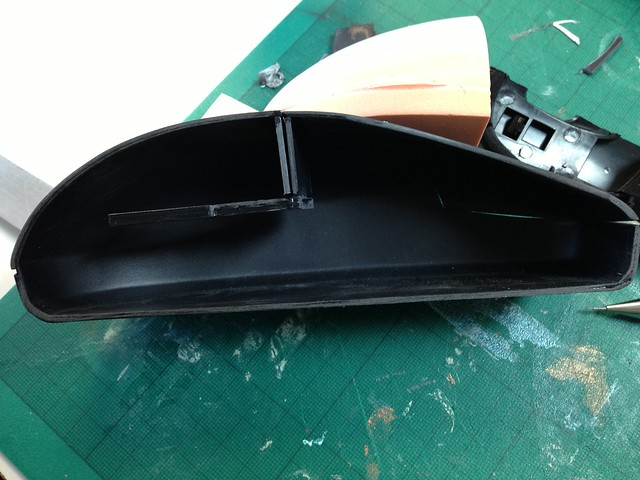
Stupidly I forgot to photograph progress on this part while I was making it but I can assure you it took ages; especially as I was working from an original that was flipped the other way around!
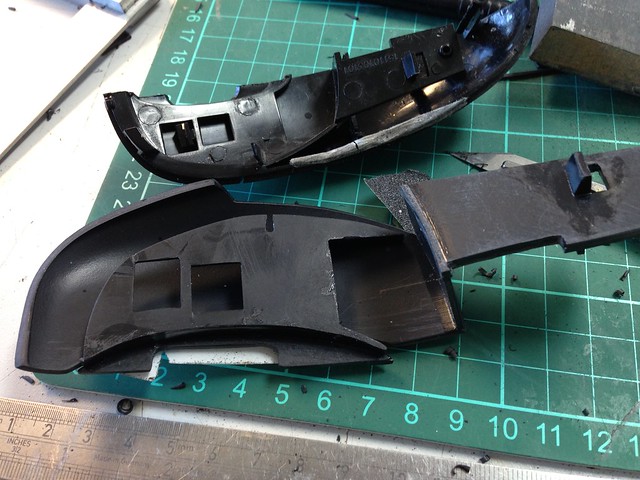
I'm actually kinda gutted because I put so much work into this part and it's almost invisible in the finished model as it sits on the upper part!
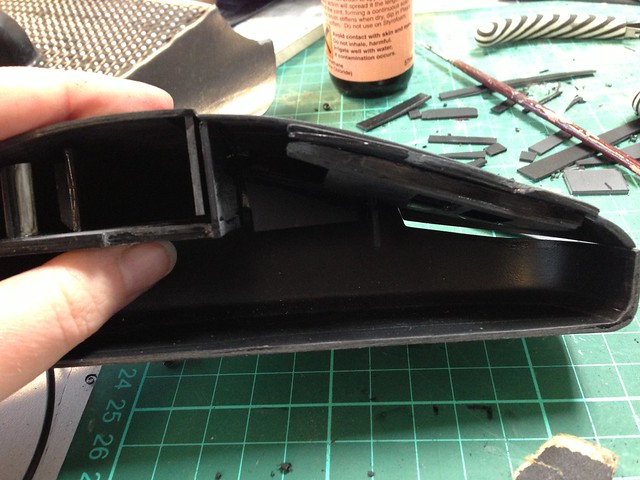
Here it is after painting.
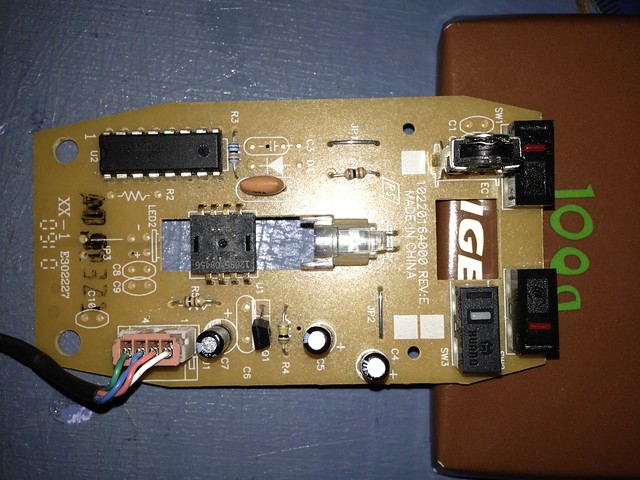
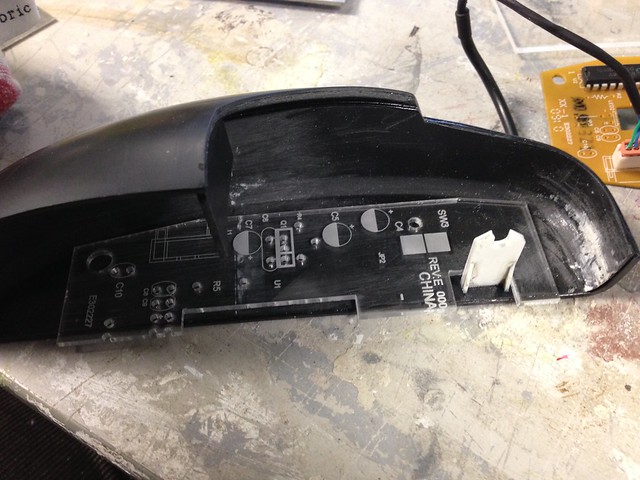
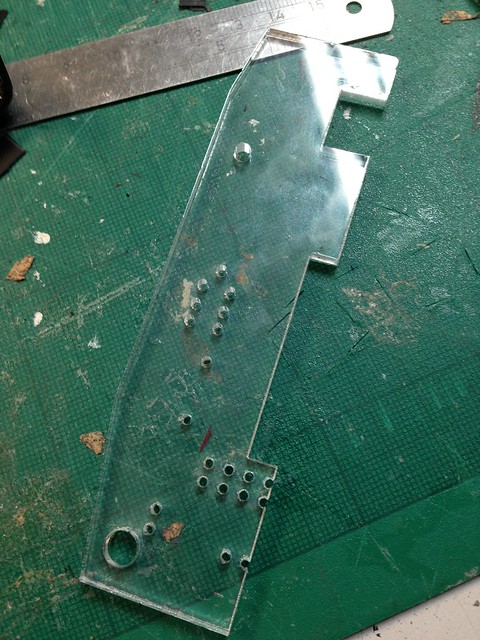
The circuit board part was photographed and traced in AutoCAD so I could lasercut it. This was the first time I'd used the lasercutter and gahhhh, it's so much fun it makes using AutoCAD worthwhile. XD

Stupidly I forgot to photograph progress on this part while I was making it but I can assure you it took ages; especially as I was working from an original that was flipped the other way around!

I'm actually kinda gutted because I put so much work into this part and it's almost invisible in the finished model as it sits on the upper part!

Here it is after painting.


The circuit board part was photographed and traced in AutoCAD so I could lasercut it. This was the first time I'd used the lasercutter and gahhhh, it's so much fun it makes using AutoCAD worthwhile. XD

The first attempt was a little basic, but after an afternoon of adding in all the relevant text, shapes and numbers, I did it again, this time engraving all the added details.

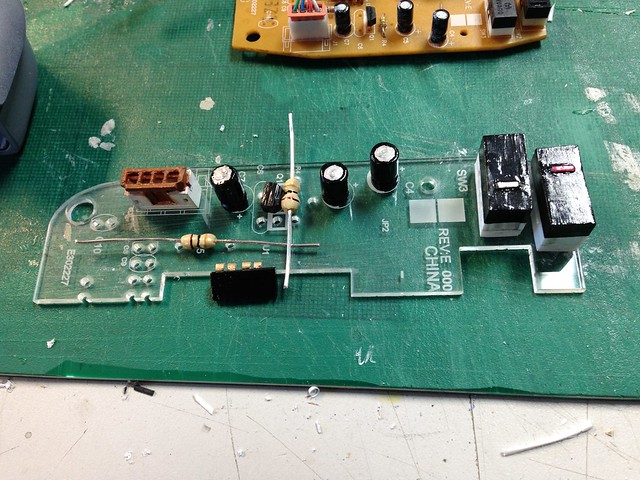
I made all the little bits and pieces on the circuit board from laser cur styrene and, in the case of the resistors, sculpey.
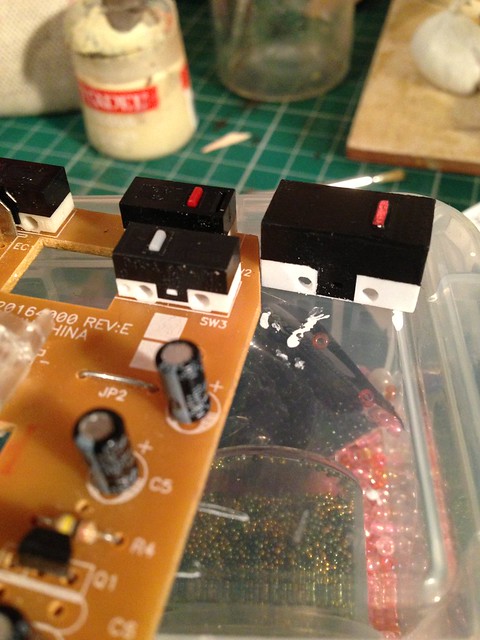


The 'raw' printed side was masked off and then I painted it using the spray gun in a lovely yellowy brown colour dubbed 'shitty brown' by a classmate. XD
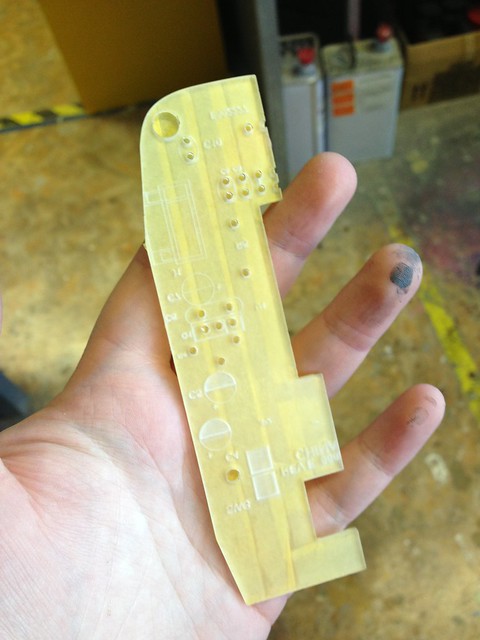
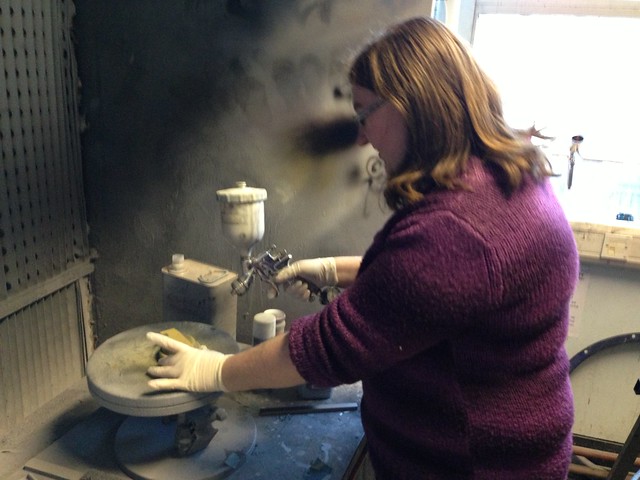
I needed to paint it twice as the first time round I had set the gun wrongly and all the paint came out in a super-thick layer. The second go worked out perfectly however.
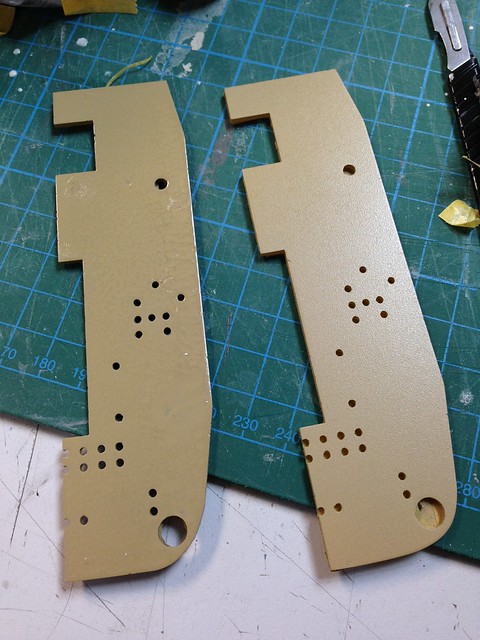


I needed to paint it twice as the first time round I had set the gun wrongly and all the paint came out in a super-thick layer. The second go worked out perfectly however.

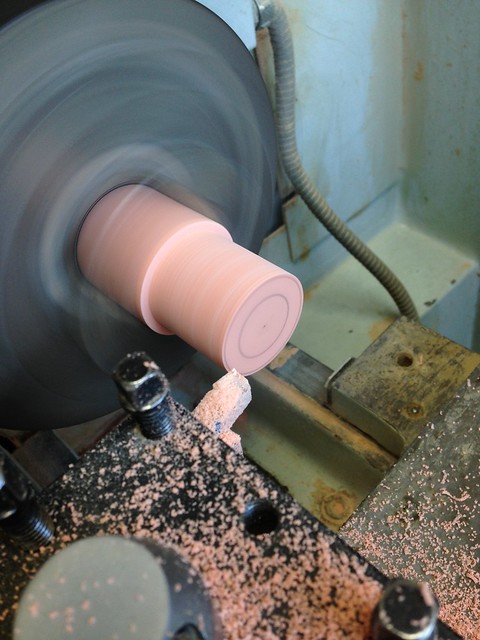
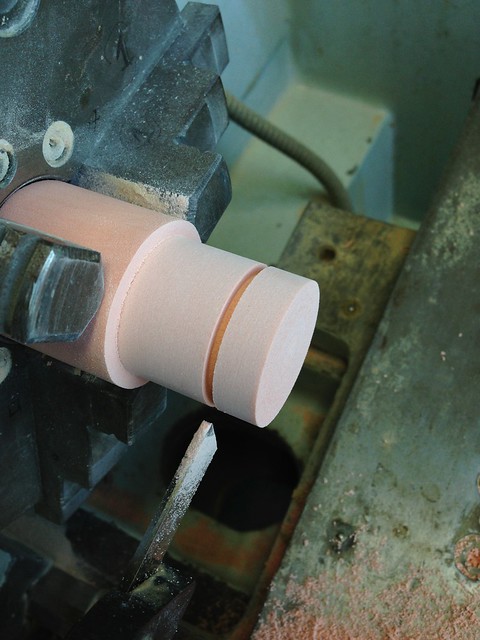
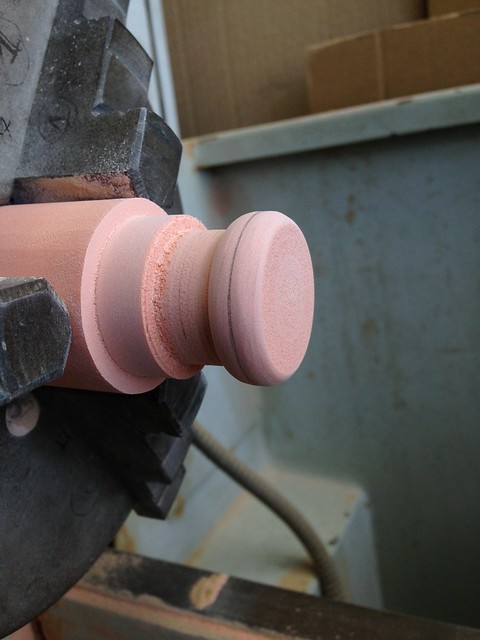
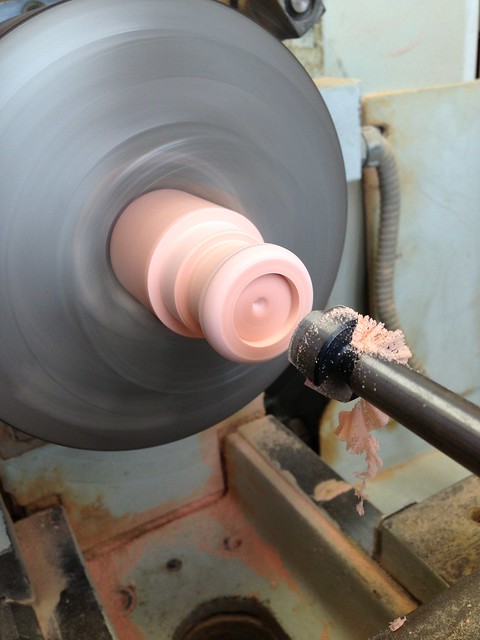
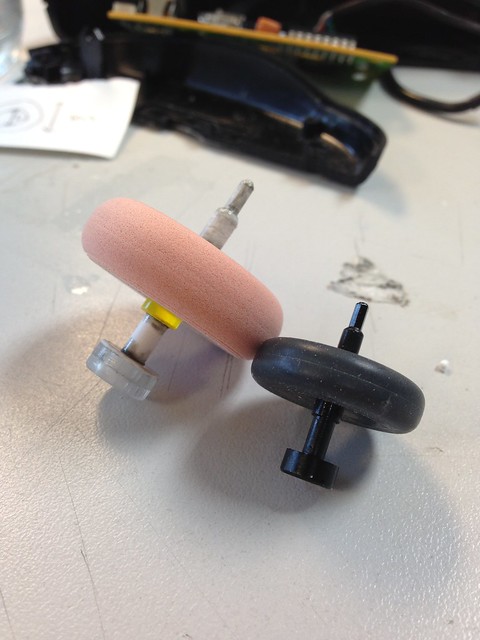
With the vacformed and laser cut parts out of the way, all that really remained was to make the mouse wheel.I used tooling block again and turned it on the lathe. I quite enjoy using the lathe, although I'm always slightly paranoid of overdoing it.
...and assembled.
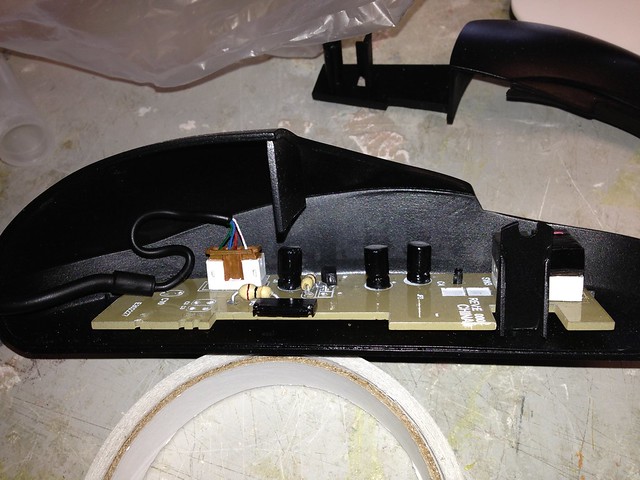
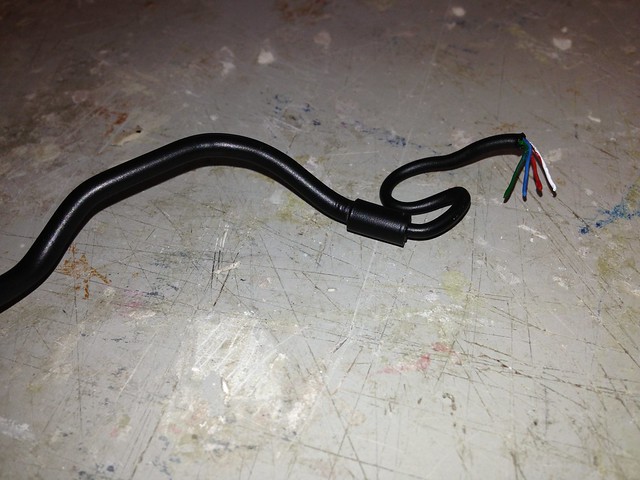
The cable on the left was made from sections of styrene rod, bent to shape with the aid of a heat gun. The fine wires at the end were just painted to look like the plastic coated stuff.
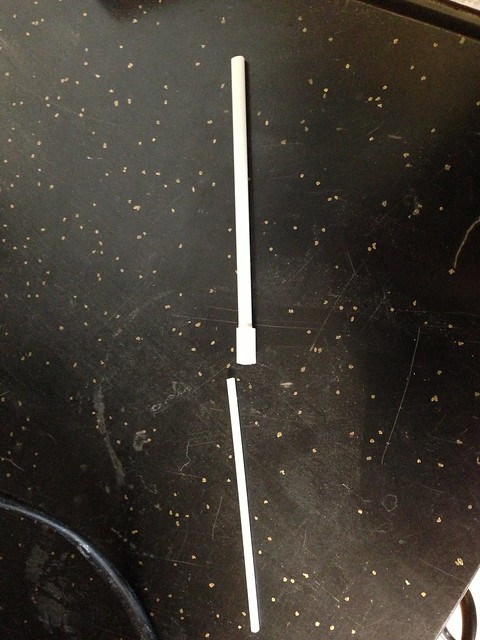
For a display base I thought it would be a nice idea to mount it on a replica mouse-mat, so, after taking measurements from real ones, I made up a design on CAD and took it to the laser cutter.
Once again, the modelmaking gods laughed from atop their heavenly workshop as I watched it being cut out. One of my classmates, David, was waiting on the lasercutter and I assured him I would only be a moment as I uttered the fateful words:
'...this will probably be the day it prints out the wrong size or something'
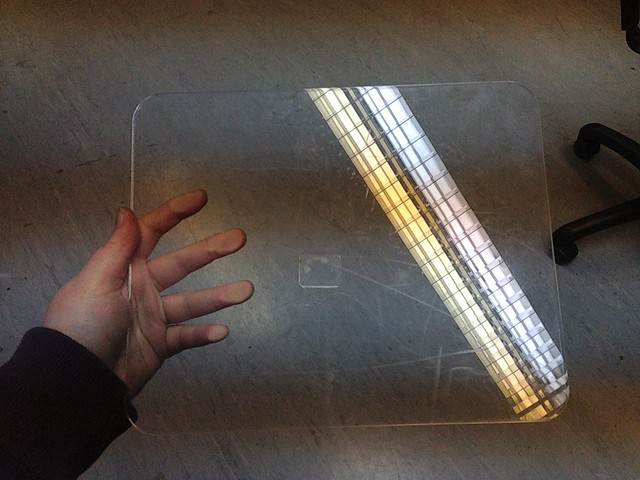 |
| Pictured on top of the second and substantially more accurate version. |
I could hear the cackles of laughter all the way down the hall as he grabbed it out of the machine and showed it to the entire class. XD
This is why scale is important, kids!
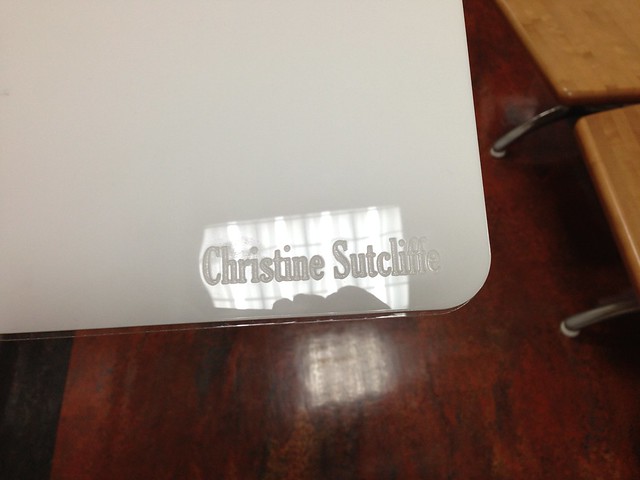
Anyway, with that amusing interlude out of the way, I engraved my name onto the corner of a styrene version of the base, and painted the acrylic one in black to emulate the foam lower part. It now looks like something you'd get from an Apple product which wasn't really intentional but I think it looks rather nice.
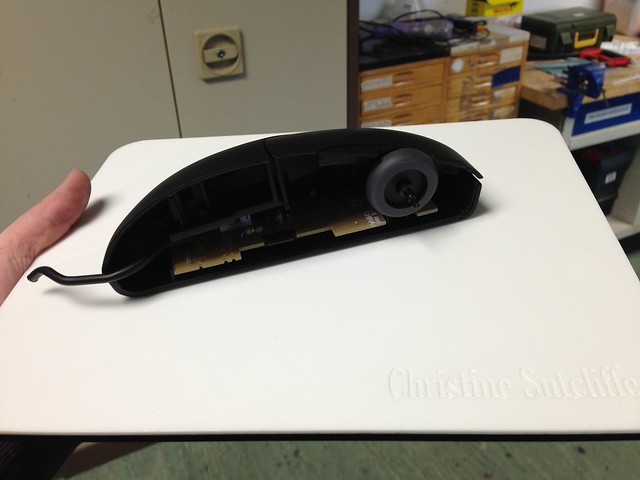
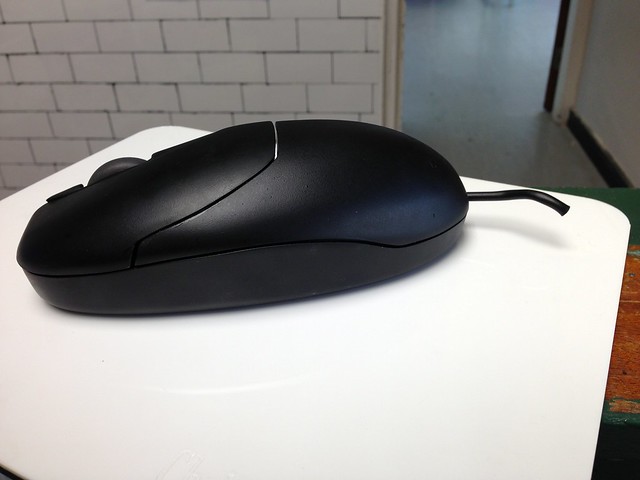
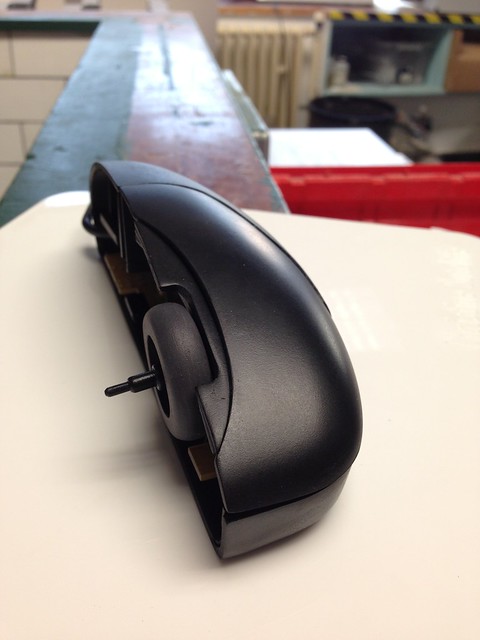
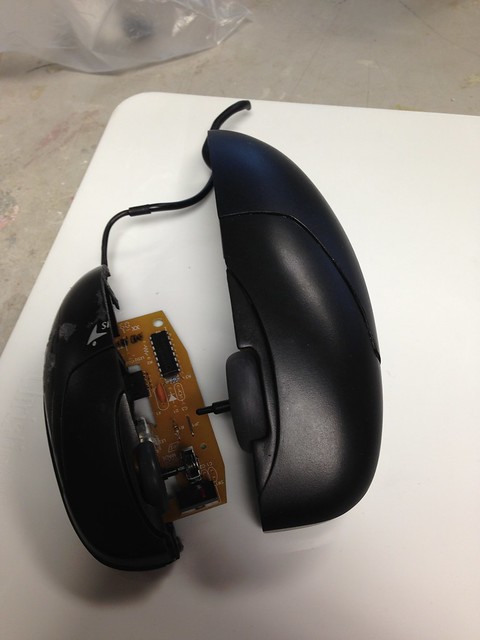
Now some eagle eyed viewers may have noticed a rather obvious flaw in the model which I was only informed of after I'd finished it.
Someone mentioned that there was something wrong with it and when I asked what it was they refused to tell me as I'd be upset. I really wasn't bothered as by that point it was finished and I had no intention of changing anything but they still wouldn't budge. I ended up with half the class going 'no, seriously, you'll cry!' but I eventually convinced them to tell me. They held up a mouse to mine and waited til I saw the problem.
Paintwork, fine.
Shape, fine.
Size, fine.
Details, fine.
Power cable...wait, whaaaaaaat?
I'd put the cable at the wrong end.
In my defence, all the photos I have of the original mouse when I took it apart have the cable coming out the back...like a tail. XD
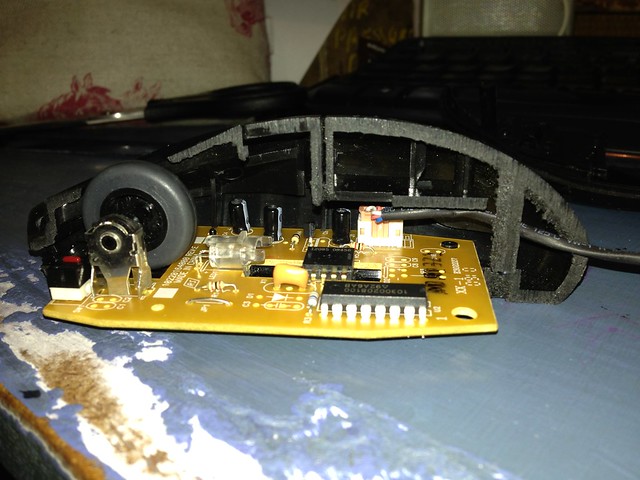
Aside from that relatively minor flaw (which I might change if I have time) I'm really happy with how the model turned out. I made a lot of mistakes during the making of it and learned a lot. I also stressed a lot but I think that probably has something to do with making the aforementioned mistakes rather than anything else, haha!

The block I'm on now has three projects, two of which I'm really excited about so watch this space!

When my mind stops boggling about the mere idea to do such a project, I will write how awesome I find the outcome. XD
ReplyDeleteI also admire how well you handle set backs.
Sooo, I will definitely watch this place.
'I also admire how well you handle set backs.'
Delete*laughs until the end of time*
Oh I do not handle setbacks well, I moan and rant and rave and cry...and then get on with it. XD
Hah, now you snapped, hm? LOL!
ReplyDeleteIn your posts it looks as if you do. I have yet to see pics how you threw half of your project across the room and have fit all over the worktable... *looks innocent*
XD I've done that before on previous projects actually. XD
Delete