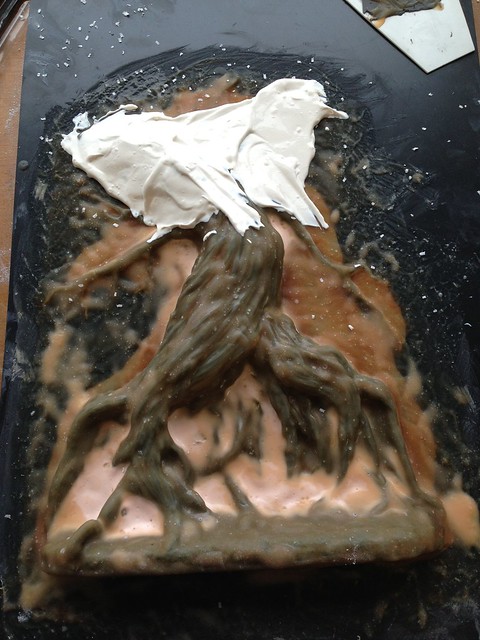
The last time you saw the Tree of the Dead sculpture it looked like this:
As I type, it's very nearly finished, all I need to do is paint it which I will most likely do on Monday when I get back. Until then however, here's a walkthrough of it's journey to (almost) completion.
--------------------------
I find sculpting to be a highly relaxing pastime and it certainly eased the stress levels associated with the graded unit I was doing at college on the days I wasn't doing this!
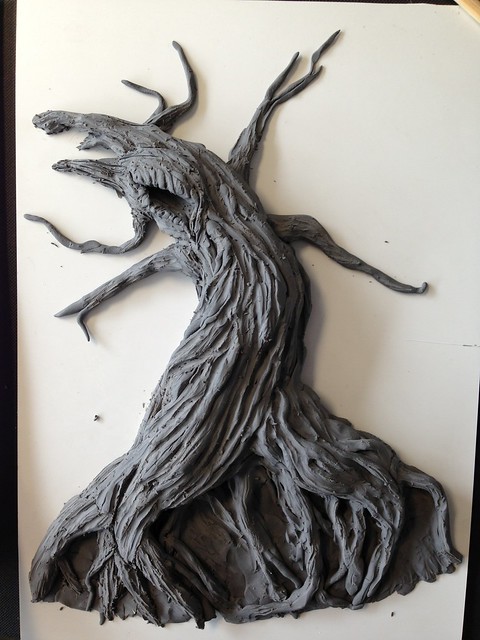
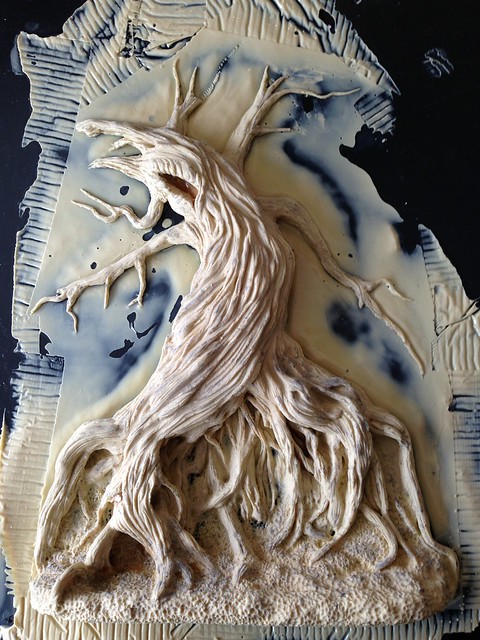
After blocking in the basic shape and form of the tree using multiple reference images from the film, I began to add in all the details and textures - in other words, the fun bit. :P I also added a base to it, transferred the whole thing onto a sheet of black styrene and marked in some rough texturing to emulate groundcover. It would be covered over at a later date but I wanted to make sure there was something there in case any of the scatter came off in the future. I used a stiff brush to describe the bark texture - something which turned out really nicely in the final casting.
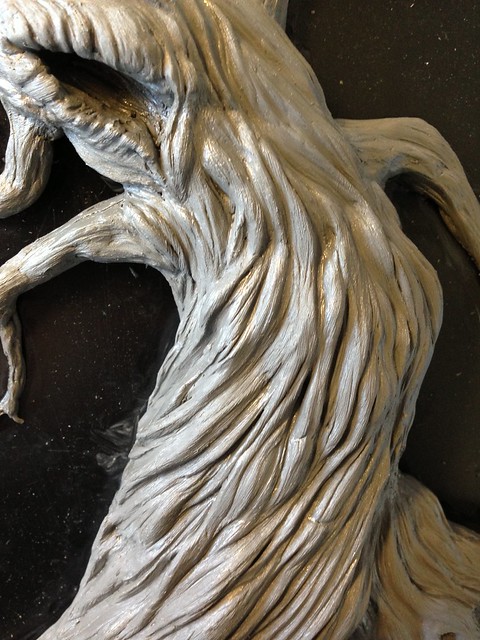
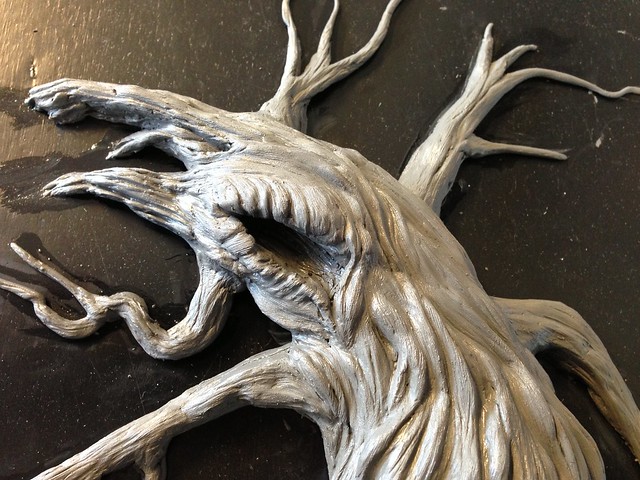
As this was the master and sculpted out of plasticine, I needed to make a mould of it so I could cast the final piece in resin. I had the choice of either silicone (expensive but very durable) or latex (cheap, wears out eventually but durable enough for several castings) and ended up going for the latex as I didn't fancy forking out £50+ for a new barrel of the stuff.
Mouldmaking with latex is a bit of a time consuming process as where with silicone you can just mix it up, pour over your master and wait for it to set, latex must be built up in layers. If I had been short on time to finish the project I would have bitten the bullet and gone for the silicone instead but I was ahead of most people in the class as I got the master sculpted in super-quick time so I could afford to spend a little longer working on the mould.
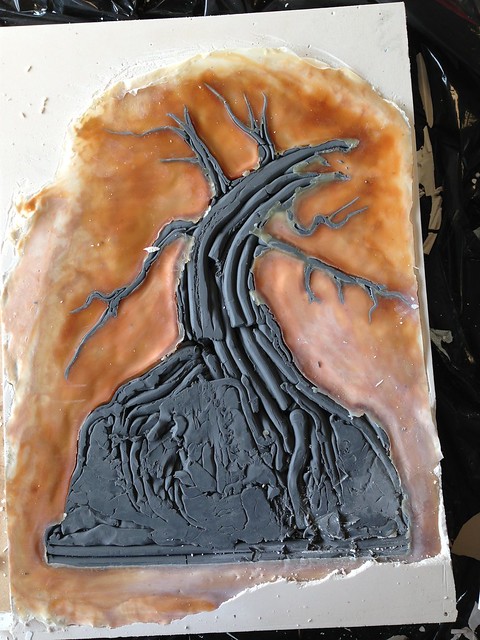
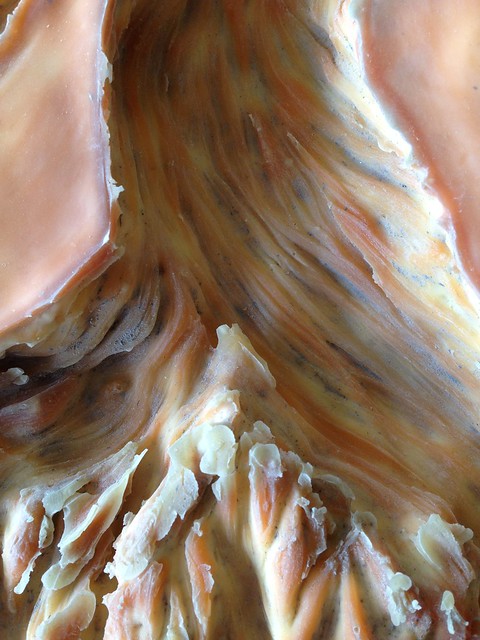
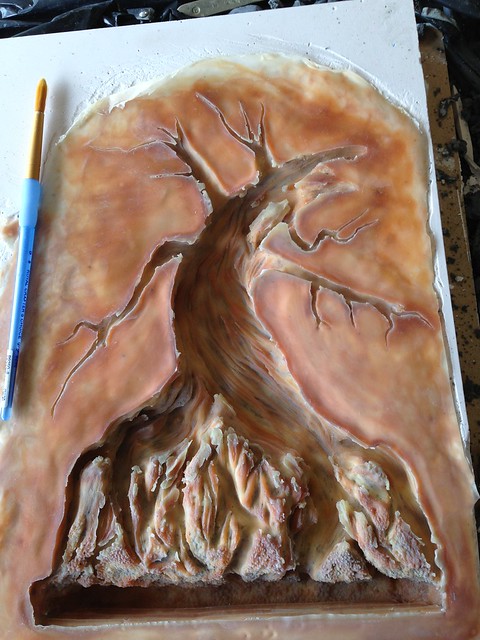
Liquid latex is a very runny material in it's raw state and dries quickly so it's ideal for preserving details. I did several thin layers, making sure to avoid any air bubbles as they'd spell disaster at this stage in the process.
Below: First image shows the first layer of latex after application - you can see the edges drying already - and the second shows it the following day, ready for another coat.
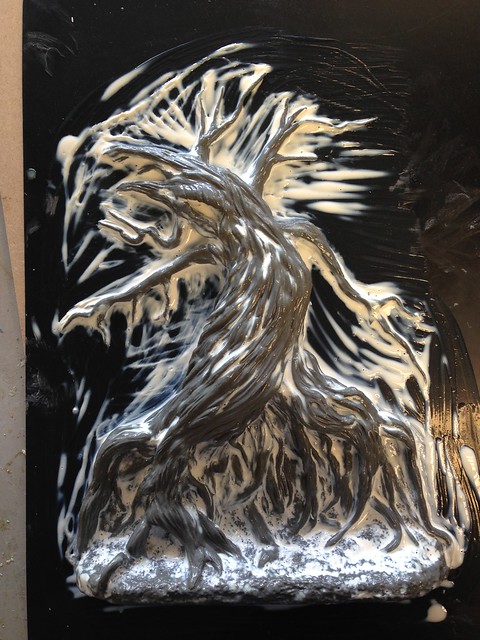
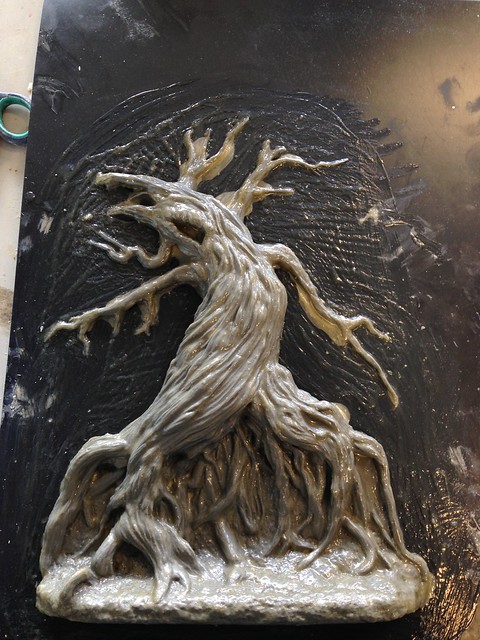
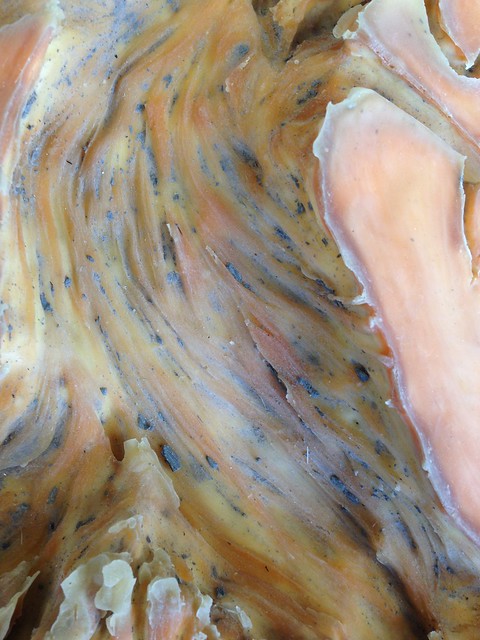
Many layers later, it was time to bulk the mould up. I added a thickening agent to the latex mix which, after some vigorous mixing, changed to the viscosity and general appearance of mayonnaise. (though I'd avoid it with salads. :P) This took longer to cure than the previous coats as it was so thick but it was important to give it as much time as was required so that the final mould would be durable enough in the long run. On larger moulds, it is common to add sheets of fabric or hessian between latex layers as it strengthens it and helps it to hold its shape but I didn't need to on this occasion.
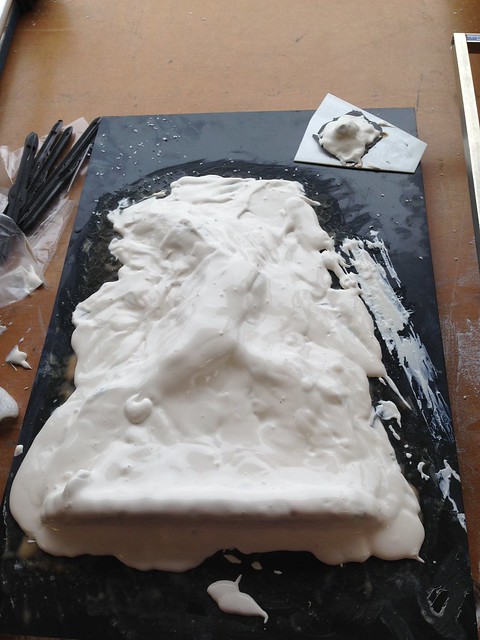
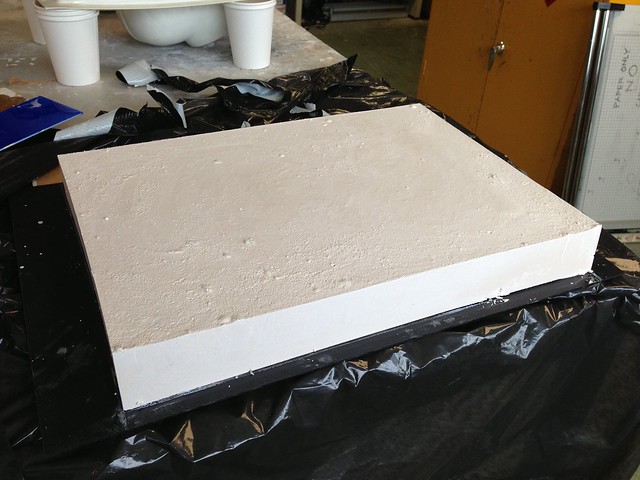
Now looking very much like the filling of an orange flavoured Revel, the time had come to make the plaster 'coat' for the latex mould. This was necessary to keep the mould from warping out of shape once the resin was poured in. To make sure none of the plaster escaped, I constructed a simple box out of scrap styrene and dichlo'd it together. In hindsight I should have hotglued the edges to be sure there'd be no leaks but at the time everyone thought it was watertight so...yeah. XD
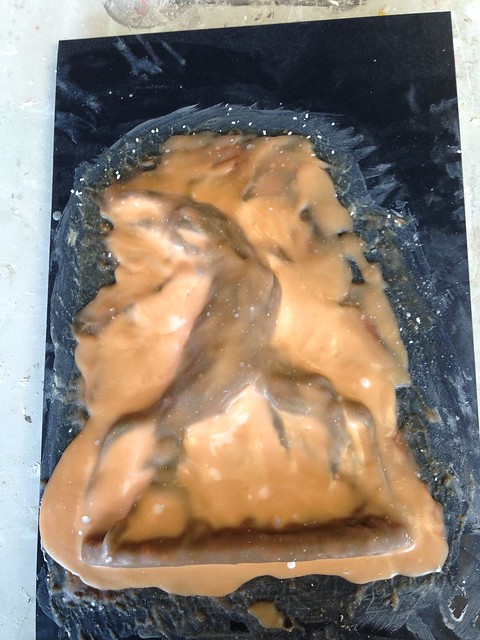
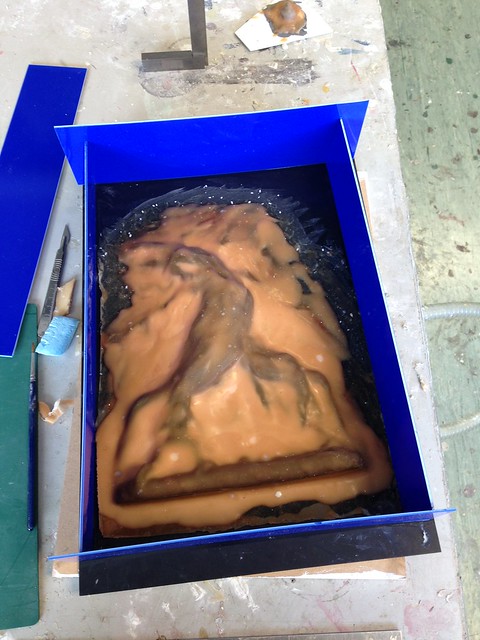
Simon and I mixed up some plaster and poured it in...
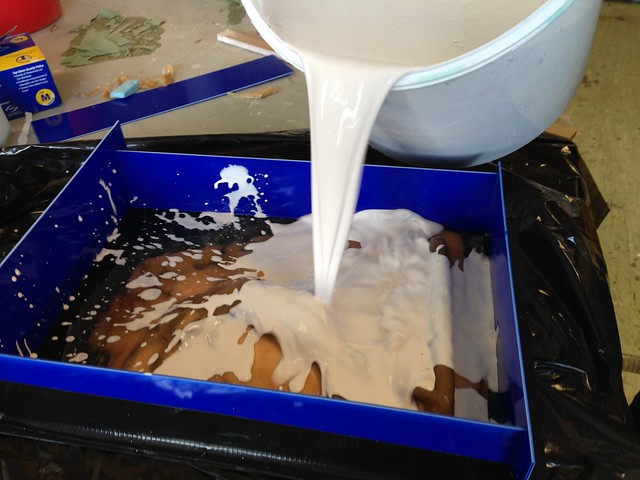
...only to discover that two of the sides were leaking! I asked Si the best way to patch it up but he insisted it was easier if he just plugged the gaps with his fingers until it set, something I think he lived to regret when it took longer than he expected and had to stand there for twenty minutes unable to move his hands. XD
The other snag was that we'd accidentally made waaaaay too much plaster so I had to race around the department to see if anyone had any moulds they wanted filled before it went off and became unusable. Luckily we found an old vacform of a Darth Vader mask so we managed to use up most of it in that after spending several hilarious minutes trying to prop it up with paper cups as the vacform was wonky and threatened to fall over and spill all the plaster!
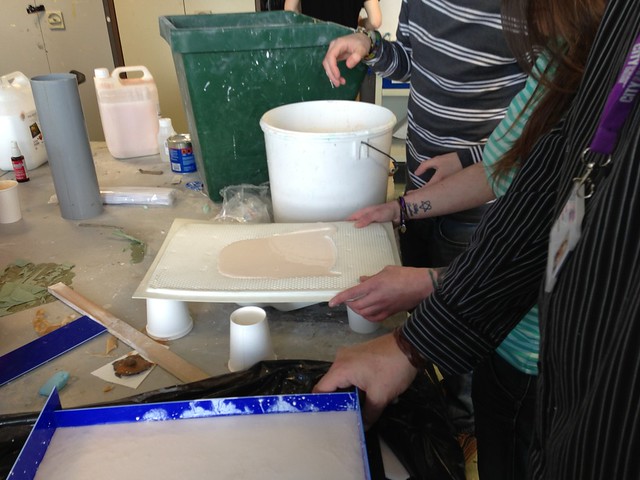
Some time later, we removed the styrene box and tipped it over to reveal...
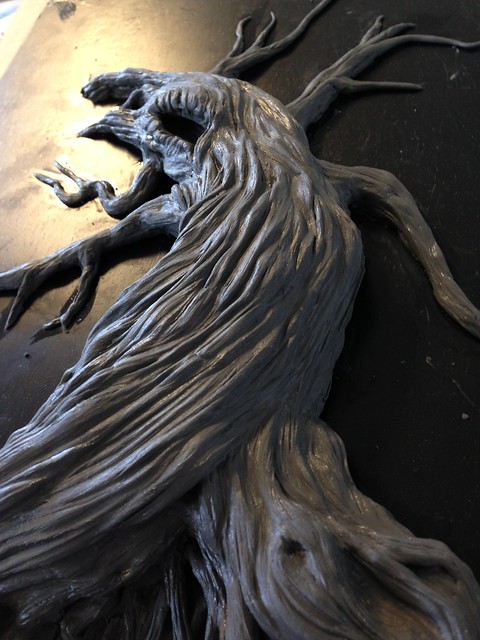
The never-before-seen underside of the tree! The mould had turned out really well, capturing loads of detailing, so all that remained was to remove all the plasticine, clean out the mould and pour some resin!
Getting rid of the plasticine proved to be a lot trickier than you'd have thought however and it took nearly an entire day just to get the bulk of it away.
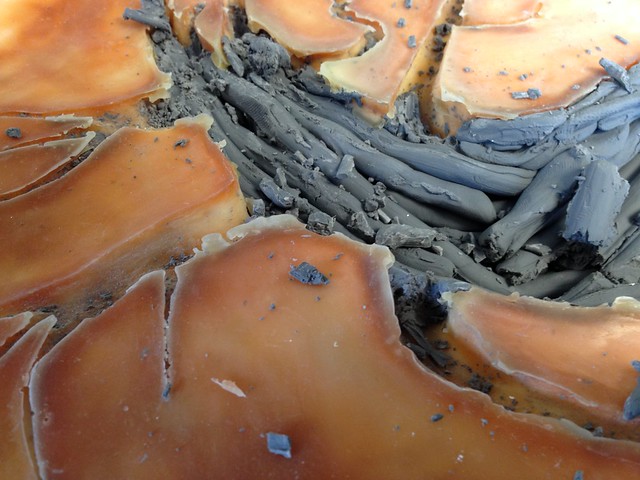
I always ended up with little streaky bits and while they came off easily with a bit of work, it was incredibly time consuming.
In the end however, I was left with a really rather nice mould. Some of the deeper undercuts were a bit of a worry as they may not survive the first casting but it was nothing I couldn't fix afterwards if need be.
Now, after weeks of work, the moment of truth had come.
Would it work?
Answer...
Yes!
...and no.
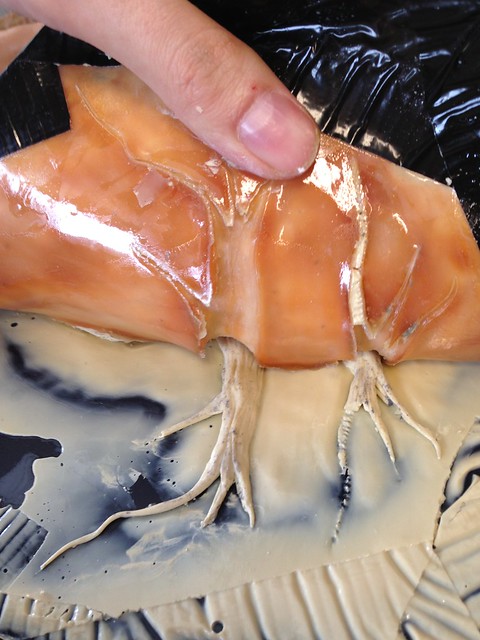
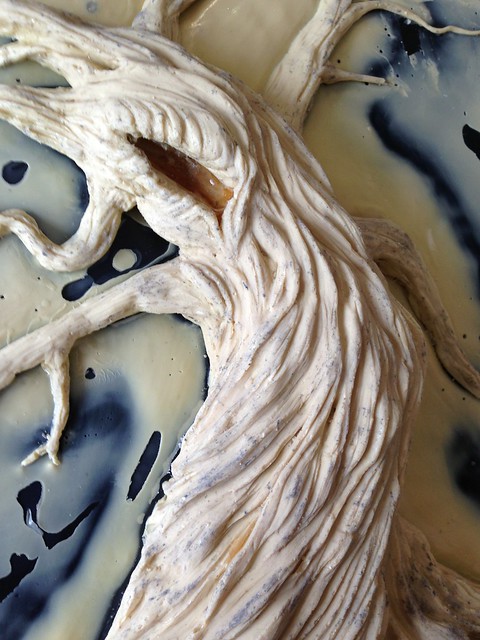
On the whole, it turned out incredibly well; the latex had captured every detail and transferred it to the resin but some of the branches didn't survive. In all honesty I'd expected that so it wasn't too much of a big deal. The undercuts did well but some of the mould in those areas was damaged when we took out the resin so it'll have to undergo a bit of restoration work for future castings.
You can see some of the latex caught inside the undercut in the picture below.
There ended up being a LOT of unwanted flashing around the cast as I, under the well-meaning but otherwise flawed advise from a fellow classmate, placed a sheet of styrene over the mould shortly after pouring to even out the back...only we usually use waxed acrylic for that purpose as it doesn't stick to the resin and can be removed afterwards. So yeah, you've guessed it, it stuck to the styrene and made things ten times more difficult for myself. XD
Most of it came off easily enough but I lost a few sections of branch in the process. I reattached them but I could have done without the hassle.
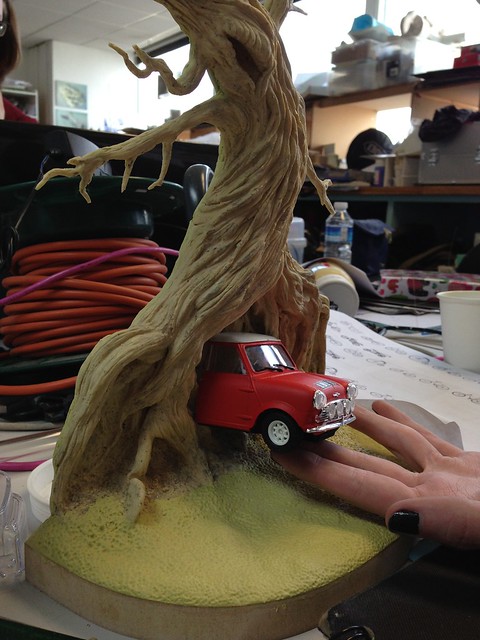
Another day or so later and it was done! I was amazed that it could support itself and remain freestanding, although it did lean backwards a little bit.


Unfortunately, when I saw it standing there for the first time, only one thing came to mind and now that I've seen it, it cannot be unseen!
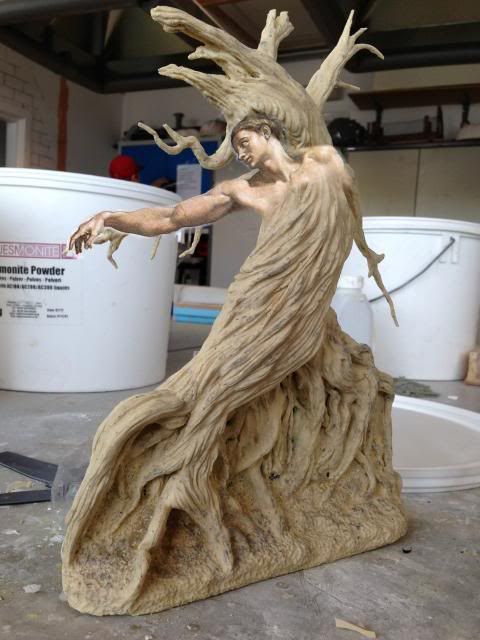
Apologies. XD
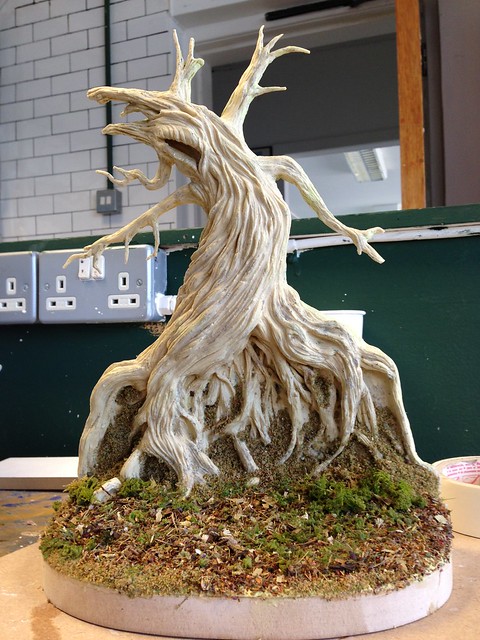
Although it could stand up by itself ok, it needed a wider base so I could do some groundwork and make it more of a feature in its own right so I cut out some MDF on the bandsaw and hotglued it on. I then broke out the milliput (eurgh) and used that to smooth the transition between the two finishes.
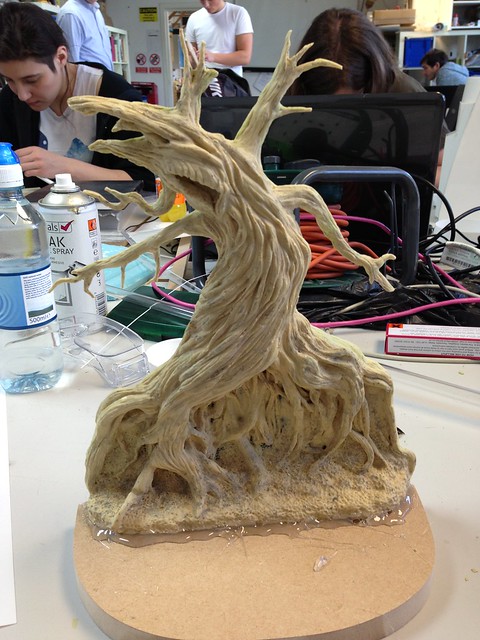
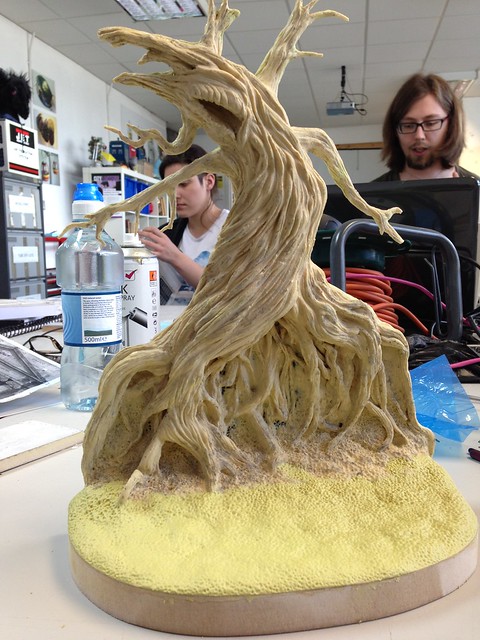
Faffing around with part of classmate Jack's graded unit model. :P (bonus points if you get the Harry Potter reference :P)
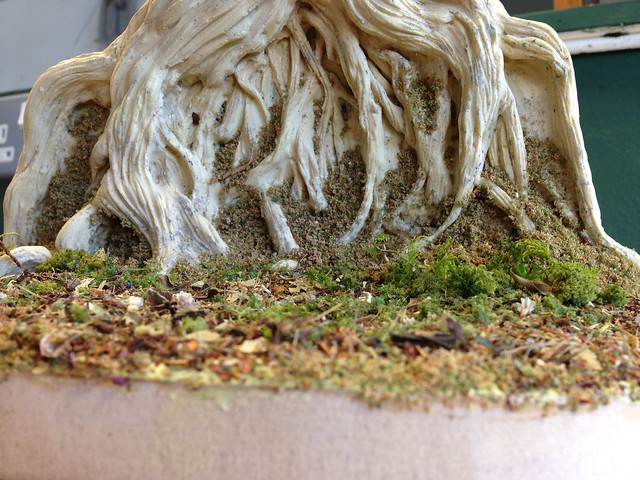
I spent yesterday afternoon adding scenic scatter to the base which, while fun, was bittersweet as the final finish for all the models is GREY so it'll all have to be painted over next week. :(
So yeah, pretty much finished now, save for the painting!
For a first foray into sculpting and mouldmaking I really couldn't be happier and now that I know what I'm doing I'd really like to do some more stuff at home over the summer.
I still have a fortnight left before the end of the year (where did the time go?! :o) so I'm going to spend most of that time recasting the tree as I have a few people interested in getting a copy and if I can get the castings done before the end of term I can work on them over the summer and finish them up properly.
So yeah, lots of fun has been had on this project; it's exactly the kind of thing I want to do in the future career-wise so here's hoping it'll be the start of something big!
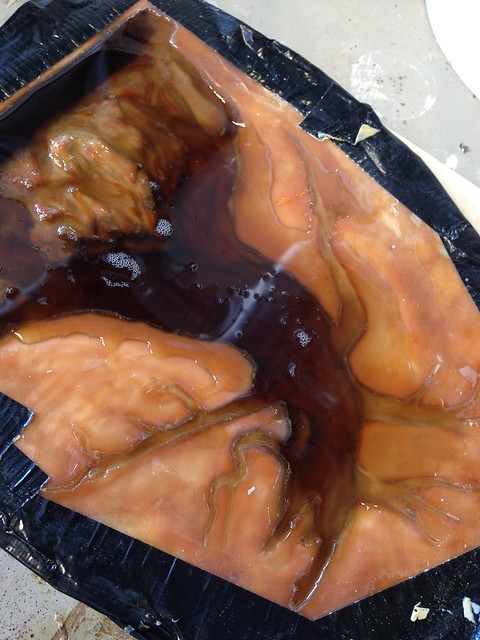
I shall leave you with a photo of the next cast immediately after pouring - I didn't add any pigments to the mix so it'll come out transparent and blue!
EG out! :D


The tree is just wow...
ReplyDeleteThank you! :D
DeleteLooks amazing, if you ever decide to sell.....ELS919@gmail.com
ReplyDelete