
The set design thing is looking fantastic (not that I’m biased or anything, having done rather a lot of work on it. :P) and my gun is coming along nicely, only thanks to the Jubilee holiday we only have THREE DAYS to finish everything!
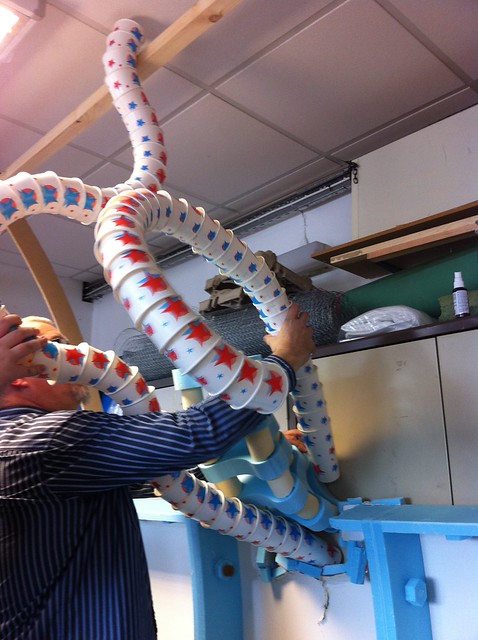
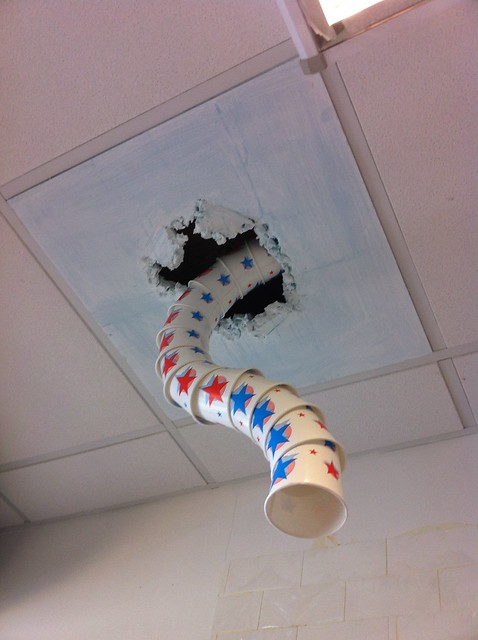
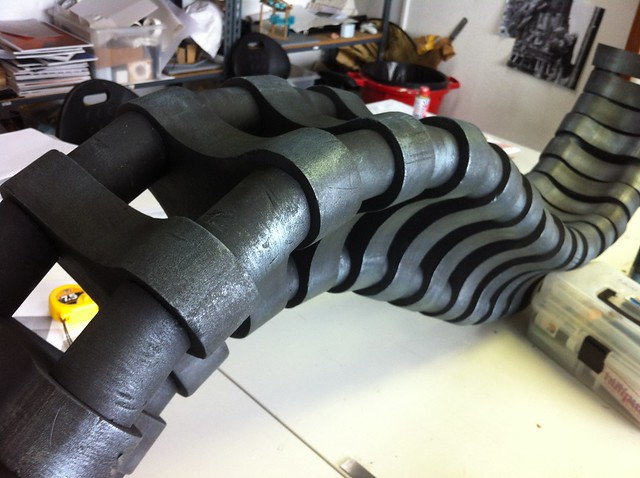
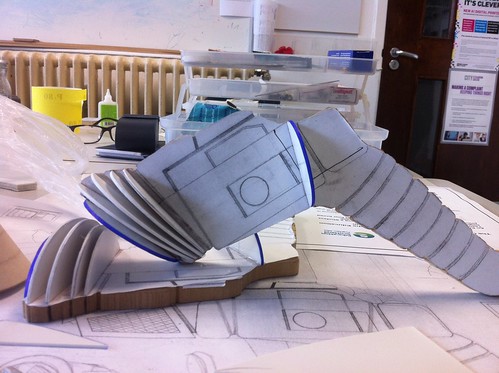
Lucie and I have been working on ‘Rodney’ the alien, well, his neck anyway. He’s going to basically be an eye on the end of a long neck with lots of tentacle-like arms bursting out of the wall and thus far he’s looking pretty darn snazzy. (and yes, those are paper cups!) I must point out that we weren’t responsible for the arms, that was another part of the group. ;)
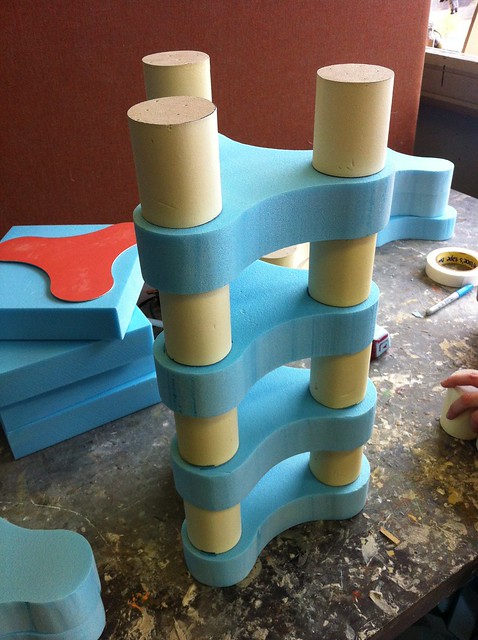
He was very early in his construction here, it took us weeks of work to finish. He’s made entirely out of hand cut blue and white foam, hot-glued together.

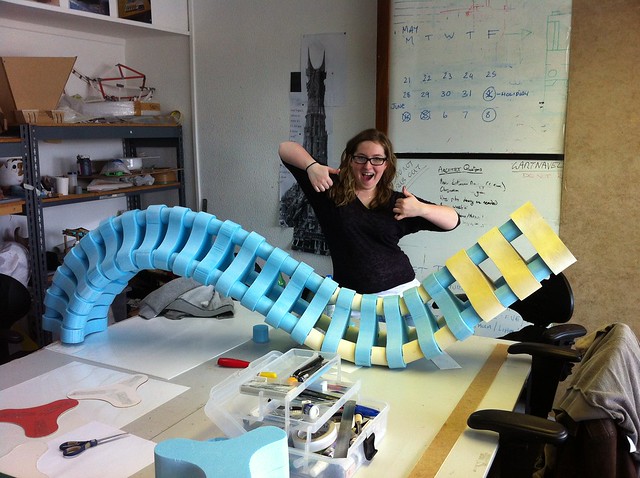
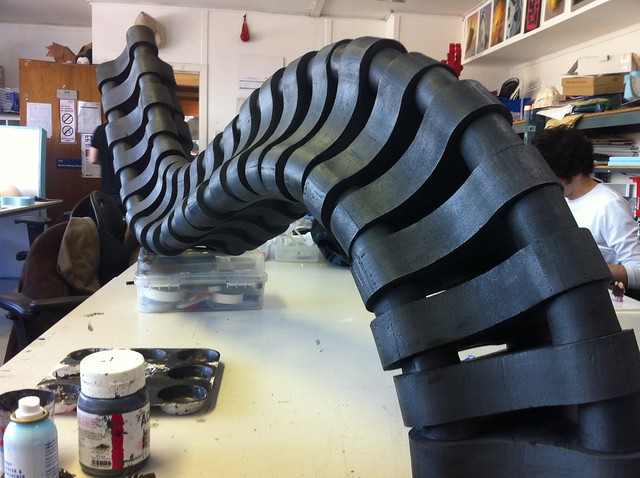
Here’s Lucie with him for scale – as you can see, he wasn’t the easiest thing to construct!
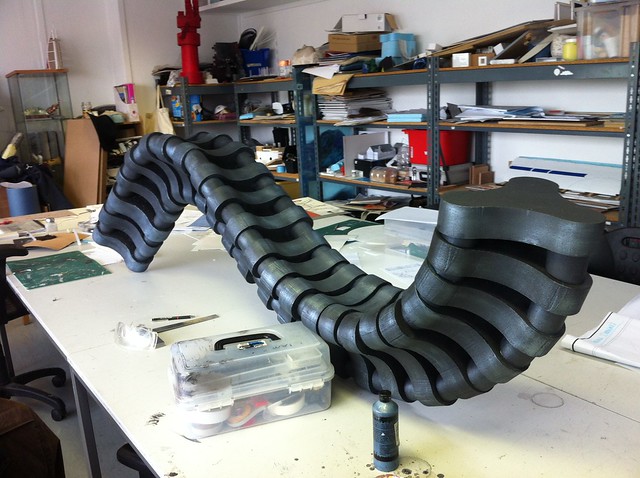
We painted him last week (which literally took us the entire day!) in dark grey acrylics with silver drybrushed on to give him that worn metal look
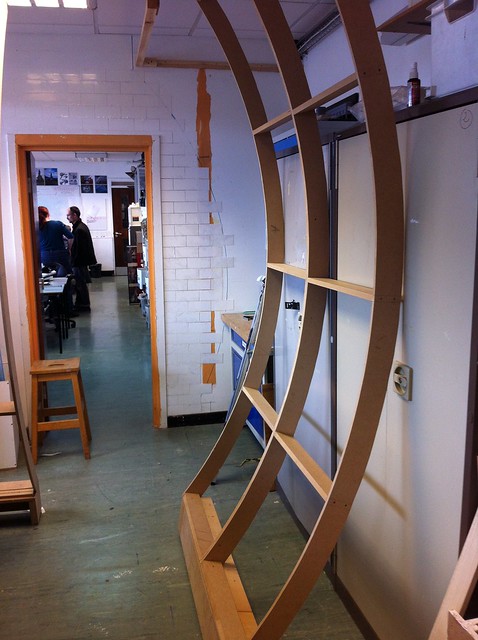
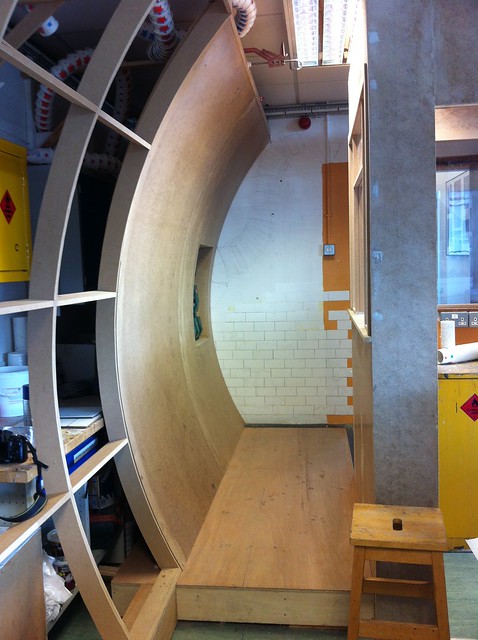
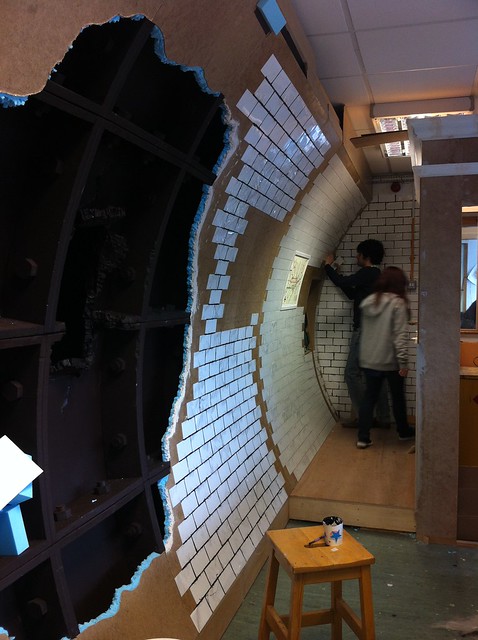
The MDF supports we made earlier were installed...(and remarkably have held together too! lol)
...some of the tiles put up...
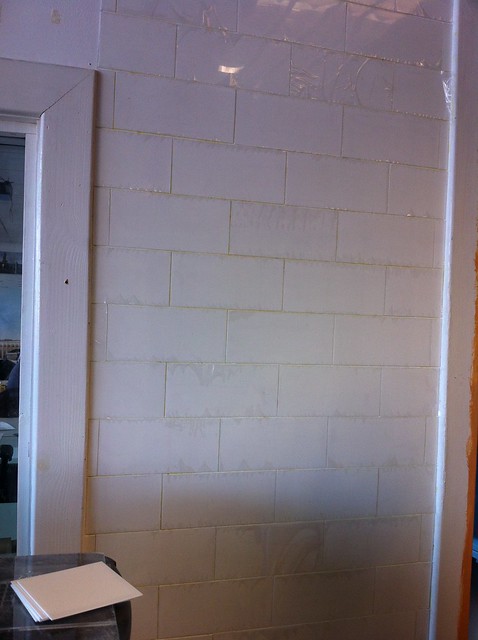

...and all in all it’s really starting to come together!

XD
While I was waiting for part of my gun to cure (more on that later!) I volunteered to do some grouting between the tiles. Simon suggested using a fine tipped pen which worked reasonably well but took ages , ran out quickly and to me at least didn’t give a good finish. I switched to paint and while it looks horribly messy here, I promise you, the excess does wipe off! XD
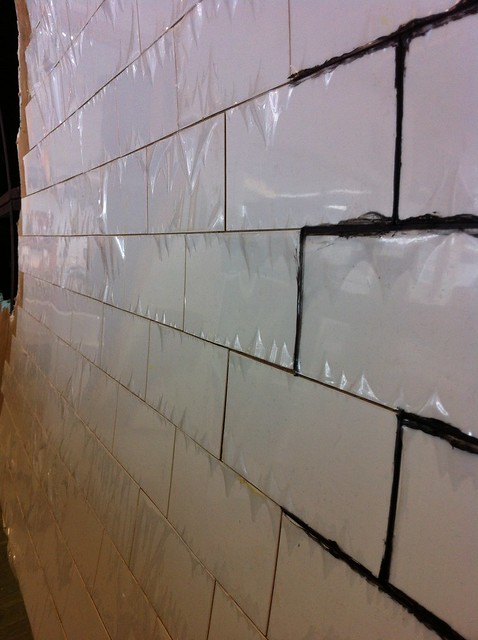

It’s looking goooooooood! :D :D :D :D
Anyway, onto the part that’s REALLY stressing me out.
The gun.
Whereas most people chose to make a prop that actually existed and could therefore be backwards engineered or copied, muggins here decided to design her own which worked well in theory but not so much in reality. I knew what I wanted it to look like from the side but not from above or in profile and that was just the start of the problems. Originally I wanted the front nose cone part to be lit with LEDs but have the inner part rotate so it would look like it was spinning really quickly to power up but Gordon soon put paid to that idea with a firm ‘no, that’s never going to work in the time we have, move on’ XD
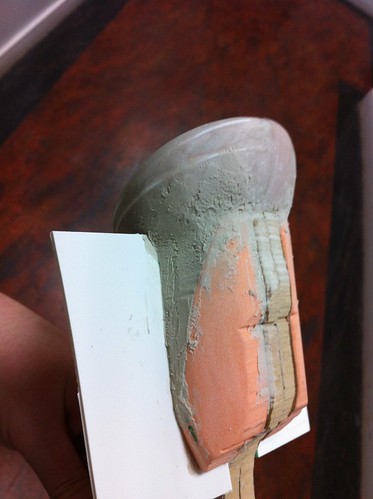
I started to build up the shape of the thing with car body filler (a kind of epoxy-like paste you add a catalyst to harden) which was...messy. I used styrene supports to block out the main contours and sculpted over it, sanded it half to death and repeated the whole thing several times til it looked something like this...

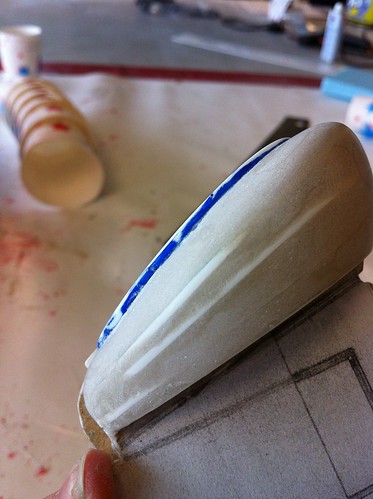
Body filler sands really well but it takes AGES, especially if you’ve made a right pig’s ear of it in the first place. XD
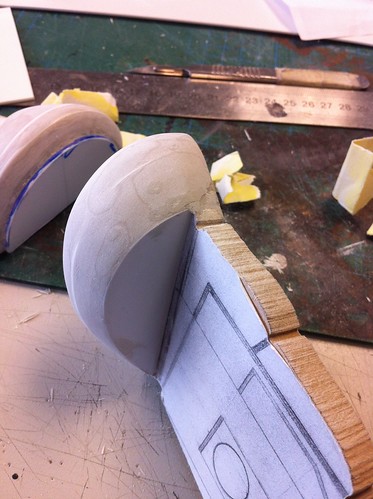
When it came to making the grip I used the same method with the styrene dividers, only this time I wanted the pieces to be removable so I could get gaps between the sections.
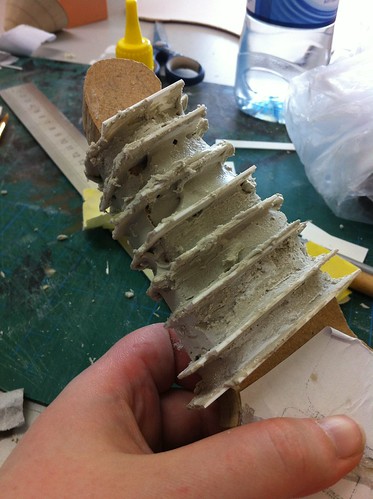

Unfortunately for me I’d made the erroneous decision to stick them in using superglue and errr... this happened.
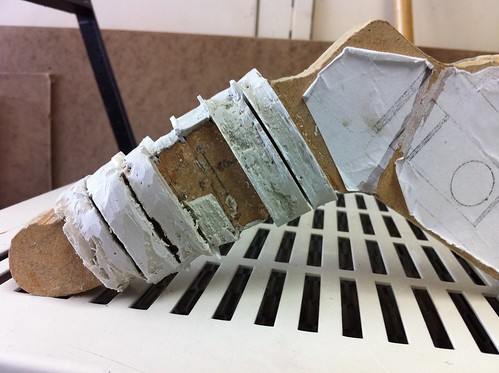
Yeeeeeah, those things were NOT coming off.
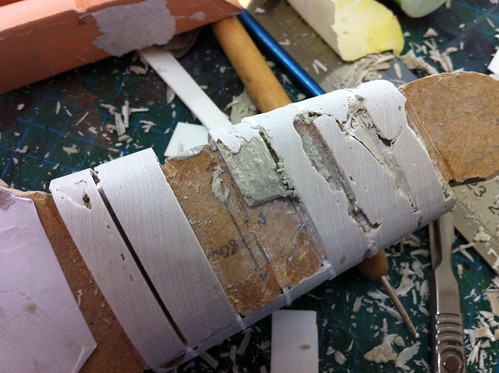
With help from a pair of pliers and a trusty boyfriend (oooh yeah, you read that one right. :P) I managed to get some of them off but the majority were staying put so, after a good week’s work I had to start practically from scratch again.
The bit on the left here was how it was all supposed to turn out.
After a few more layers of filler and a LOT more sanding, it started to look more like an actual thing rather than a pile of eroding grey stuff!
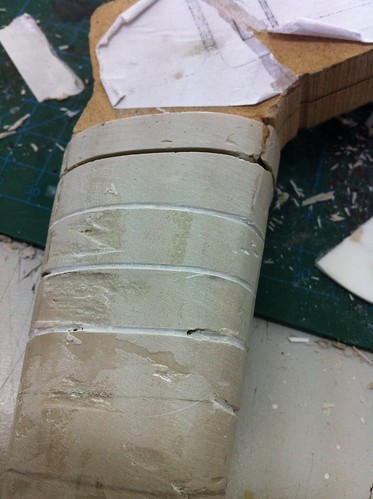
There were still plenty of issues with it at this point but as I was swiftly running out of time I had to prioritise and an absolutely perfect grip was not top of my to do list!

One of the stipulations of the brief was to have a moving part or mechanism so I opted for a removable magazine which would slot into the side and pull back to reveal some ‘power cells’ lit from behind with LEDs. In order to make it fit correctly however I had to make the rest of the gun first. The main parts were cut out of high density foam with the bandsaw and shaped and sanded on the sanding wheel.


This all looked good to begin with until I started trying to shape it differently and took off WAY too much in all the wrong places so it was out with the filler again and yet more sanding...

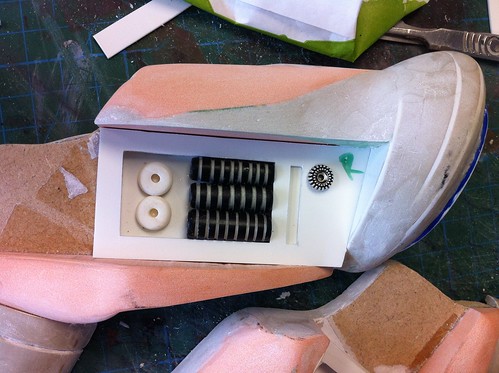
You can see my new and improved power cells here too. I totally wasted an entire day last week by screwing them up the first time and having to start the whole thing again in the afternoon. The whole thing’s going to be vac-formed so it doesn’t really matter about the colours or whatever at this stage as long as it’ll hold together in the machine. Once I’ve got this done and dusted I can start work on the magazine and once that’s done it’ll just be a matter of sticking stuff together, vac-forming it, sticking THAT together and painting it...oh and adding in the LEDs but someone in the class volunteered to do it for me so yaaaay! :D

Yeah, so that’s where I am at the moment. Thanks to the Queen’s Jubilee we lose three days of college because of the bank holiday which is totally NOT COOL because it only leaves us with three days to finish everything! (and that’s with us staying on til nearly seven at night!)
Akjfhfhjfhofjhfhafhjoafhadfg />
Anyway, wish me luck – I’m going to need it!
Good luck! It all looks so cool! Thanks for all the pictures.
ReplyDeleteCheers! :D
DeleteI'll probably be bombarding you all with more next week once it's all done!
I love following your adventures in this stuff. It's so absolutely fascinating! Good luck with the holiday, and congrats on the boyfriend!
ReplyDeleteHeh, thanks. :D I still can't believe it myself! XD
DeleteWoweee!! It is looking FANTASTIC!! I can't WAIT to see this all done!!
ReplyDeletelol, you and me both! XD
Delete''With help from a pair of pliers and a trusty boyfriend (oooh yeah, you read that one right. :P) ''
ReplyDeleteGlad to hear it's working out ok and that he can be paired with pliers to help create weaponry!! XD Congrats muchliness.
It actually looks fantastic. Seriously. Fantastic. Looking forward to seeing the finished thing!