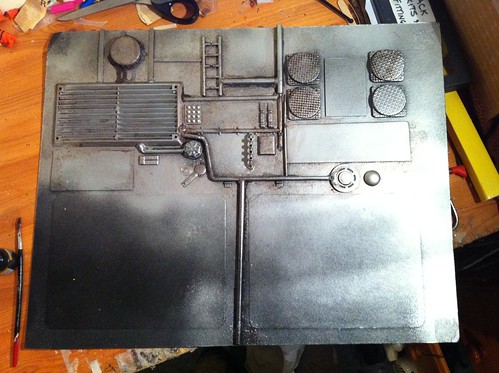
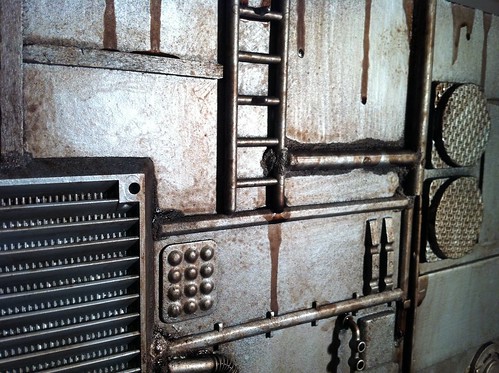
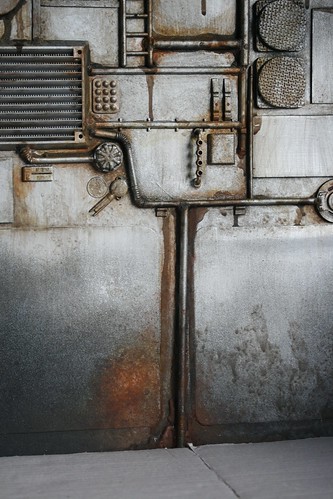
Ideally I didn't want to spend any money on it so aside from a big piece of card and a small plastic grate/vent thing I bought specially, everything else was found in the house.
To begin with, once I'd gathered all the junk and assorted crap that I'd been unwittingly stockpiling over the years, I laid out where I'd like them all to go. When I was happy with their positioning, I glued them all in place with either superglue or bostik all purpose. Then, when they'd set, I secured most of them in place with more superglue around the edges - some of which had bicarbonate of soda sprinkled over the top to simulate rust and erosion.

Bonus points if you can guess what everything is! (click on the photo below to find out :P)

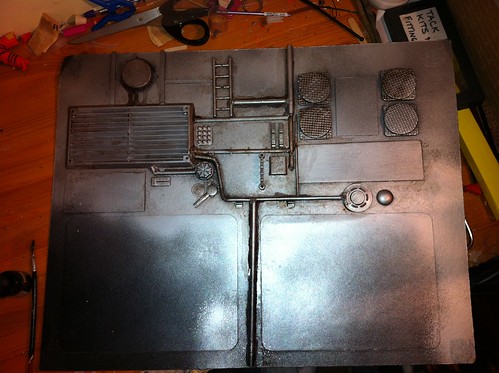
Once all was dry I gave the whole thing a quick skoosh of black spray paint, then, once that was dry, another light coat - this time of silver. The first can gave a really shiny coat which ran out quickly, but luckily I had a much nicer matte version stashed away in the cupboard so I used that instead. I wanted a nice gunmetal sort of colour rather than the brand new and shiny look I had at the moment so it was in dire need of some weathering.
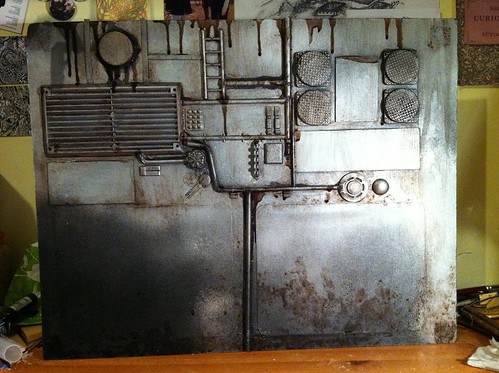
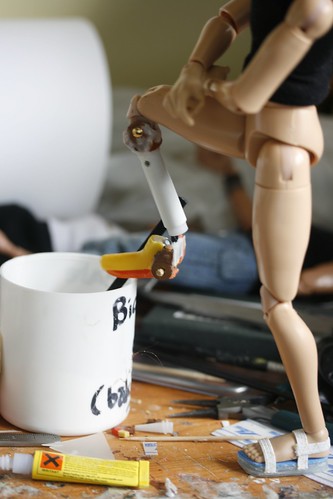
I used a Games Workshop wash - Devlan Mud I think - and wow, isn't it effective! At the moment it might look a bit OTT but once it had dried off it didn't look quite so stark. Originally I was just going to do a little bit but I liked the effect so much that I just kept going! XD

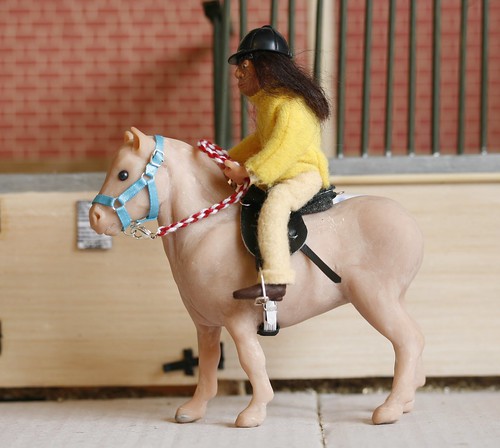
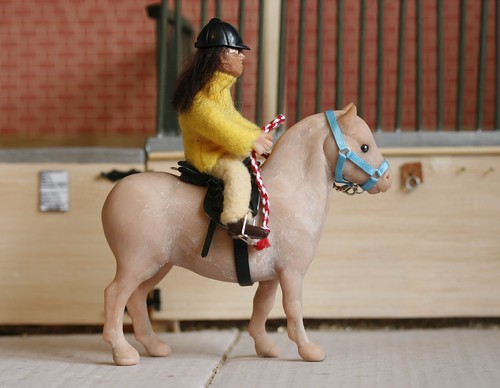
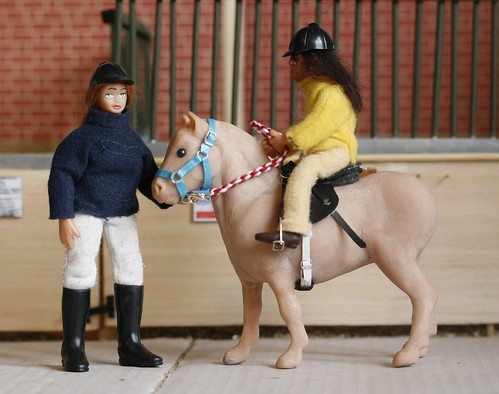
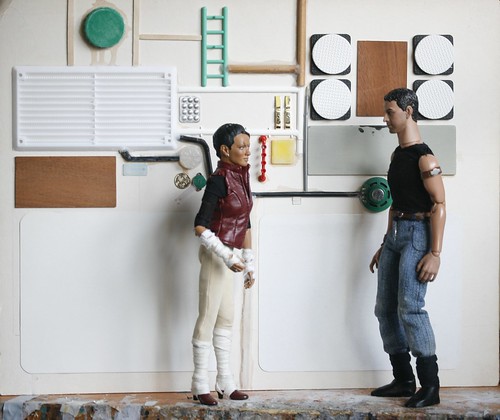
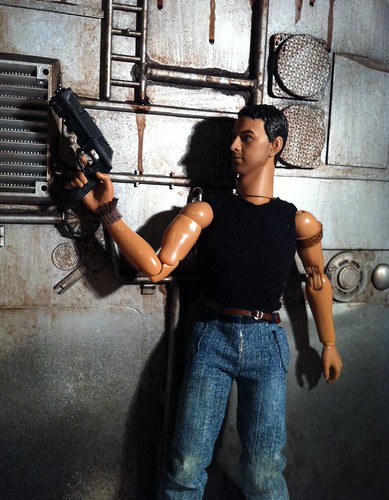
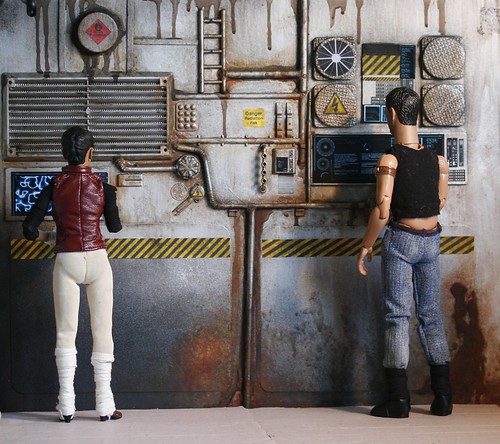
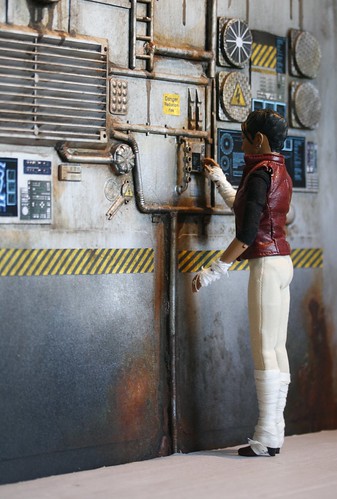
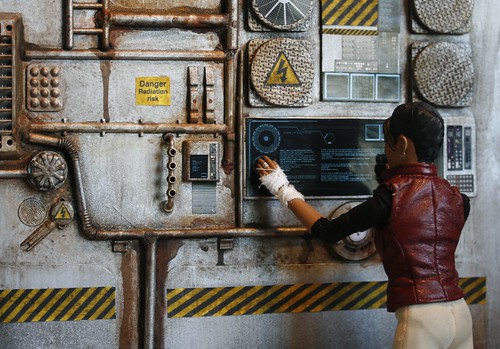
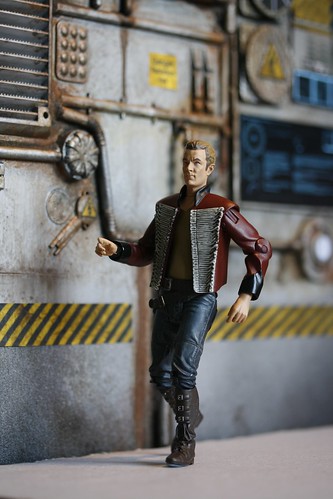
Ignore the (lack of decent) clothes, but here's a few shots to see how it looks with figs.
---------------
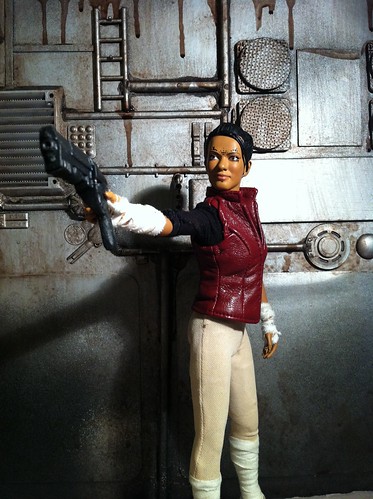
Jerran has somehow found himself in possession of a firearm which envariably means he wants to try it out...
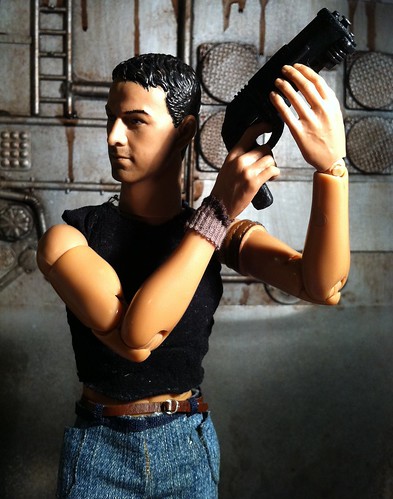
Poser. :P
I wish I could say this is scratchbuilt but it isn't. I merely chopped up a pre-existing weapon from one of my 5" Doctor Who figures and constructed a new grip. What I know about guns could be written on the pack of a postage stamp so apologies if it's highly inaccurate. (and try to ignore the lack of a trigger - it kept falling off so I thought 'sod it' and left it off XD)
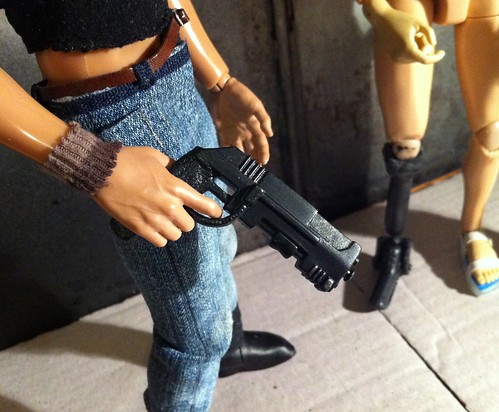
Oi! Jerran! Leave the Pilot alone!
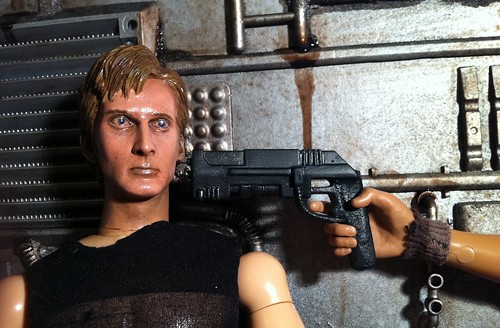
I said leave him!

Finally...
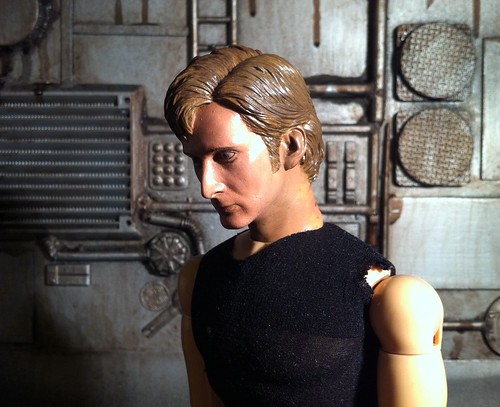
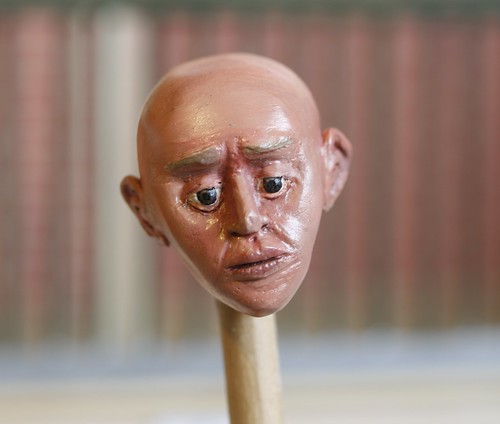
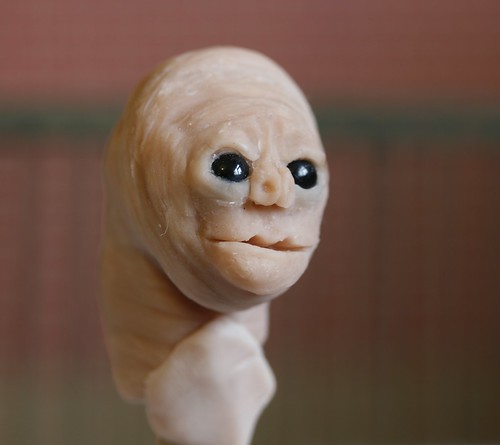
I'm rather tempted to name him Kes as he has exactly the right expression and general air of emo (I repainted the entire head btw) but I really want to make a port and as I don't want to have to hack up the nicely sculpted hair to get to the back of his skull, I might just make him another example of the same batch and make do. XD I made him a new leg this week too! I got him off ebay months ago for £3.99 as he only had one leg and I fancied a bit of a project...
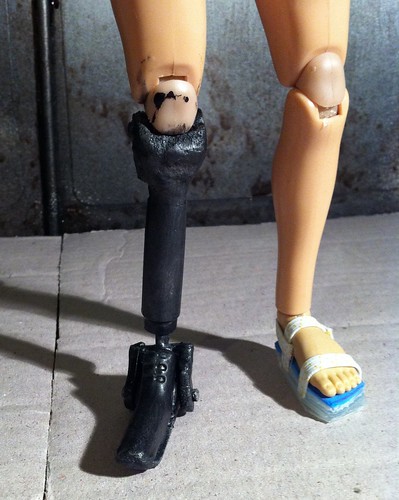
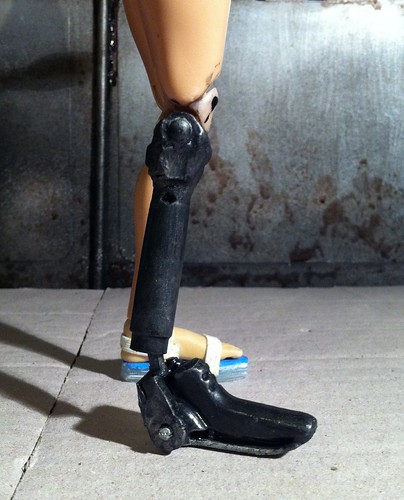

I managed to make a balljoint for his ankle as well as a hinge joint so he's got almost the exact same articulation in this new leg as he does in the old! It'll be written into his backstory as the result of a serious injury he sustained during a firefight... ;)
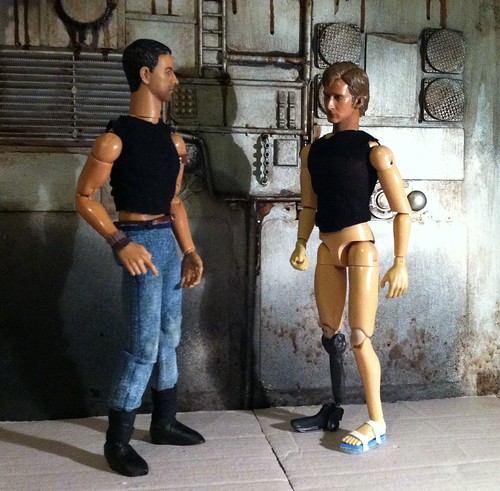
Anyway, Carus has finally confiscated Jerran's new toy, only...who's she pointing it at now? O__o
I finished off the weathering this morning...
...and the entire thing this afternoon. :D
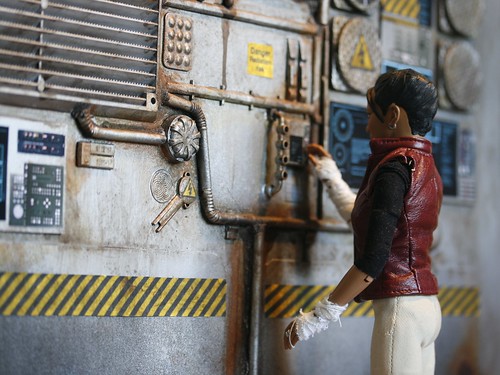
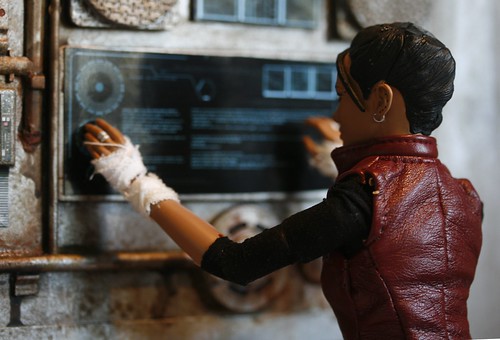
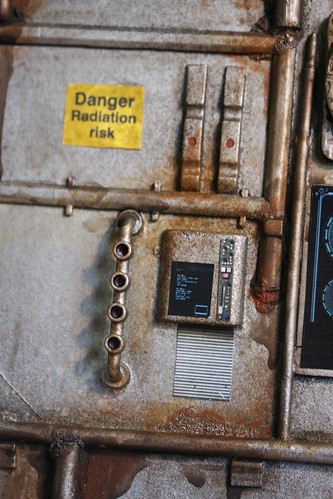
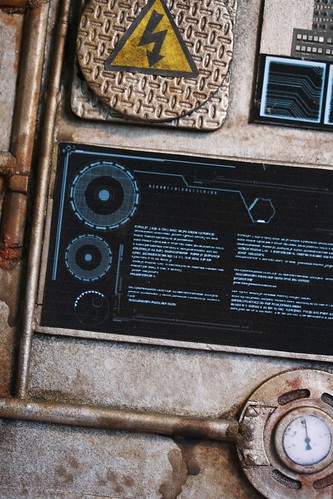
The signs were all printed off the internet and weathered a bit with what was left of the devlan mud wash. The touchscreen panels were made up in gimp using some brushes I found on deviantart and then printed out onto some semiglossy photo paper. The rest of the things - buttons and panels and such came from CGtextures.com
This one just makes me think of a microwave! XD

Obviously I'll be using this with my 1:6 guys but the good thing about sci fi is that if I raise the floor level...
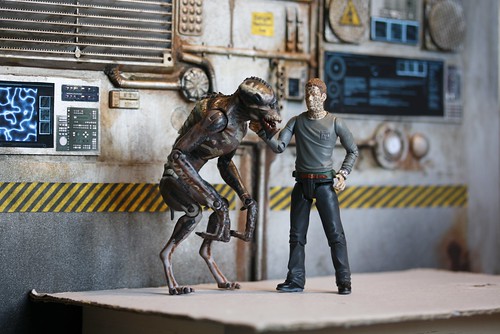
I can use it with smaller figs!
(and no, I don't know what they're doing in these photos - I picked these up off my body pile XD)
Anyway, there we go, done! I've got a section of corridor in progress now too but I'm not so keen on it as it's just a little bit too short and I'll need to stick it onto a bigger piece of card or just shoot from the waist up to get the figs in. XD