Showing posts with label sculpting. Show all posts

Monday, 9 February 2015

An attempt at digital sculpting


I got the free 3D modelling/sculpting program Sculptris aaaages ago, but only dabbled, making a couple of really basic models out of boredom.


Anyway, since then I've been admiring the outstanding digital work of several equine sculptors in the model horse hobby and thought I'd give it another go. XD
I've no idea what breed it's going to end up as but as long as it looks like a fairly decent equid I think I'll be happy, haha!

It started off looking like this... XD (yay, giraffe pone!)


...after maybe an hour or two. (I can't remember exactly when I started it today so that may be way off, lol.)


Aaaaand, right now.


I'm putting off dealing with the lower legs and feet as they're really not my strong suit, haha.

So yeah, still very early days but I'm pretty chuffed so far!
 

Wednesday, 3 July 2013

Progress on Skara...

I haven't posted about her in a while but my 1/6th scale version of my Skyrim character Skara has been taking shape over the last couple of months. She still has a looooong way to go though but she at least now has a head!

I started off by taking some photos of her onscreen - difficult when I'm playing on PS3 as I have no way of taking direct screenshots other than taking photos of the tv! - resizing them on the computer and printing them out so I could refer to them as I worked. Alas, I didn't take particularly good ones until after I'd already finished most of it but here's what she looks like. Depending on the lighting she has really dark eyes and grumpy eyebrows.

     photo IMG_4710_zps11be4b66.jpg photo IMG_4715_zps67814d10.jpg photo IMG_4718_zpsa83d69e8.jpg

I used Tony Barton's method of sculpting direct onto a tile and building the rest of the head up in stages.The eyes were small beads I bought for the purpose as I didn't want to faff about with making my own and have them end up uneven or wonky.


 Those nose is wrong I know but it's too late to change it now.

1/6 scale headsculpt WIP 'Skara'1/6 scale headsculpt WIP 'Skara'

Having no prior experience with making a headsculpt to fit a neck post, I did what I usually do and bodged it. I made a negative of the post in sculpey, baked it and using copious quantities of superglue/baking soda, epoxy and more sculpey, managed to get it to fit comfortably. It's still a bit fragile so in future I will have to come up with a better process. It is removable and I put some sticky wax around the post so it'll hold position without being too loose.

1/6 scale headsculpt WIP 'Skara'

I also added her facial scarring which, while in game is subtle, for me it forms an integral part of her character. I knew now that the sculpt didn't bear a fantastic resemblance to her so I thought making the scars look more 'raw' and recent might help. In the end, she looks quite young so I may just have her as Skara, but pre-Skyrim which could be fun to write photostories around.

Anyway, next to go on were the ears. I'm not going to lie, I absolutely loathe sculpting ears so I cheated a bit with this by making a couple of negatives of my Martha Jones figure's ears so I could get the basic shape right.

1/6 scale headsculpt WIP 'Skara'1/6 scale headsculpt WIP 'Skara'

I think I could have salvaged the likeness better if I had made the eyebrows better as Skara always looks mildly pissed off but hey-ho, you live to learn right? Once she was completely baked, I used pastels to give her a little more colour. I'd run out of spray sealer so I dabbed on matte sealer with a paintbrush instead. It gave a nice bit of texture to her skin and although the final finish was a little uneven in places, I felt it added to the Skyrim feel as let's face it, no one in Tamriel has a perfect complexion. :P I also blocked in her hair, which would be added later with mohair.

(This is pre-sealing)

1/6 scale headsculpt WIP 'Skara'1/6 scale headsculpt WIP 'Skara'

(...and after, with eyes added. - I fixed that stray blob of black on her right eye afterwards btw)

1/6 scale headsculpt WIP 'Skara'1/6 scale headsculpt WIP 'Skara'


Adding on her warpaint was a little stressful because I knew that if I screwed it up, I'd have to strip back all the paint and effectively start from scratch. Luckily, although it turned out a little darker than I'd originally intended, it worked really well.

1/6 scale headsculpt WIP 'Skara'

The more I looked at her, the less I saw of Skara and the more I saw Rooney Mara from The Girl With The Dragon Tattoo!

1/6 scale headsculpt WIP 'Skara'1/6 scale headsculpt WIP 'Skara'

Before I haired her I stuck her up on Inky for a photo - I think she approves. :P

1/6 scale headsculpt WIP 'Skara'

I mixed up a combination of black and brown mohair (which ended up being a much redder brown than I thought it was when I mixed it) and applied it using a variant of this tutorial.

1/6 scale headsculpt WIP 'Skara'1/6 scale headsculpt WIP 'Skara'

While I really liked the long strands at the front, they weren't quite short enough so I trimmed them.

I have never been any good at plaits (a simple ponytail does me fine, heh) so her complicated combination braid was a little tricky for me to get the hang of, especially at such a small scale so I improvised and just made something up.

'Skara'


So, without further ado, here she is! Normally I'd take loads of photos outside but it had been raining and the ground was soaking so I didn't really want to lie down. XD

'Skara'

'Skara'

'Skara'

The clothes are placeholders for now until I can make something better. The trousers I made from some faux suede fabric and look fine from the front but I have no idea how to make the back look any good so she's stuck with a bit of a saggy arse at the moment unfortunately!

Her top is chamois leather from a £1 shop for cleaning cars. I exaggerated the stitching to loosely resemble the 'rags' you can find in the game but I'll make her something better eventually.

'Skara'

'Skara'

For a first sculpt I'm pretty chuffed with her but she's still not exactly what I want longterm. That said, I think I'll make another once I'm sure I can get the likeness better and keep this one as the younger version of the character before she's had all the experiences of the game - an origin story in the making I think!


Wednesday, 30 January 2013

Unicorn Progress - Construction Begins!

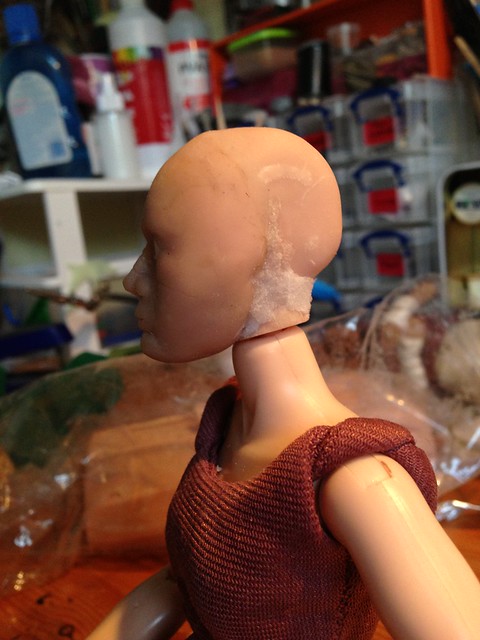
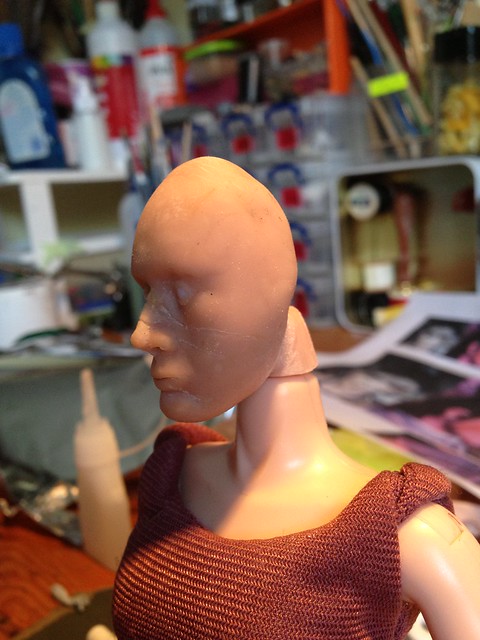
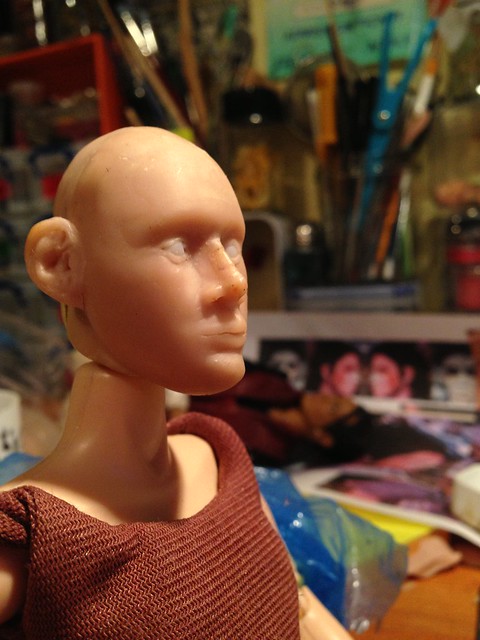
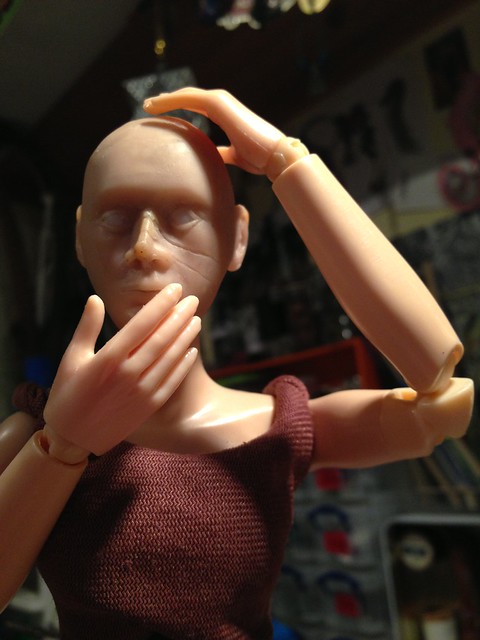
This is a bit of a big update as it comprises almost two weeks worth of work. I missed two days last week and today in fact as I've been choked up with a cold (like most people I know at the moment, lol) so I would probably have done most of this sooner had I managed to get in. Regardless, I've done a lot more than I thought I would in the time.

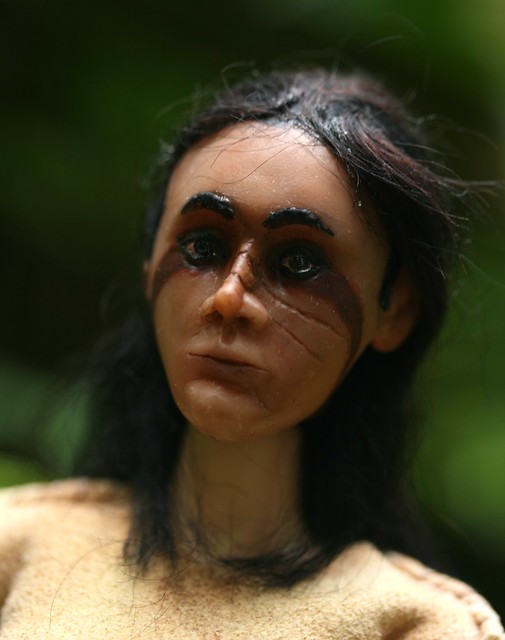
The last time you saw this little guy he was still unfinished; his mane woefully untextured and sausage-like. Now, he sits pride of place on a shelf, watching me work.

Finished Maquette

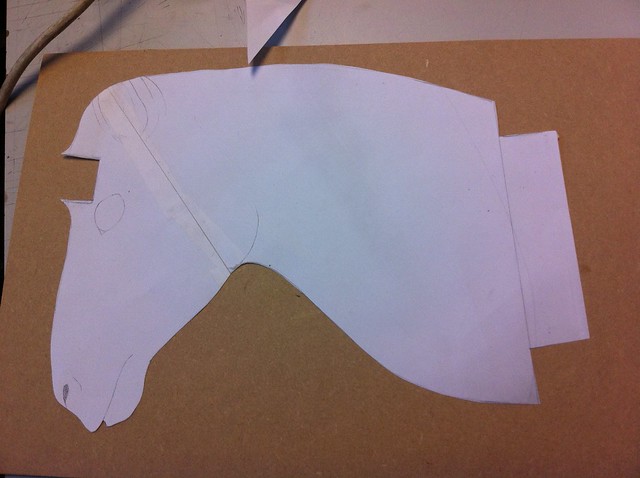
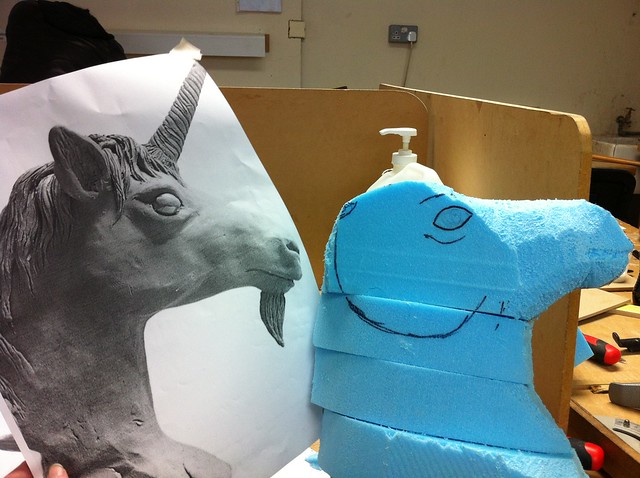
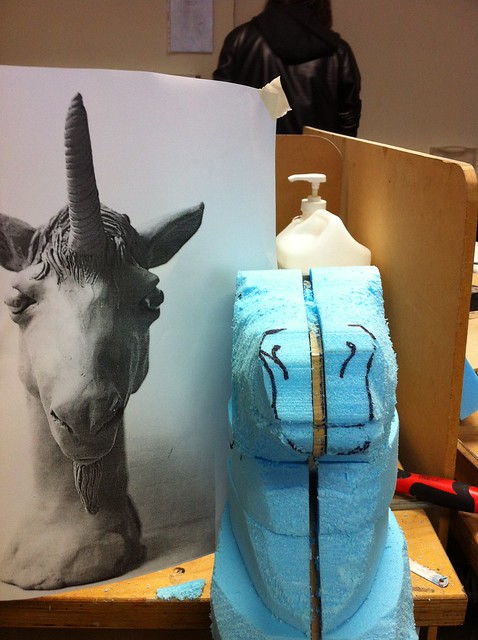
Photos of him were taken from the side and front and then enlarged to the size the of the final model as I would be using them as a scale reference. Once printed, I traced the basic outlines and had those copied and scaled too, then the profile was double-sided to a sheet of MDF which I cut out on the bandsaw. The notch at the top is to allow for the horn to be inserted. (assuming I actually get round to making my mind up on what I want it to look like! lol)

MDF base

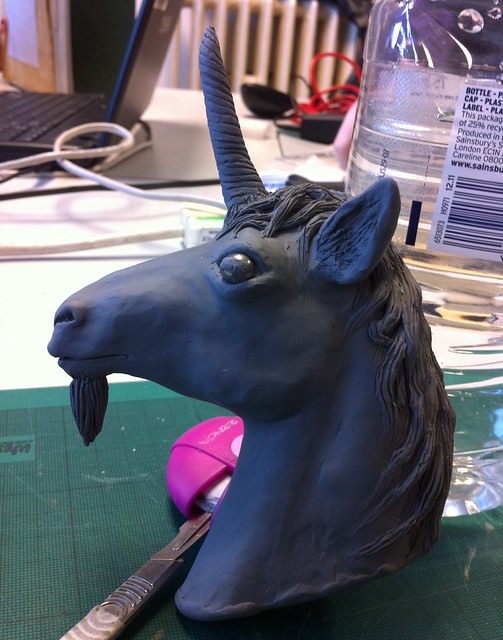
It is very small, and if I'd realised how tiny it was going to turn out I would probably have re-sized it there and then but never mind. I always imagine Unicorns as being rather petite anyway so it's fine. :P


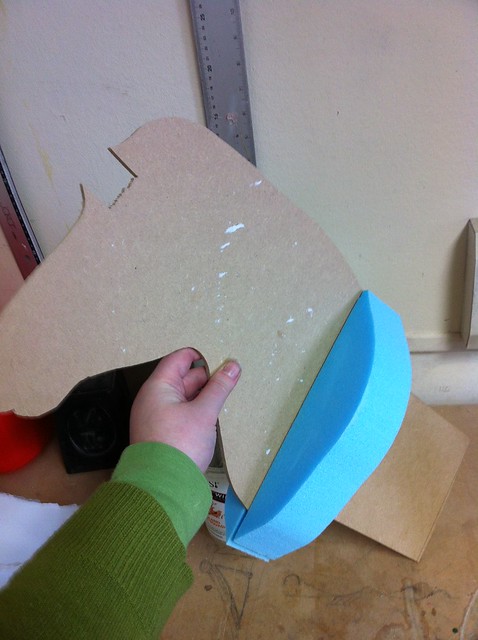
MDF was glued at the base of the neck at the widest part so I knew where to sculpt to and then I began to add the blue foam. If I'd had my way (and loads of money for resources!) then I'd have wanted to sculpt it freehand from clay and cast it buuuuut that wasn't an option so blue foam it was!

Foam WIP

Here it looks like he's wearing some kind of Art Deco turtleneck jumper or bizarre scarf but it's just a selection of foam chunks hot-glued into place. I was a little apprehensive as it's one thing to carve a relief into foam, like what I did at the start of the year with the fossil, but quite another to excise a three dimensional creature out of it!

Foam WIPFoam WIP

The muzzle started to take shape quickly using a hacksaw blade and some files. I drew on the eyes and rough cheek outlines with a sharpie so I didn't lose track of where things were. (even then I still managed to draw one on squint!)

Foam WIPFoam WIP

Having the images there to refer to was a huge help in getting all the angles right but I found getting the nose narrow enough was tricky. I'd get one side looking good only to find I was off by rather too many millimetres for my liking!

Foam WIPFoam WIP

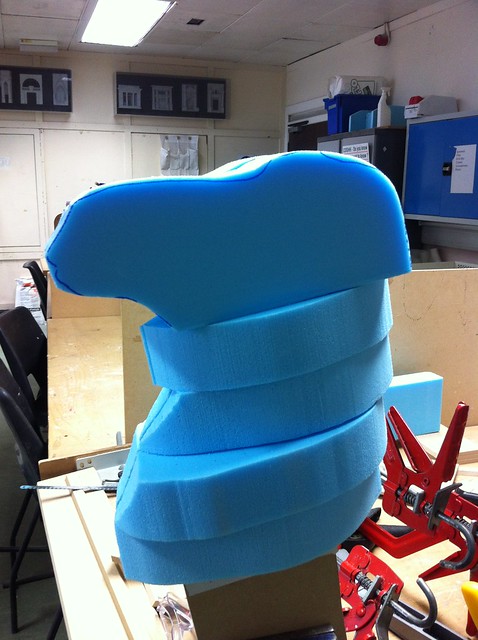
I think this was the stage where Simon told me he looked fat. XD

Foam WIP

Foam WIP

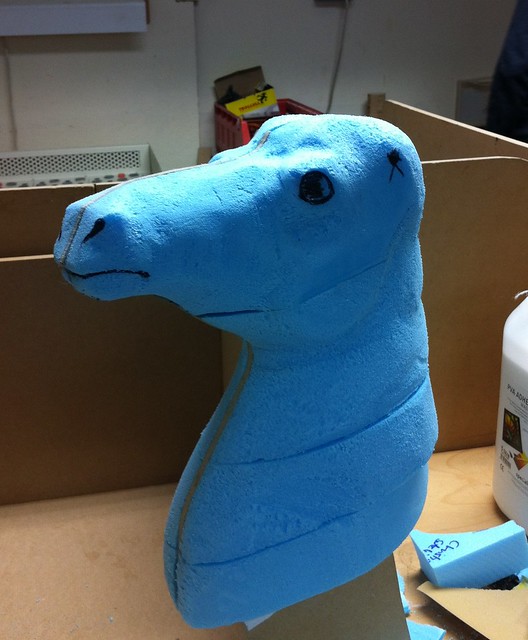
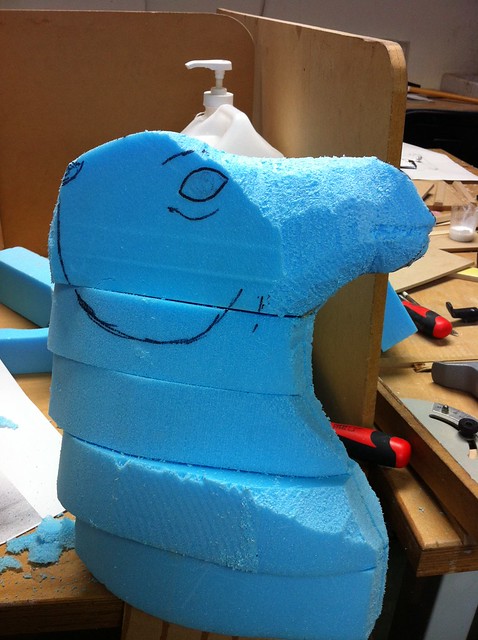
I think he looks oddly contented there - strange when you think he can't see or hear for his lack of eyes and ears!


Foam WIP

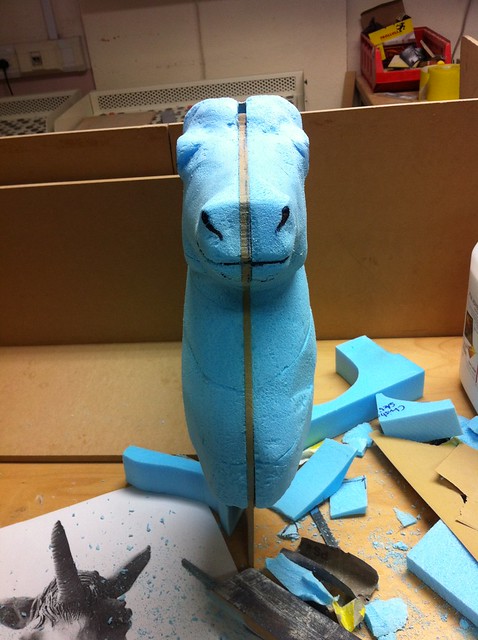
Argh, so WONKY! D: D:

I'll be doing some actual sculpting around the eyes and mouth later on with epoxy so I can sort out the worst of the squint bits hopefully.

Foam WIP


Foam WIP


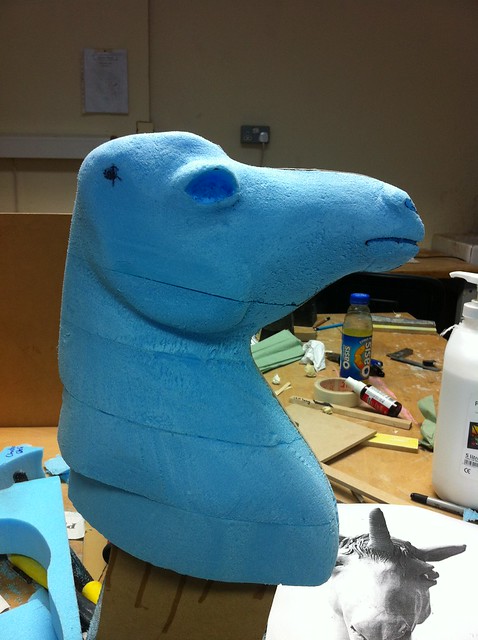
That's how I left him yesterday after a whole day's work. I still need to add to his neck at the bottom and tweak his eyes a bit but aside from that I think he's ready for a layer of plaster and then I can add in his eyes and hair him.

Speaking of eyes...

Blank eyes

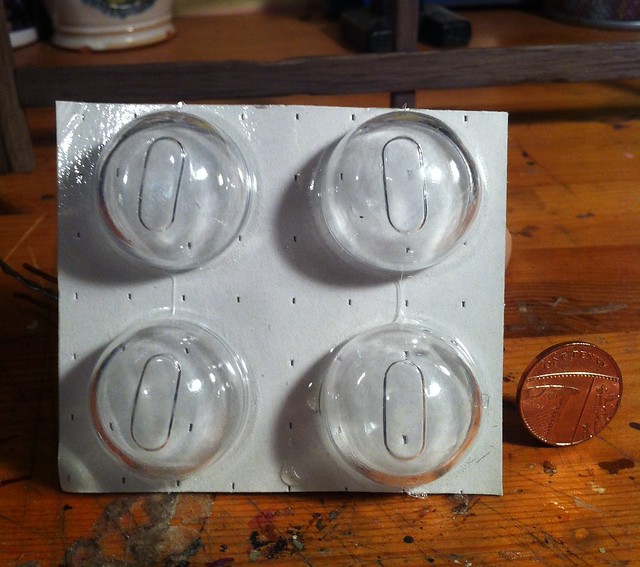
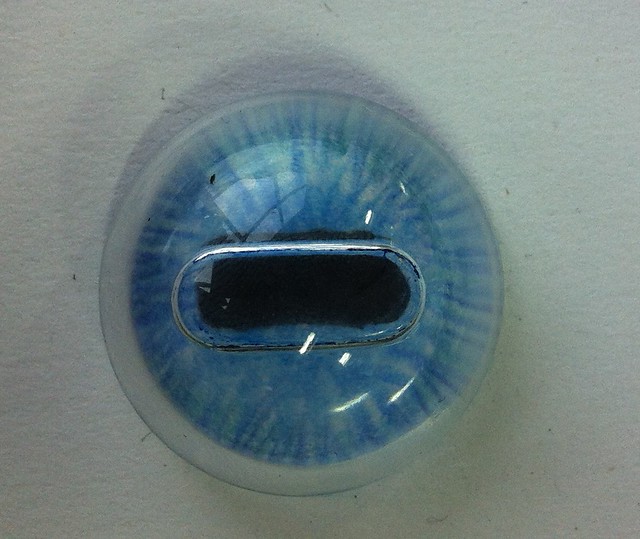
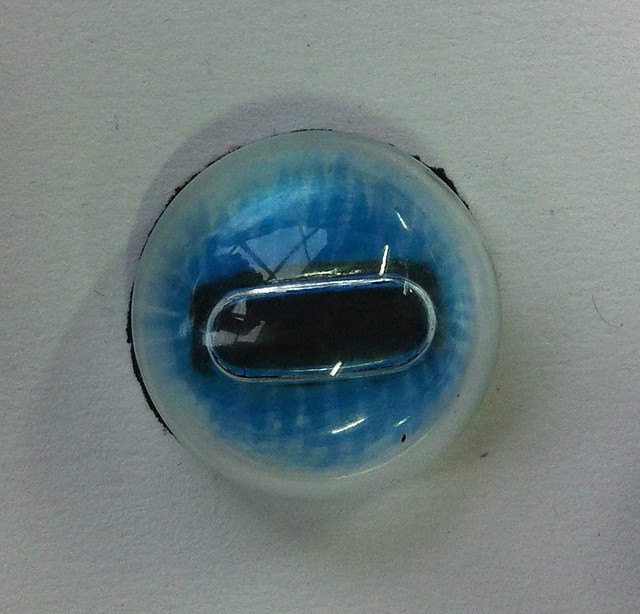
I bought a set of blank glass eyes from www.glasseyes.com as I had a very specific look in mind and I couldn't find anything suitable online. I wanted them to be blue with a horizontal pupil, like a goat or sheep but the only blue or grey ones I could find I didn't like as they were too plain so I thought I'd have a go at painting them myself. This was harder than I'd anticipated as the exact shade of blue I thought I had...I didn't. In the end they turned out different to how I'd intended but it was a good sort of different so I don't mind.

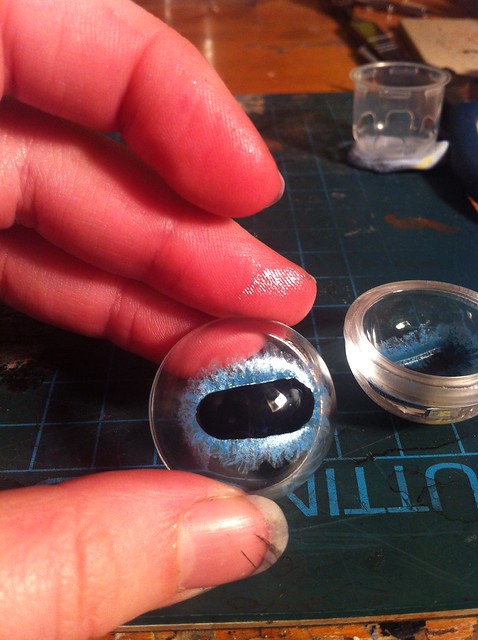
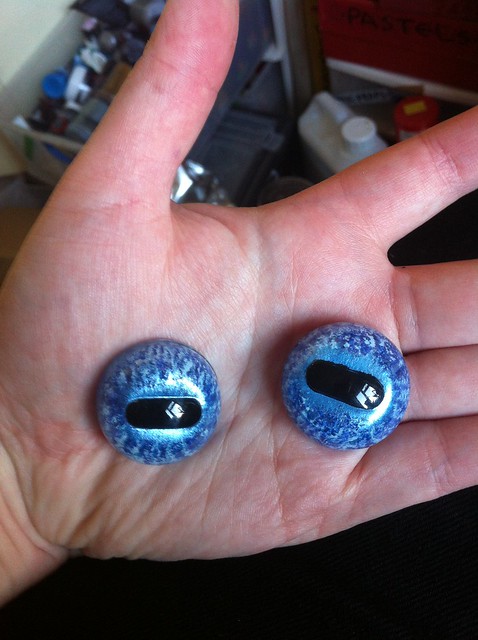
During our Developmental Drawing on Monday I sat with one of the eyes and tried to see what the finished thing would look like by placing the blank over it.

'Eye-deas'

'Eye-deas''Eye-deas'


In the end they turned out a lot darker as I didn't have the right blue. I did however, possess some rather nice metallic poster paint that I've had since I was about nine and most of which are still in full working order. As I was painting from the back, I used them first as they catch the light rather beautifully as you can see on the big smudge of it on my finger here. XD

IMG_3497Eyes


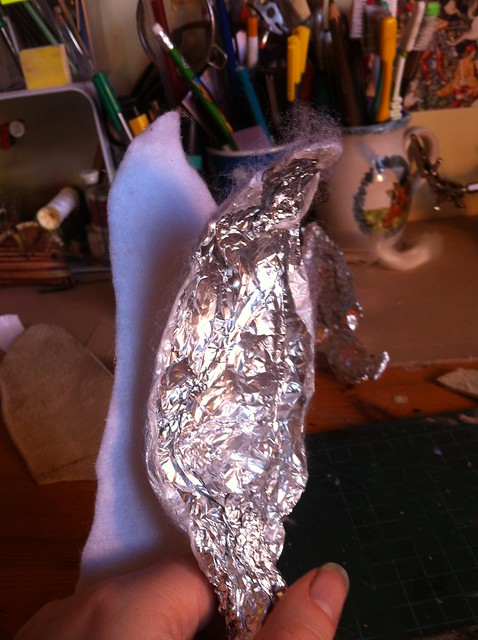
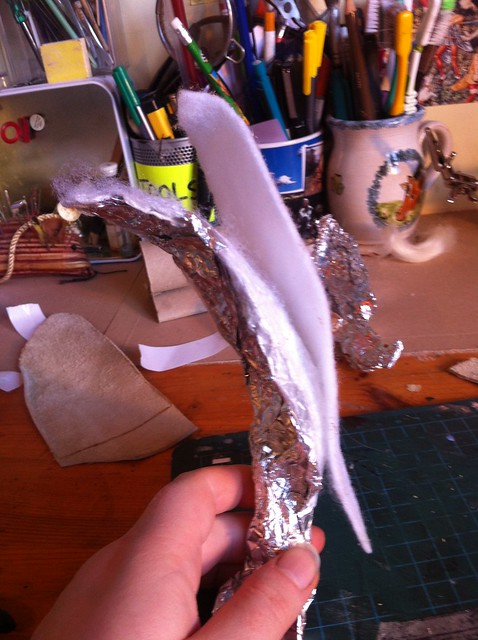
As I was at home today I thought I'd make a start on another integral part of the Unicorn - his ears!

I made a rough ear from tinfoil, covered it in doublesided tape and then wrapped a piece of felt around it to make a pattern.

Ears WIPEars WIP


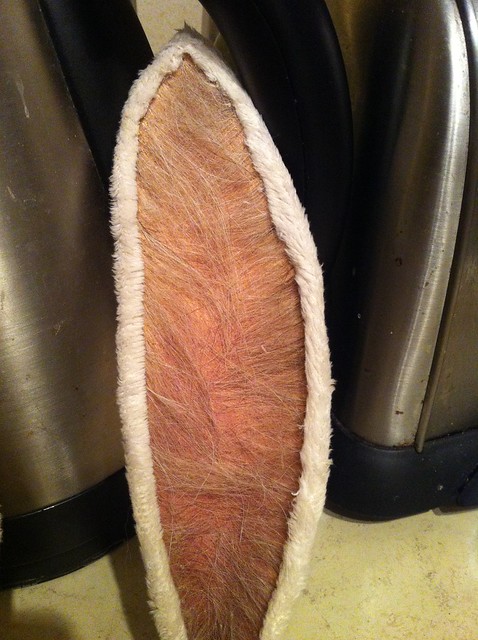
I then traced the pattern onto some white leather and cut out the ear shapes. I'd dyed some very short pile fur fabric with strong tea earlier on to take away the bright whiteness of it and make it look a little more natural so once it had dried I glued the leather ears to it - the 'fuzzy' side of the leather becoming the inside of the ear.

Ears WIP

While the glue was drying I painted the insides with watered down acrylics, getting darker at the bottom where the ear would fold up.

Ears WIP


Once everything was dried and whatnot, I began to add some mohair. I'd toyed with the idea of just leaving them hairless like that but really, that was just boring and besides, I wanted to make it look like a piece of taxidermy so fuzzy ears were a must!

I teased out some creamy coloured mohair and glued it at the sides - any glue still showing afterwards would be hidden by the remainder of the fur fabric I would fold over.

Ears WIP

Finished ears

Finished ears

Finished ears

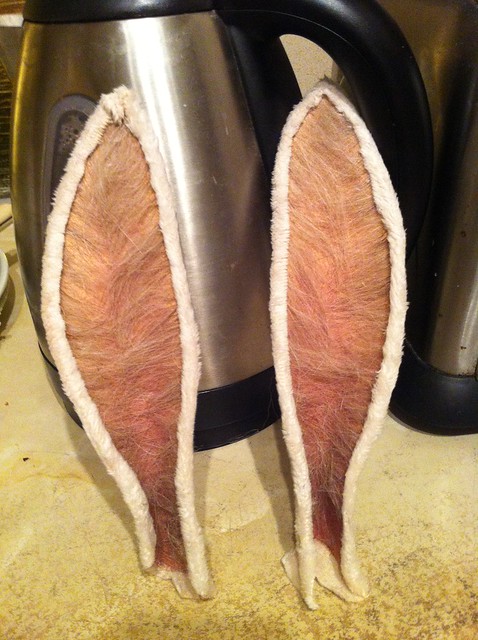
(Excuse the odd location for photography - it was the only place in the house I wasn't casting a shadow over them! lol)


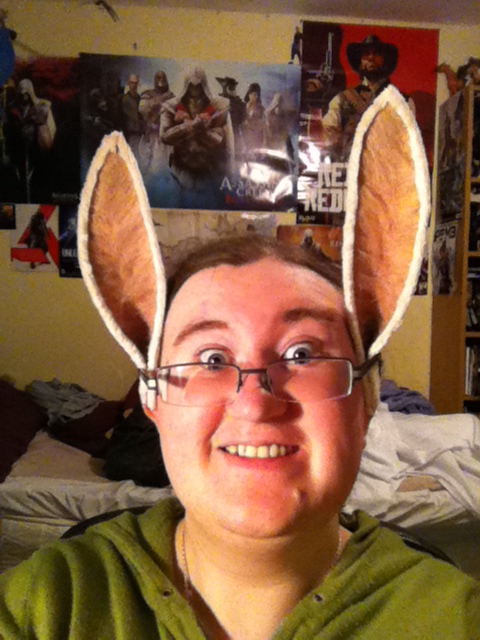
Aaaaaand of course, the obligatory looking-stupid-wearing-unicorn-ears-whilst-looking-stupidly-at-the-camera self portrait.

How could I resist? :P


...

Yes well, I just had to didn't I? :P


Progress will continue on Monday!

EG out!